
Zitronen-Baiser-Torte
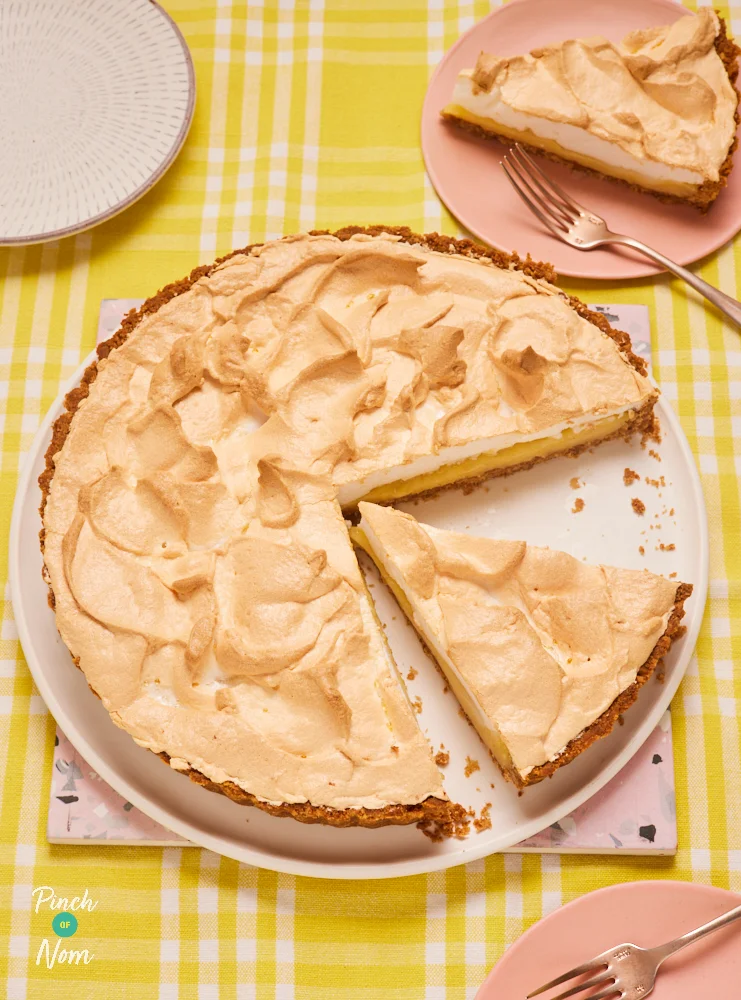
Zitronen-Baiser-Torte steht wieder auf dem Speiseplan! Wir haben dem spritzigen Klassiker eine leichtere Variante verpasst und den Teigboden durch einen selbst gemachten Keksboden ersetzt, der leichter und noch köstlicher ist. Die süß-säuerliche Zitronenfüllung wird mit luftigem Baiser bedeckt und kommt dann in den Ofen, bis die Oberfläche goldbraun ist und langsam knusprig wird. Das perfekte Dessert für jeden Anlass!
Zutaten
- 250 g reduced-fat digestive biscuits
- 25 g reduced-fat spread, (melted)
- 1 medium egg white
- 3 lemons, (zest and juice)
- 200 ml cold water
- 3 medium egg yolks
- 50 g white granulated sweetener
- 40 g caster sugar
- 40 g reduced-fat spread
- 2 tbsp cornflour
- 2 medium egg whites
- 30 g caster sugar
- 20 g icing sugar
- 1 tsp cornflour
- 1 tsp vanilla extract
Zubereitung
- 1
Pre-heat: Preheat the oven to 180°C and grease a 24cm loose-bottomed tart tin with a little reduced-fat spread. Add the biscuits to a large food bag and bash with a rolling pin into a very fine crumb.
- 2
Add the egg white to a mixing bowl and whisk with an electric mixer until frothy and slightly thickened. Add the crushed biscuits along with the melted spread. Mix together.
- 3
Pour the mixture into the tin. Using the back of a spoon, press the crumbs down onto the base and up the sides of the tin to form a biscuit crumb pie case. Place the tart tin onto a baking tray and then place into the oven for 10-12 minutes. The case should be crisp. Remove from the oven and lower the oven temperature to 160°C.
- 4
Add: To make the filling, add the lemon juice, lemon zest, cornflour, sweetener and sugar to a saucepan. Mix using a balloon whisk until smooth. Pour in the cold water and set the pan on medium heat. Continue to whisk as the mixture heats. It should start to bubble and thicken into a smooth mixture.
- 5
Lower the heat and add the reduced-fat spread and egg yolks and whisk quickly to incorporate. Cook for a further 4-5 minutes, vigorously stirring until the mixture thickens. It should coat the back of a spoon and look like custard in consistency. Pour into the pie case and spread out evenly. Leave to one side to cool slightly while you make the meringue.
- 6
Place the egg whites into a very clean mixing bowl. Make sure there is no egg yolk in the bowl with the egg whites. Start to whisk, using an electric hand whisk, until the egg whites form soft peaks.
- 7
Add the caster sugar one tablespoon at a time and whisk until fully mixed in. Then sift in the icing sugar and whisk in a little at a time. The egg whites should be stiff and glossy, and when you feel the meringue, you should not be able to feel any grittiness, as the sugar should be dissolved. If it hasn’t, continue to whisk for another minute.
- 8
Add the cornflour and vanilla and whisk for an extra minute until combined.
- 9
Spoon the mixture onto the pie filling. We find it's best to add smaller spoonfuls of meringue all over the pie filling so that it doesn't sink. Once all of the meringue is on top of the pie, spread it out all the way to the crust, sealing in the filling and creating peaks and swirls as you go.
- 10
Place into the oven for 20-25 minutes. The meringue should be just turning golden brown and going crispy. Remove from the oven and leave to cool for 1 hour, then place into the fridge to chill for a minimum of 2 hours. Slice and serve!
Nach dem Original kochen
Dieses Rezept stammt von pinchofnom.com. Dort findest du die Fotos, Notizen und Tipps der Autorin oder des Autors – der beste Ort, um es nachzukochen.
Rezept auf pinchofnom.com öffnen