
Saucisse épicée et riz
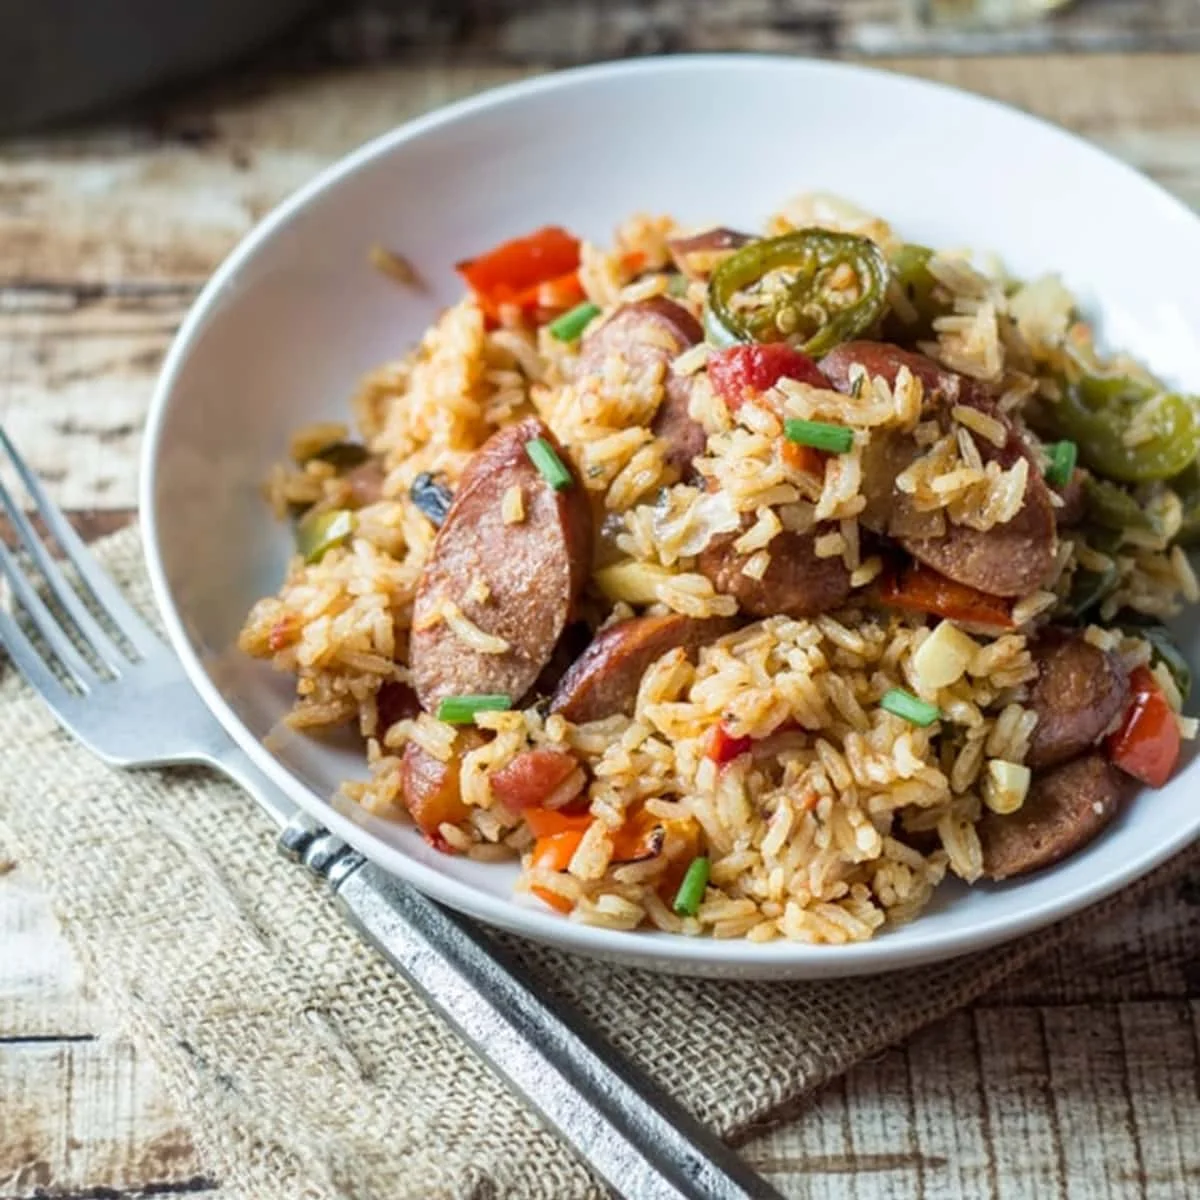
Préparez-vous à passer à table avec notre plat tout-en-un de saucisse épicée et riz ! Un dîner appétissant, prêt en seulement 30 minutes : simplicité et saveur à chaque bouchée !
Ingrédients
- 1 tablespoon extra virgin olive oil
- 1 13-ounce fully-cooked Kielbasa sausage*, cut on the diagonal into coins
- 1 red bell pepper (chopped)
- 1 green bell pepper (chopped)
- 1 medium yellow onion (chopped)
- 1 jalapeno pepper (sliced)
- 1 14 ounce can no-salt-added diced tomatoes, with juices
- 2 bay leaves
- 1 tablespoon dried thyme
- 1 teaspoon dried oregano
- 1/2 teaspoon red pepper flakes
- 1 1/2 cups dry long-grain rice
- 2 cups low-sodium chicken broth
Préparation
- 1
Heat the oil in a non-stick skillet over medium-high heat until nearly smoking. Add the sliced Kielbasa and arrange in a single layer as much as possible. Allow to cook, undisturbed, for 90-120 seconds, until browned. Flip the sausage pieces and brown on the other side.
- 2
Add the peppers, onions, and jalapeño to the pan. Sauté for 3-4 minutes until the vegetables start to brown. Pour in the can of diced tomatoes (do not drain), and add the bay leaves, thyme, oregano, and red pepper flakes. Stir well.
- 3
Turn the heat down to medium and add the uncooked rice to the pan along with the chicken broth. Let the contents come to a boil and allow the liquid level to reduce until the rice starts peeking out of the top.
- 4
Once the liquid is below the rice (about 5 minutes or so), cover the pan and turn the heat to low. Let the rice steam for 15 minutes before uncovering and stirring the contents. Discard the bay leaves and serve hot.
Cuisinez-la avec la recette originale
Cette recette vient de thewanderlustkitchen.com. Leur page propose les photos, les notes et les astuces de l’auteur : le meilleur endroit pour la cuisiner.
Voir la recette sur thewanderlustkitchen.com