
Baked Chicken Legs (Crispy, Easy Oven Recipe)
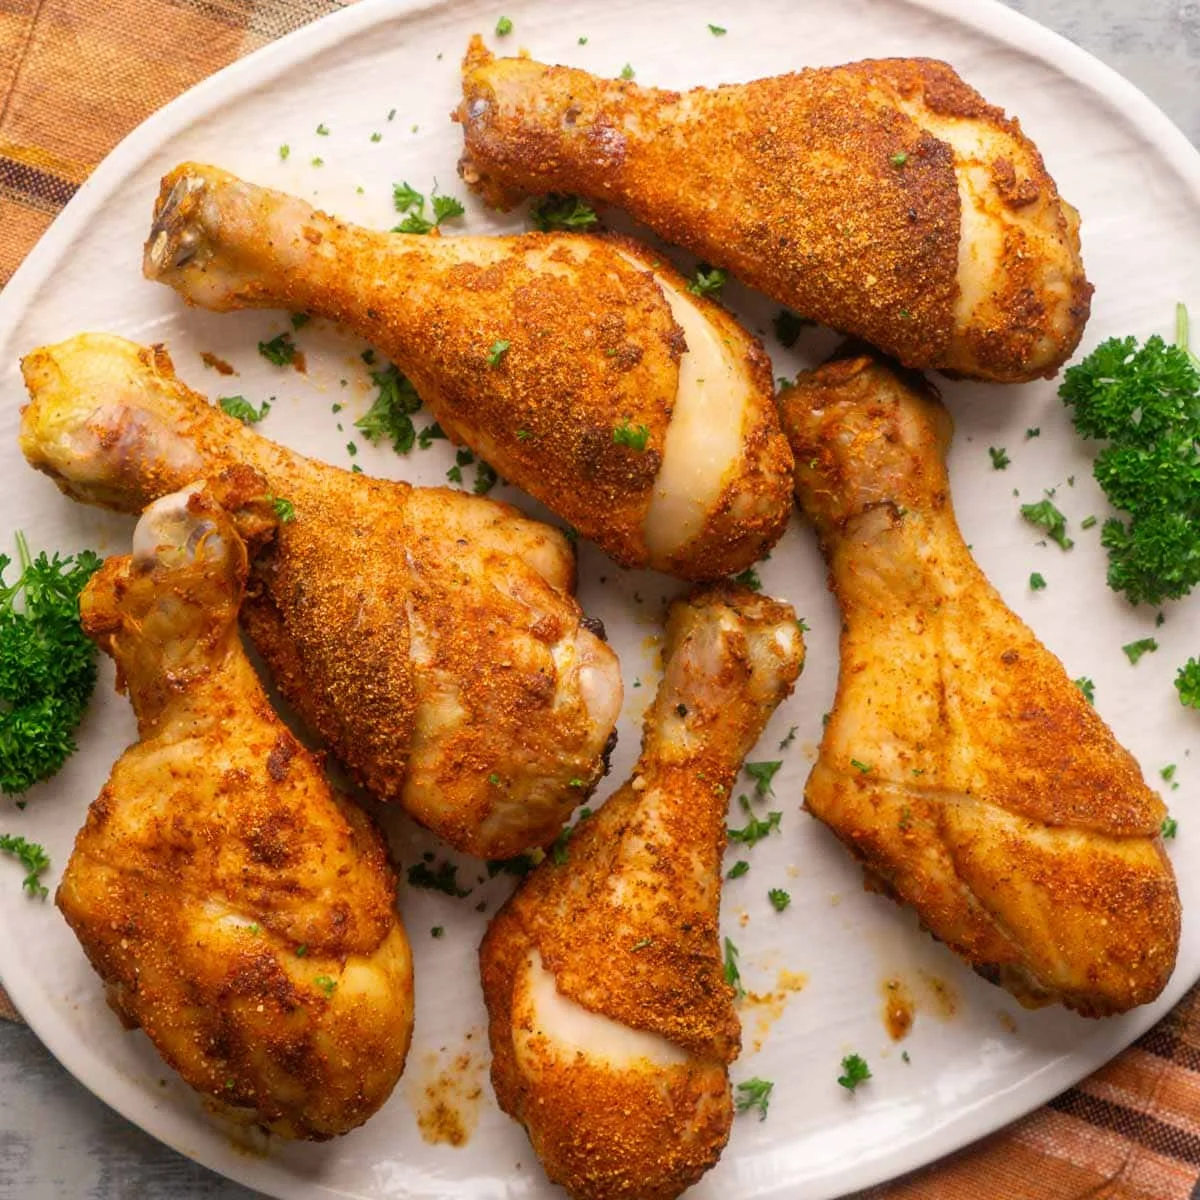
These baked chicken legs (drumsticks) are seasoned with simple spices and roasted at high heat for crispy skin and juicy meat. With 5 minutes of prep and 30 minutes of hands-free baking, they’re an easy dinner win.
Ingrédients
- 6 Chicken Leg Drumsticks
- 2 teaspoons Sweet Paprika
- 2 teaspoons Garlic Powder
- 2 teaspoons Onion Powder
- 1/2 teaspoon Salt
- pinch Black Pepper
Préparation
- 1
Optional (tempering): Rest the chicken legs at room temperature for 20–30 minutes before baking to remove the chill for more even cooking. You can do this before or after seasoning.
- 2
Equipment prep: Preheat the oven to 425°F with the rack at least 8 inches from the top heat source. Line a rimmed 10 × 13 baking sheet with parchment paper or foil, or lightly coat with cooking spray.
- 3
Make chicken seasoning: Add PAPRIKA, GARLIC POWDER, ONION POWDER, SEA SALT, and BLACK PEPPER to a lidded container or mixing bowl. Shake or stir to combine and set aside.
- 4
Season the CHICKEN LEGS (up to 1 day ahead): Place no more than 3 at a time in a one-gallon plastic bag with 1 teaspoon of seasoning per leg. Trap a little air inside, twist to close, and shake until evenly coated. Alternatively, toss in a mixing bowl.
- 5
Prepare to bake: Place the seasoned CHICKEN LEGS on a prepared baking sheet, skin side up, leaving about 1 inch of space between each piece.
- 6
Bake (no need to flip!): Bake uncovered for 30 minutes. The drumsticks will reach an internal temperature of about 200°F, and the skin will be nicely crispy.
- 7
Serve: Transfer the chicken legs to a plate and let them rest for a few minutes. Enjoy them soon after, as baked chicken skin softens as it sits.
- 8
Storage and reheating: Cool completely, then refrigerate in an airtight container for up to 5 days. Reheat in a 350°F oven or air fryer for 8–10 minutes, until heated through; loosely cover with foil if needed.
Cuisinez-la avec la recette originale
Cette recette vient de thekitchengirl.com. Leur page propose les photos, les notes et les astuces de l’auteur : le meilleur endroit pour la cuisiner.
Voir la recette sur thekitchengirl.com