
Butterscotch Pineapple Upside Down Cake
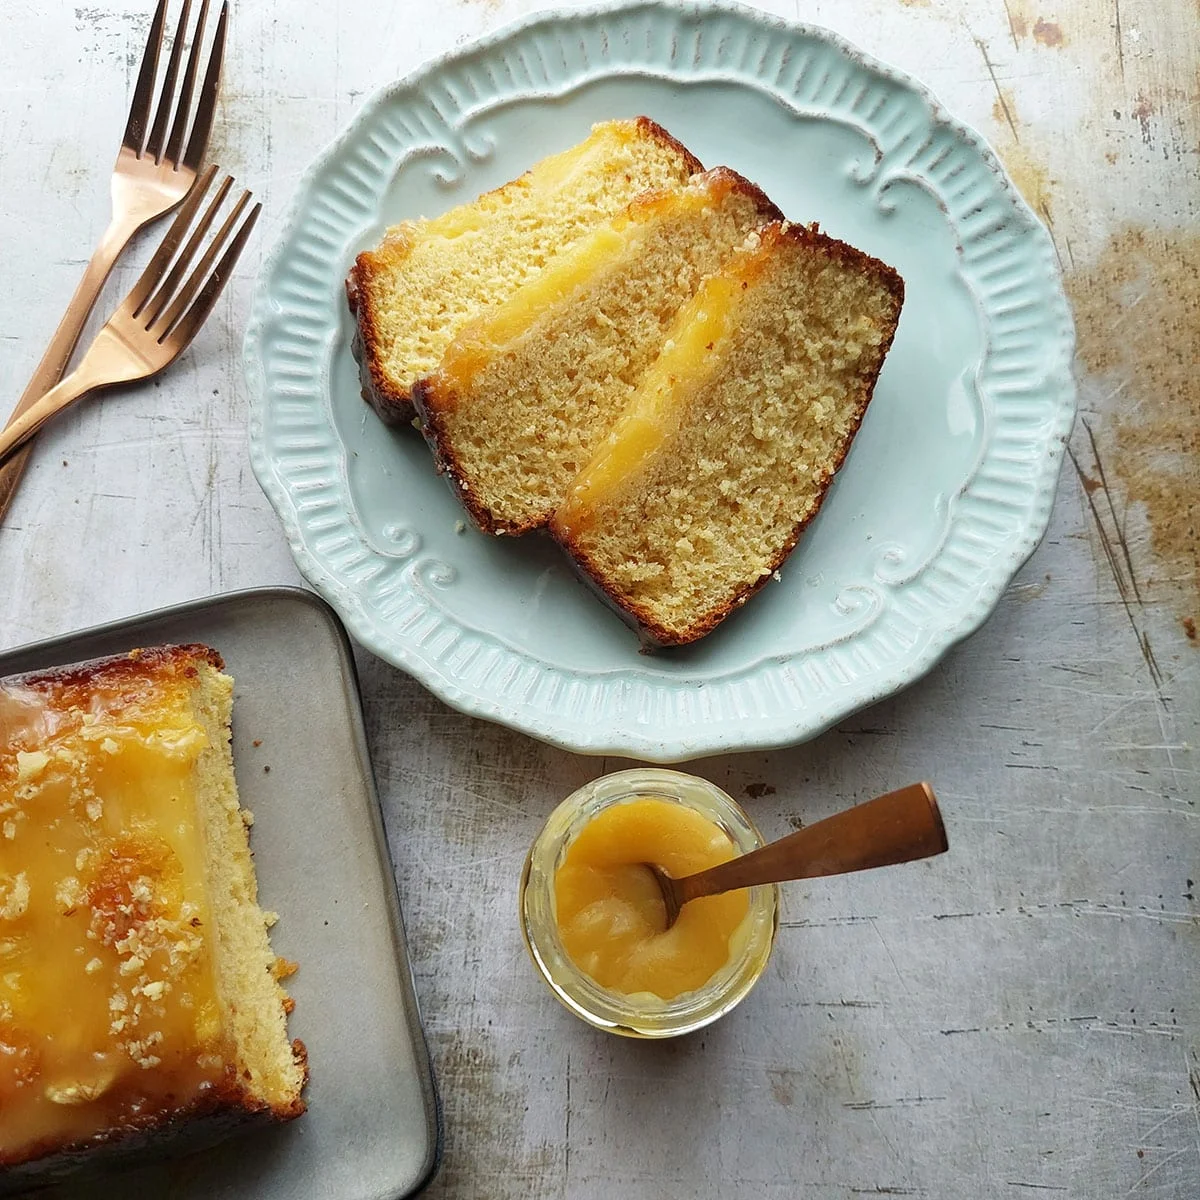
This butterscotch pineapple upside down cake is baked in a loaf pan, then flipped over and drizzled with a rich and creamy butterscotch sauce.
Ingrédients
- 3 rings / slices canned or fresh pineapple
- 2 Tablespoons melted butter
- 2 Tablespoons brown or white granulated sugar
- 3 large egg yolks ((see note 1))
- 3 large egg whites
- 3/4 cup white granulated sugar
- 1/3 cup canned or fresh pineapple juice ((see note 2))
- 1 teaspoon vanilla extract
- 1 cup all purpose or cake flour
- 1 teaspoon baking powder ((DO NOT USE baking soda/bicarbonate of soda))
- 1/8 teaspoon salt ((about a pinch of salt))
- 1/4 cup butter
- 1/2 cup brown sugar ((see note 3))
- 1/2 cup heavy / whipping cream
- 1/4 teaspoon salt
- 1/2 teaspoon vanilla extract ((optional))
Préparation
- 1
Preheat the oven to 350°F /180°C ( 160°C fan oven). Line an 8x4 inch (20x10 cm) loaf pan with parchment (baking paper).
- 2
Add melted butter to the loaf pan, leaving it to puddle evenly at the bottom. Sprinkle evenly with the brown sugar and then arrange the pineapple slices in a single layer on top of the sugar. Set aside.
- 3
--- Egg yolk mixture ---
- 4
In a large bowl, beat the egg yolks until pale in color and thick (this should take about one to two minutes when using an electric beater on medium speed
- 5
Gradually add sugar, beating well. Add the vanilla extract and pineapple juice and mix to combine.
- 6
Sift the flour, baking powder and salt into the batter and beat until combined and set aside.
- 7
--- Egg whites ---
- 8
Rinse the batter mixture off the beaters. In a separate large bowl using the clean beaters, beat the egg whites to form firm peaks. (This should take about 2 to 3 minutes when using an electric beater on medium high speed. (See note 4)
- 9
--- Combine egg yolk mixture and beaten egg whites ---
- 10
Use a spatula to gently fold the beaten egg whites into the egg yolk mixture combining to form a smooth batter
- 11
--- Bake ---
- 12
Pour the batter into the loaf pan and carefully spread to the edges of the pan.
- 13
Bake for 30 to 35 minutes. You may want to cover lightly with foil after 20 minutes into the baking time if the cake is browning too quickly. (Shape the foil into a dome, so that it does not touch the top of the cake as it bakes)
- 14
The cake is baked when a toothpick inserted into the center comes out with a few sticky crumbs. (no runny batter)
- 15
Cool the cake in the pan for 10 minutes.
- 16
Place either a cooling rack, cake plate or stand over the top of the cake and carefully turn it out of the pan and onto the plate.
- 17
--- Make the butterscotch sauce ---
- 18
Melt butter in a medium heavy-bottomed saucepan over medium heat.
- 19
Once the butter has melted, add the brown sugar and a pinch of salt. Whisk for about 10 seconds to combine
- 20
Then pour in the heavy cream. Whisk occasionally, while bringing to a gentle bubble for about 5 - 10 minutes.
- 21
Take the pan off the heat and stir in the vanilla extract (if using)
- 22
The butterscotch sauce will thicken as it cools.
- 23
Drizzle the butterscotch sauce over the still warm cake.
- 24
Sprinkle with crushed nuts like walnuts, pecans or pistachio nuts if you like.
- 25
You can save any remaining butterscotch to serve with slices of the cake.
- 26
The butterscotch may turn grainy as it cools. To fix this, simply reheat for a few seconds in the microwave or stovetop until smooth and pourable again.
- 27
--- Storage ---
- 28
Store the cake plain or drizzled with the butterscotch at room temperature : - in an airtight container for up to 3 days or - in the refrigerator for up to one week
Cuisinez-la avec la recette originale
Cette recette vient de thegardeningfoodie.com. Leur page propose les photos, les notes et les astuces de l’auteur : le meilleur endroit pour la cuisiner.
Voir la recette sur thegardeningfoodie.com