
Black Garlic Glazed Miso Eggplant (Nasu Dengaku)
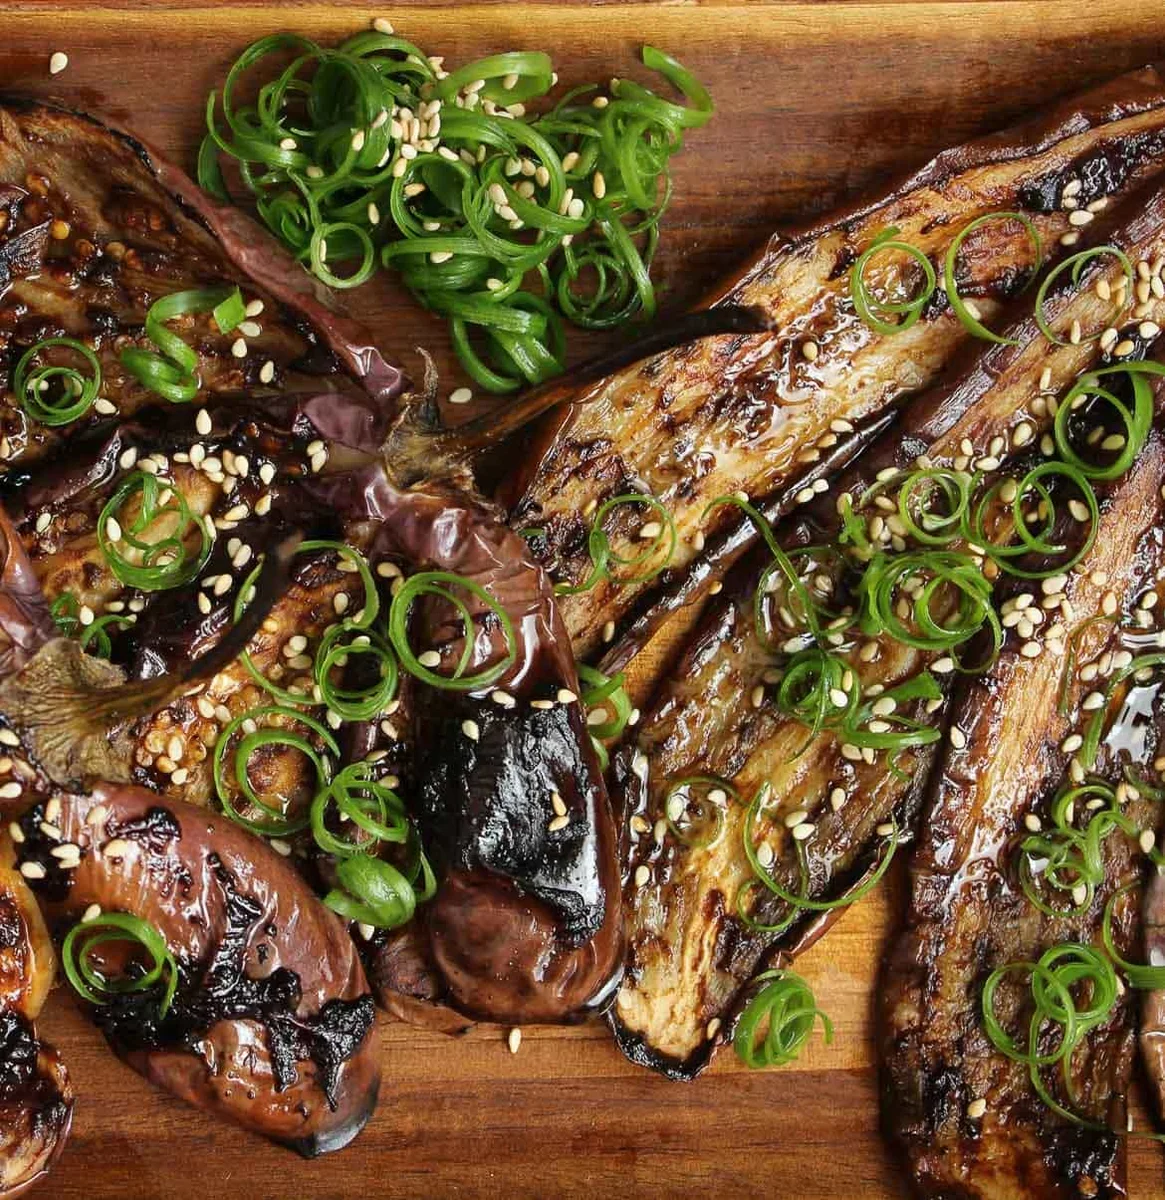
A quick and easy-to-make oven-roasted Japanese Miso Glazed Eggplant (nasu dengaku) brushed with sweet and savory miso glaze, packed with umami flavors from the black garlic!
Ingrédients
- 6 Chinese eggplants
- oil ((for brushing onto the eggplant))
- 7 tablespoons water
- 2 tablespoons black garlic
- 1 tablespoon miso
- 2 tablespoons cooking sake ((can substitute with regular sake, or dry sherry))
- 1 tablespoon mirin
- green onions ((finely chopped))
- toasted sesame seeds
Préparation
- 1
--- Making the Black Garlic Miso ---
- 2
In a food processor put in the black garlic, water, mirin, sake and miso, and blitz it until it is smooth. (If you prefer a thinner glaze, add 1 more tablespoon of water)
- 3
Set the glaze aside for later.
- 4
--- Cutting the Eggplant ---
- 5
Make lengthwise cuts running down the eggplant, 1/2 inch apart. I found it easiest to use a paring knife or a small knife to make these cuts. Alternatively, If you don't want to make multiple slits, you can just cut the eggplants in half, lengthwise.
- 6
Lightly oil the skin and between the slits and run your fingers through it so the oil is spread to a thin layer all over the eggplant.
- 7
--- Oven Roasting the Miso Eggplant ---
- 8
Line your cookie sheet with foil and fan out the eggplant. Some may not like to fan out easily, don’t worry when it starts to soften up it will be easier to fan out.
- 9
Set your oven to broil and put the eggplant in the oven.. (Make sure you don't leave the stove and watch it like a hawk because it can burn very quickly.)
- 10
Flip the eggplant every 2 minutes, 2-3 times. (Approximately 4-6 minutes a side)
- 11
When the eggplant looks brown and roasted, brush on the glaze and put it back in the broiler for 2 minutes.
- 12
Top it with some sesame seeds and green onions and enjoy!
Cuisinez-la avec la recette originale
Cette recette vient de pupswithchopsticks.com. Leur page propose les photos, les notes et les astuces de l’auteur : le meilleur endroit pour la cuisiner.
Voir la recette sur pupswithchopsticks.com