
Riz frit hibachi
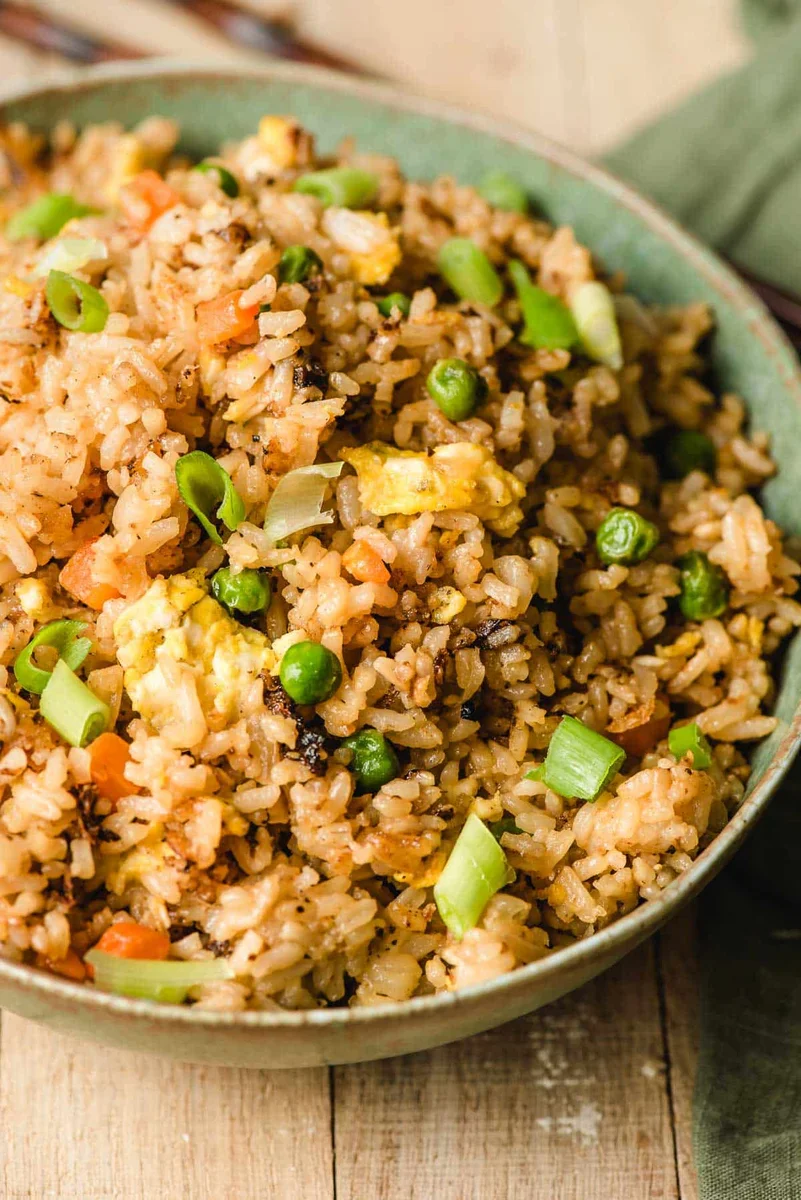
Ce riz frit hibachi facile à préparer est parfaitement assaisonné et légèrement croustillant. Il a exactement le goût du riz servi dans les restaurants japonais de grillades !
Ingrédients
- 3 Tablespoons unsalted butter (divided)
- 1/2 medium yellow onion (diced)
- 3/4 cup frozen peas and carrots
- 1 teaspoon minced garlic
- 2 eggs
- 4 cups cooked and cooled white rice
- Salt and pepper
- 1/3 cup hibachi master sauce *See note
- 1/2 - 1 Tablespoon sesame oil (to taste)
- Chopped green onions (optional)
Préparation
- 1
In a large heavy duty skillet, melt 1 1/2 tablespoons of butter over medium heat. Add the onion and saute until starting to soften, about three minutes.
- 2
Stir in the frozen vegetables and cook until heated through, another few minutes. Stir in the garlic and saute until fragrant, about 30 seconds.
- 3
Push the veggie mixture to the side, and crack two eggs into the pan. Use a spatula to scramble the egg and cook, stirring occasionally, chopping them into smaller pieces, until mostly set.
- 4
Push the eggs to the side, and melt the remaining butter. Turn the heat up to high and then add the cooked rice. Spread it over the pan and allow it to cook undisturbed for a few minutes. We want to get some crispy bits!
- 5
Stir the veggies and egg into the rice, and season everything lightly with salt and pepper. The soy sauce will add quite a bit of salt, so you don't need a lot of extra.
- 6
Pour the hibachi sauce into the pan and cook, stirring often and scraping the bottom of the pan, until the sauce is absorbed. Drizzle in the sesame oil and stir until combined.
- 7
Serve the rice with chopped green onions, if desired, and hibachi steak and veggies on the side.
Cuisinez-la avec la recette originale
Cette recette vient de neighborfoodblog.com. Leur page propose les photos, les notes et les astuces de l’auteur : le meilleur endroit pour la cuisiner.
Voir la recette sur neighborfoodblog.com