
Pain à la citrouille sans gluten (le meilleur de tous !)
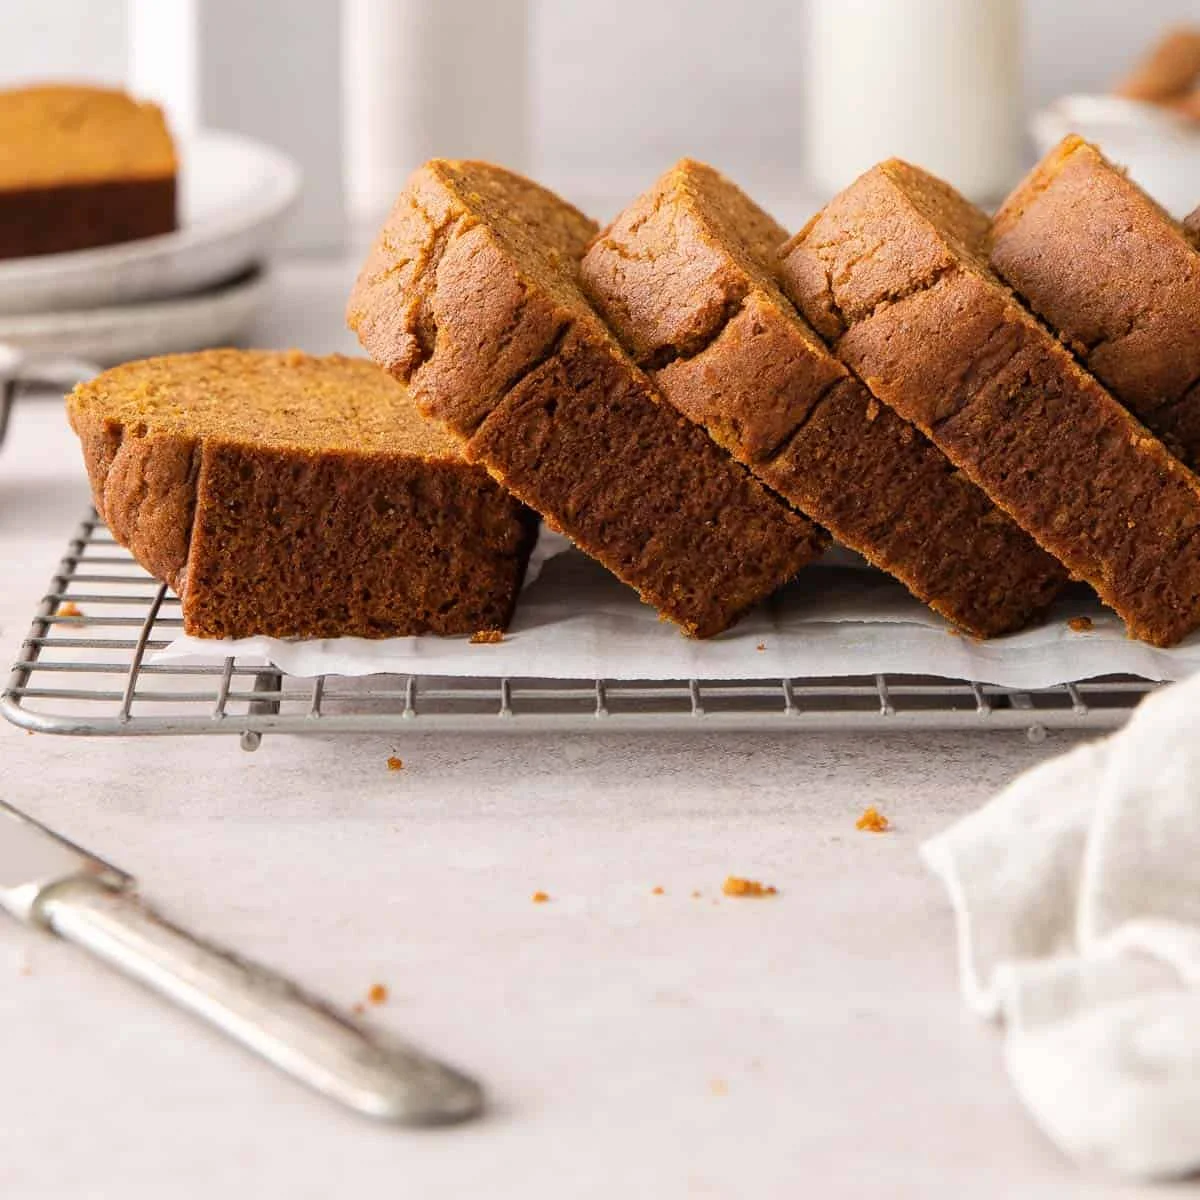
J’ai essayé des dizaines de pains à la citrouille sans gluten au fil des ans, mais après avoir préparé cette recette, je n’en ferai plus jamais d’autre ! Sa texture est PARFAITE ! Cette recette est la meilleure de toutes. Mes deux meilleurs conseils pour réussir un pain à la citrouille sans gluten parfait : utiliser UNIQUEMENT du sucre blanc et de l’huile plutôt que du beurre. J’espère qu’elle deviendra votre recette incontournable !
Ingrédients
- 1 1/3 cups (200g) gluten-free measure-for-measure flour
- 1 1/4 cups (250g) granulated sugar
- 1 teaspoon baking soda
- 1/4 teaspoon baking powder
- 1 teaspoon salt
- 2 teaspoons ground cinnamon
- 1/2 teaspoon ground nutmeg
- 1/2 teaspoon ground ginger
- 1/4 teaspoon ground cloves
- 1/4 teaspoon allspice
- 1 cup (230g) pumpkin puree
- 2 large eggs
- 1/3 cup (82g) milk (I use almond milk)
- 1/2 cup (98g) neutral oil of choice (I use grapeseed)
- 1 teaspoon vanilla
- 1 teaspoon lemon juice
Préparation
- 1
Preheat the oven to 350F. Lightly grease a 9x5 loaf pan with cooking spray.
- 2
In a large bowl, mix together the dry ingredients.
- 3
In a separate bowl, whisk together the wet ingredients.
- 4
Add the wet ingredients to the dry ingredients and mix together with a rubber spatula until fully incorporated.
- 5
Smooth batter into the prepared pan. (Optional but nice: Run a knife about 1-inch deep lengthwise through the center of the loaf. This will encourage the bread to make an evenly domed loaf as it bakes!)
- 6
Bake for 40 minutes, then cover the pan loosely with tin foil. This will allow the loaf to continue cooking without the topping becoming overly brown. Bake for another 20-25 minutes, until a toothpick inserted into the center of the loaf comes out clean.
- 7
Let the bread cool for 10 minutes in the pan before turning out onto a wire rack to cool completely. Let cool for at least 30 minutes before slicing. Enjoy!
Cuisinez-la avec la recette originale
Cette recette vient de meaningfuleats.com. Leur page propose les photos, les notes et les astuces de l’auteur : le meilleur endroit pour la cuisiner.
Voir la recette sur meaningfuleats.com