
Panna Cotta
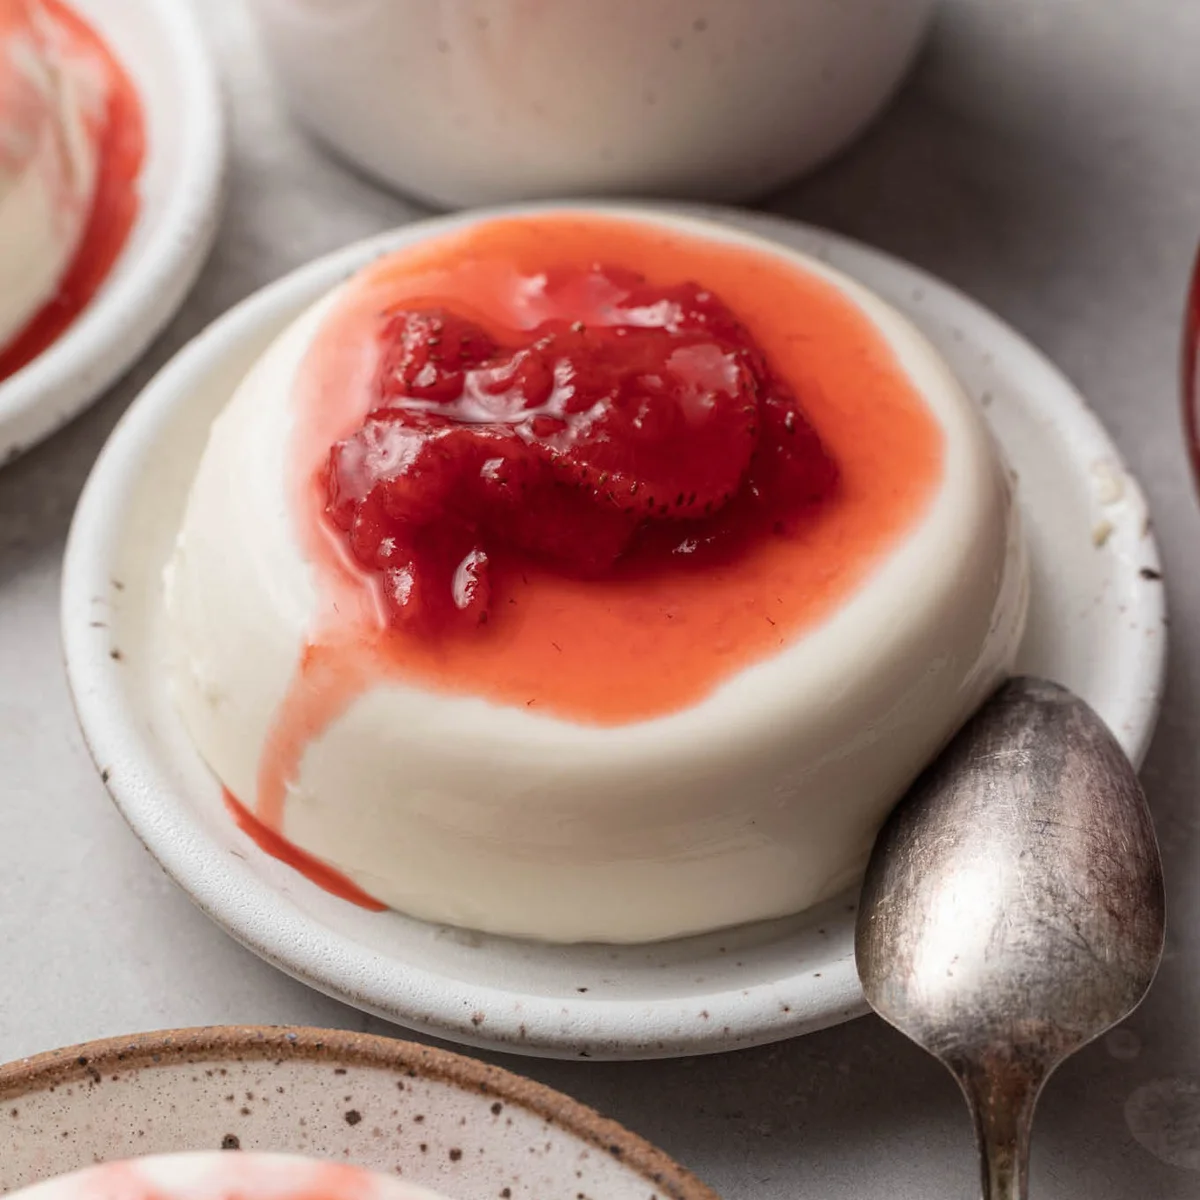
Panna cotta features sweetened cream that's flavored with vanilla and thickened with gelatin before being poured into ramekins.
Ingrédients
- 1 cup whole milk ((240 ml))
- 1 tablespoon unflavored gelatin ((0.25 ounce pkg, I used Knox))
- 1/3 cup granulated sugar ((67 grams))
- 2 teaspoons pure vanilla extract
- 1/8 teaspoon salt
- 2 cups heavy whipping cream ((1 pint; 480 ml))
- Optional: Homemade strawberry sauce for topping
Préparation
- 1
Pour the whole milk into a medium heavy-bottomed saucepan and sprinkle the gelatin over the top. Allow to bloom for about 5 to 7 minutes.
- 2
Add the sugar to the saucepan and whisk until well combined. You may see some lumps, this is okay!
- 3
Place the saucepan over medium-low heat on the stove and stir or whisk until the gelatin and sugar are dissolved. It should just be warm to the touch, but never come to a simmer. You can make sure the gelatin and sugar are dissolved by rubbing a little bit of the mixture between your fingers. If it’s grainy, continue to cook over medium-low heat. If the mixture feels smooth, it’s ready to be removed from the heat.
- 4
Once the gelatin and sugar are dissolved, remove the saucepan from the stovetop and immediately whisk in the vanilla extract and salt.
- 5
Slowly pour in the heavy whipping cream, whisking quickly to temper the cream so that it doesn’t curdle.
- 6
Strain the mixture through a fine mesh strainer to remove any small lumps of gelatin or sugar that didn’t dissolve. This step is optional, but recommended.
- 7
Lightly grease six 6-ounce ramekins with nonstick cooking spray.
- 8
Divide the panna cotta mixture evenly between the greased ramekins, a little over ½ cup of liquid per ramekin.
- 9
Place the filled ramekins onto a baking sheet and cover tightly with plastic wrap. Transfer to the refrigerator to chill for at least 4 to 5 hours or overnight.
- 10
When ready to serve, either serve in the ramekins or remove from the ramekins. Serve with toppings of your choice.
Cuisinez-la avec la recette originale
Cette recette vient de livewellbakeoften.com. Leur page propose les photos, les notes et les astuces de l’auteur : le meilleur endroit pour la cuisiner.
Voir la recette sur livewellbakeoften.com