
Gluten-Free Fluffernutter Cookies
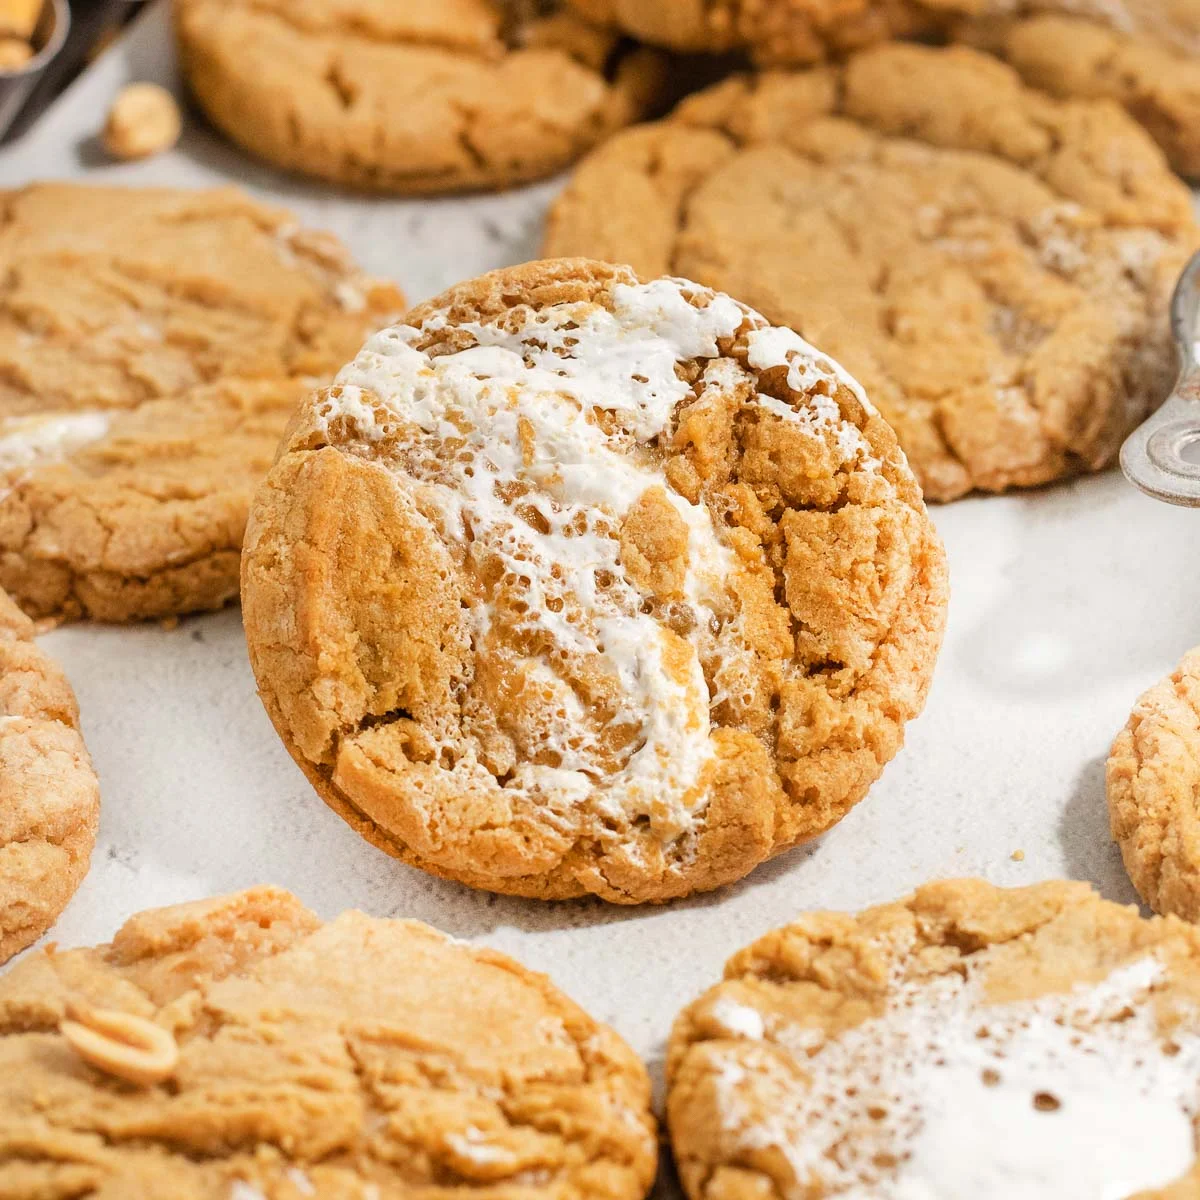
If you grew up loving fluffernutter sandwiches, these gluten-free fluffernutter cookies are sure to bring back some sweet memories.They start with a rich, chewy brown sugar cookie dough, then get swirled with peanut butter and gooey marshmallow creme. Every bite is soft, nostalgic, and packed with classic fluffernutter flavor.
Ingrédients
- 1 3/4 cup (262g) gluten-free measure-for-measure flour
- 3/4 teaspoon baking soda
- 3/4 teaspoon salt
- 3/4 cup (168g) butter
- 1 cup (213g) brown sugar
- 1/4 cup (50g) granulated sugar
- 1 large egg + 1 large egg yolk, (room temperature)
- 1 tablespoon vanilla extract
- 1/3 cup peanut butter
- 1/3 cup marshmallow creme
- Flaky salt for sprinkling, (optional)
Préparation
- 1
In a medium bowl, whisk together the gluten-free flour, baking soda and salt until evenly combined. Set aside.
- 2
Melt butter in a saucepan over medium heat. Once the butter is melted start to whisk constantly. First the butter will begin to foam, then after a couple of minutes it will begin to brown on the bottom of the saucepan. Turn off the heat as soon as the solids turn brown and the butter gives off a nutty aroma. Pour into a glass mixing bowl to prevent burning.
- 3
Add the brown sugar and granulated sugar. Whisk to combine. Add the egg, egg yolk and vanilla and whisk until smooth and creamy.
- 4
Using a rubber spatula, mix in the dry ingredients until well combined.
- 5
Drop spoonfuls of peanut butter and fluff into the dough and stir once or twice to incorporate only slightly. You should still have separate pockets of peanut butter and fluff within your cookie dough. Do not over mix.
- 6
Cover the bowl and refrigerate for at least 1 hour.
- 7
Preheat the oven to 350°F. Scoop the cookie dough (about 2 Tablespoons of dough per cookie) and place a few inches apart on the baking sheets. Bake for 10-12 minutes, until golden and the center is set.
- 8
Let cool for 5 minutes then transfer to a wire rack to continue cooling. Sprinkle with flaky salt before serving. Enjoy!
Cuisinez-la avec la recette originale
Cette recette vient de meaningfuleats.com. Leur page propose les photos, les notes et les astuces de l’auteur : le meilleur endroit pour la cuisiner.
Voir la recette sur meaningfuleats.com