
Tilapia à la friteuse à air
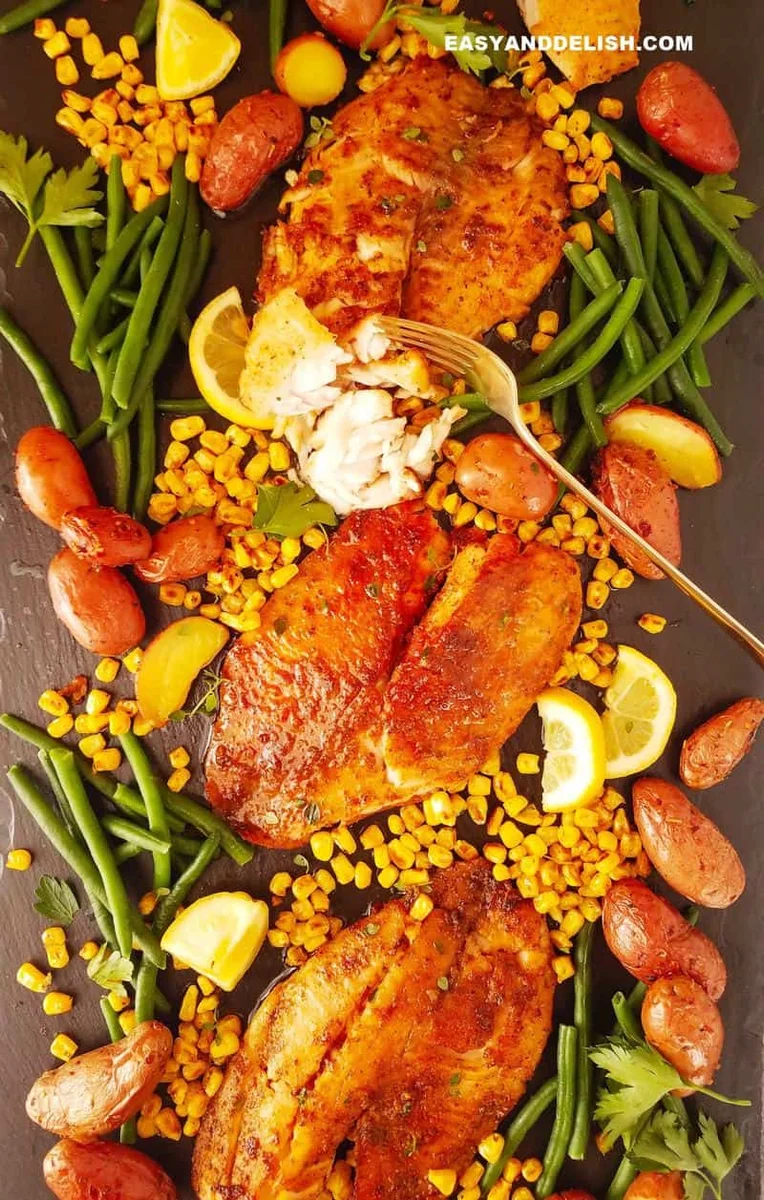
Le tilapia à la friteuse à air est rapide et facile à préparer, ce qui en fait l’un de ces dîners sains et simples, parfaits pour les jours de semaine chargés. Assaisonné d’épices cajun et de citron, ce tilapia cuit à la friteuse à air est peu calorique et compatible avec le régime keto (sans panko ni chapelure). Il se marie bien avec du riz (de chou-fleur) et des légumes comme les choux de Bruxelles.
Ingrédients
- 1 tbsp Cajun seasoning
- 1 tsp salt
- 1 tsp ground black pepper
- 1 tsp garlic powder
- 1 tsp paprika
- 1 tsp dried oregano
- 4 fresh tilapia fillets (5-8 oz each)
- 2 lemons (cut into wedges)
- 1 tbsp chopped parsley
Préparation
- 1
To make this air fryer fish recipe, preheat your air fryer at 400° F (190° C) for at least 10-15 minutes.
- 2
Meanwhile, mix the seasonings together in a bowl. Pat fish dry and apply seasoning on both sides, pressing down to stick on the surface.
- 3
Grease the air fryer basket either by spraying no stick cooking spray or by brushing it with a vegetable oil such as olive oil. Cook in a single layer for 8-10 minutes (depending on the size or thickness of the fillets), flipping halfway through with a silicone spatula if you can. Large fillets or small air fryers will not permit that. But the fish will still cook without problems!
- 4
If needed, cook them in batches, leaving a space between the fillets for hot air to circulate and cook them evenly. They have cooked fully when they show a brown exterior and are flaky in the thickest part. You can also take their internal temp with a meat thermometer-- it must reach 145° F (63° C).
- 5
Transfer them to a plate, squeeze fresh lemon juice over them, and sprinkle chopped parsley on top. You may serve with homemade tartar sauce or no sauce at all!
Cuisinez-la avec la recette originale
Cette recette vient de easyanddelish.com. Leur page propose les photos, les notes et les astuces de l’auteur : le meilleur endroit pour la cuisiner.
Voir la recette sur easyanddelish.com