
Pain pita complet
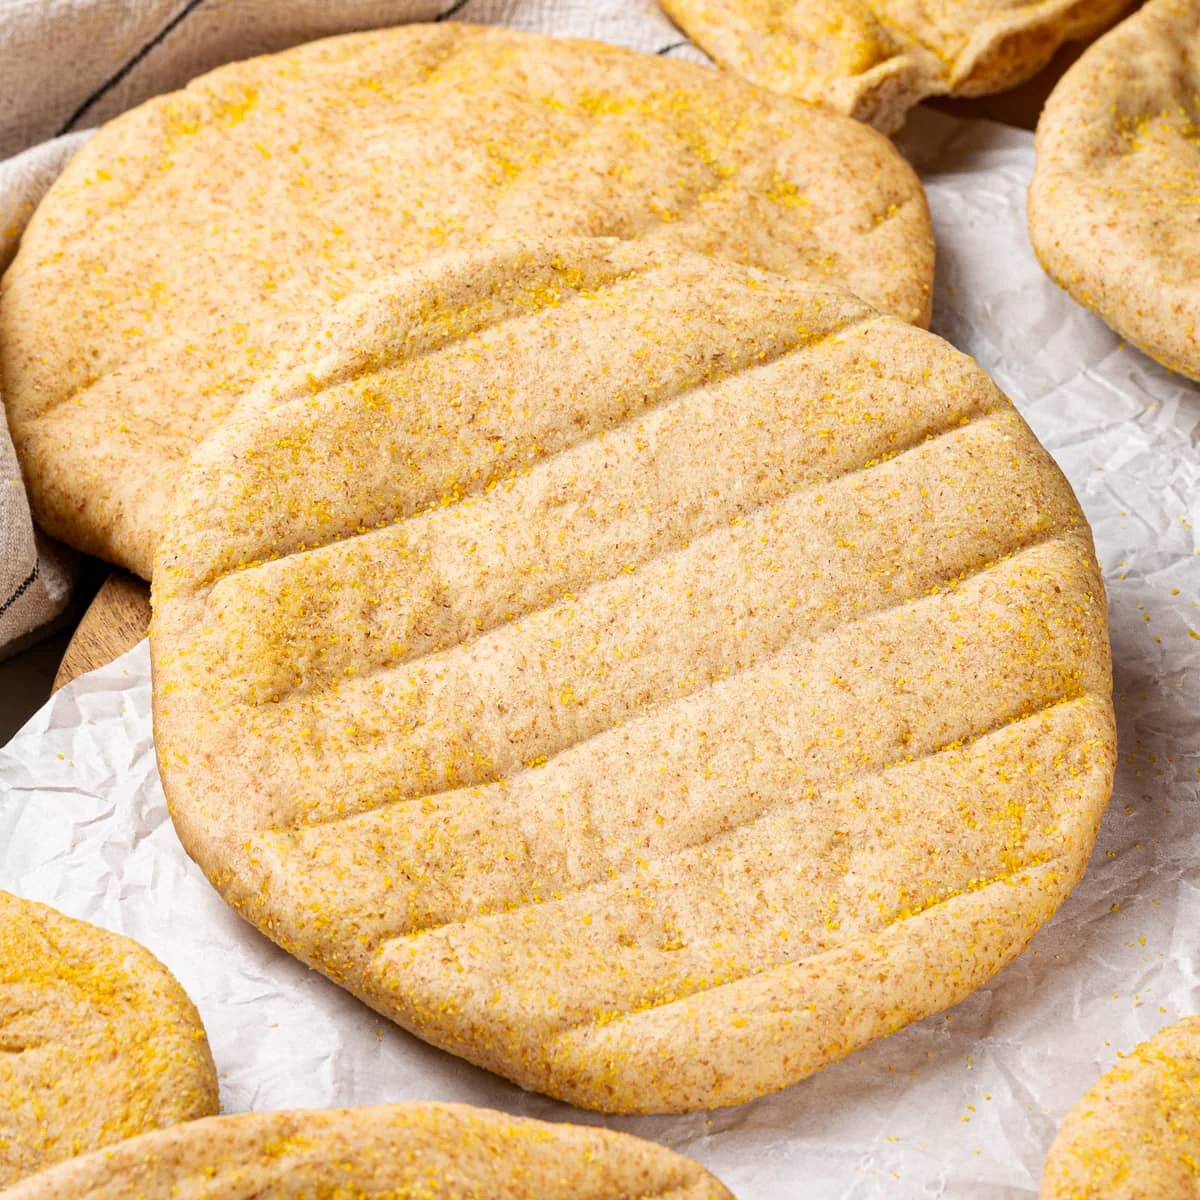
Cette recette de pain pita complet donne des pitas parfaitement tendres, au goût riche et légèrement noisetté de la farine complète. Utilisez-les pour préparer des wraps et des sandwichs, ou pour les tremper dans du houmous.
Ingrédients
- 2 1/4 teaspoons active dry yeast (1 packet )
- 1 1/2 teaspoons honey
- 1 1/4 cups warm water (110-115°F, divided)
- 1 1/2 cups bread flour (divided)
- 1 1/2 cups whole wheat flour
- 1/4 cup olive oil
- 1 teaspoon salt
Préparation
- 1
--- Mix and Knead the Dough: ---
- 2
In a large bowl or a stand mixer, whisk together the yeast, honey, and ½ cup of warm water. Let it sit for 5 minutes until foamy.
- 3
Add 1/2 cup bread flour and 1/2 cup whole wheat flour; stir until smooth. Cover bowl with plastic wrap and let rise in a warm place until doubled, about 45 minutes.
- 4
When the yeast mixture is doubled, add the remaining warm water, flours, olive oil, and salt; attach the dough hook to the stand mixer and knead on low speed, adding more flour as needed until a smooth, elastic, and only slightly sticky dough forms. This should take about 8 minutes.
- 5
--- Let It Rise: ---
- 6
Shape into a ball and place in a lightly greased bowl, turning once to coat. Cover with plastic wrap or a damp towel. Let rise in a warm spot until doubled, about 1-1½ hours.
- 7
--- Shape and Bake: ---
- 8
Preheat the oven. Set your oven to 500°F and place a pizza stone on one rack in the lower third of the oven.
- 9
Divide the dough into 8 equal pieces. Pre-shape each into a ball and allow to bench rest for 10 minutes.
- 10
On a lightly floured surface, roll each ball into a 7-8-inch circle, about ¼-inch thick. Don't roll too thin or they won't puff.
- 11
Carefully place 2-3 rolled pitas on the pizza stone or straight onto the oven rack. Bake for 2-3 minutes, until puffed and lightly golden. Using tongs, flip the pitas and bake 1 minute more.
- 12
Transfer to a plate and cover with a clean kitchen towel to trap steam. Repeat with the remaining pita dough.
Cuisinez-la avec la recette originale
Cette recette vient de girlversusdough.com. Leur page propose les photos, les notes et les astuces de l’auteur : le meilleur endroit pour la cuisiner.
Voir la recette sur girlversusdough.com