
Pain à la farine de riz sans gluten
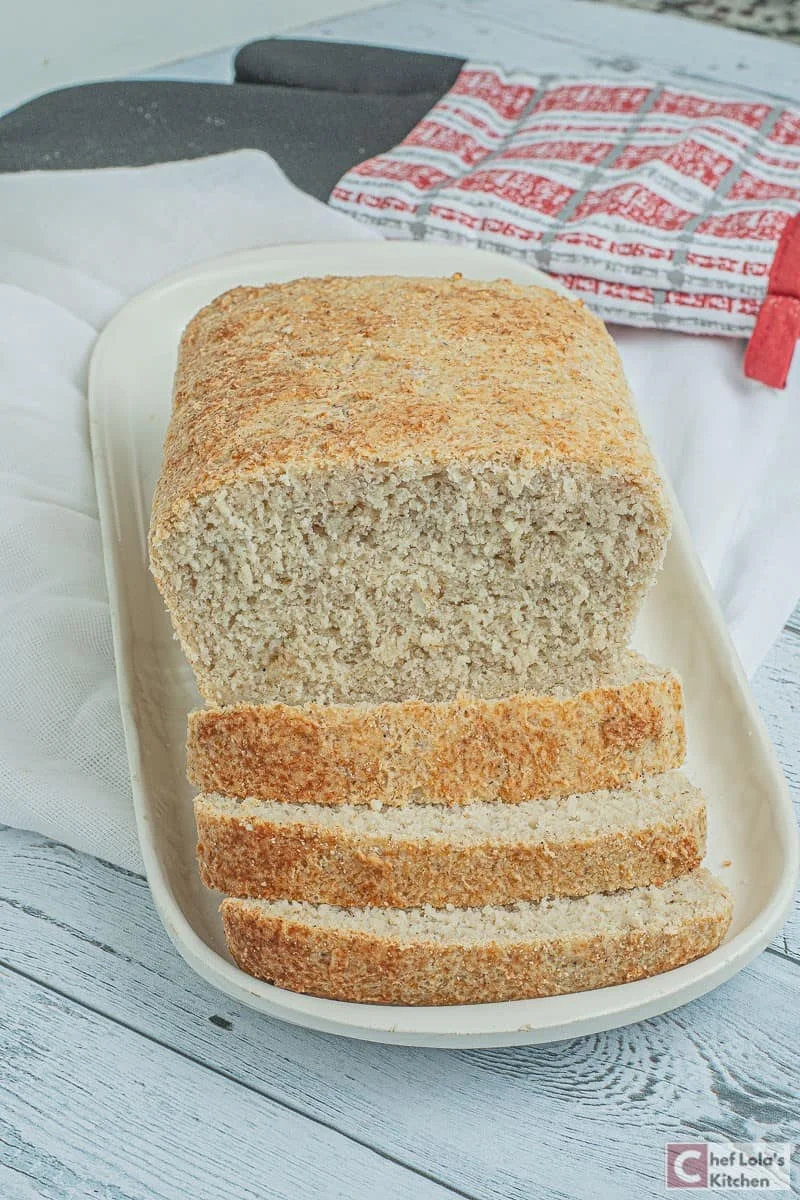
Vous allez adorer la simplicité et la facilité de cette recette de pain à la farine de riz sans gluten, et vous aurez envie de la refaire encore et encore.
Ingrédients
- 4 teaspoons yeast
- 1 teaspoon honey (or sugar)
- 1 cup warm water
- 2 1/2 cups white rice flour
- 5 tablespoons psyllium husk
- 3 tablespoons sweetener (Sugar, honey, erythritol, monk fruit...)
- 1 teaspoon salt
- 1 1/2 teaspoon baking powder
- 2 large eggs
- 1 cup warm water
- 4 tablespoons coconut oil ( or butter)
- 2 teaspoon apple Cider Vinegar
Préparation
- 1
Yeast: Prepare the yeast by dissolving the honey (sugar) and yeast in warm water in a medium bowl. Leave for 5 to 10 minutes to bloom.
- 2
Dry ingredients: Mix all the dry ingredients together - white rice flour, psyllium husk, sweetener, salt, and baking powder.
- 3
Wet Ingredients: Make a well at the center of the dry mix and add the proofed yeast, eggs, 1 cup warm water, coconut oil, and apple cider vinegar. Mix until all the ingredients are well combined. The resulting batter will be wet.
- 4
Rest: Leave it for 5 minutes, and some of the moisture will be absorbed by the dry ingredients then, you will have a soft dough.
- 5
Prepare the pan: Line an 8.5 by 4.5 pan with parchment paper and spray or grease with oil.
- 6
Mix the dough again and turn it into the prepared loaf pan, then cover it with a damp clean kitchen towel and leave it to rise for 40 to 45 minutes or until the dough rises slightly above the level of the pan.
- 7
Preheat: Meanwhile, preheat your oven to 375F.
- 8
Bake: Place the dough in the oven and leave it to bake for 30 to 35 minutes.
- 9
Cool: Leave to cool completely before slicing through. Enjoy!
Cuisinez-la avec la recette originale
Cette recette vient de cheflolaskitchen.com. Leur page propose les photos, les notes et les astuces de l’auteur : le meilleur endroit pour la cuisiner.
Voir la recette sur cheflolaskitchen.com