
Vegan Coconut Cake
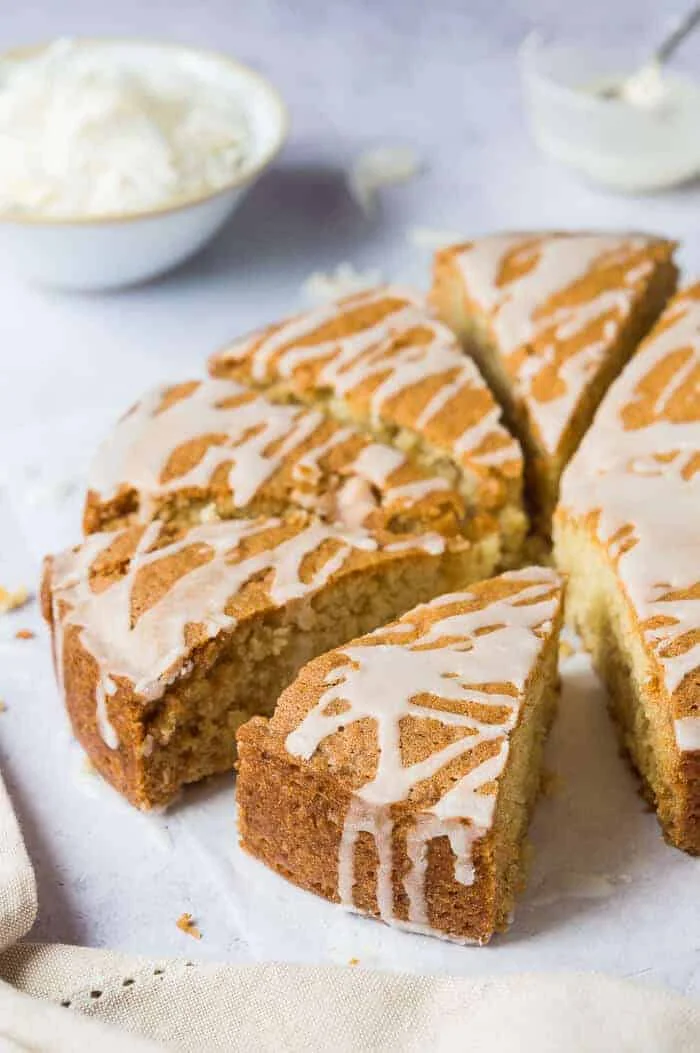
Vegan coconut cake - this eggless coconut cake with lemon glaze is really moist and very coconutty. Easy to make and perfect for snacking on!
Ingrédients
- 250 ml (1 cup) full fat coconut milk
- 50 g (heaped 1/2 cup) unsweetened desiccated coconut
- 1 tsp vanilla extract
- 1 tsp coconut extract (optional)
- 150 g (scant 3/4 cup) melted coconut oil
- 1 1/2 tsp white wine vinegar
- 2 tsp glycerine (optional, helps keep cake moist)
- 200 g (1 cup) caster sugar
- 260 g (2 cups + 3 Tbsp) plain (all-purpose) flour
- 1 tsp bicarbonate of soda (baking soda)
- 1 tsp baking powder
- 1/4 tsp salt
- 85 g (2/3 cup) icing (powdered) sugar (sifted)
- juice of 1/2 lemon
Préparation
- 1
Preheat the oven to 180C/350F/gas mark 4. Grease a deep 20 cm / 8 inch round cake tin and line with baking parchment.
- 2
Place the coconut milk and desiccated coconut in a small pan and bring up to the boil. Remove from the heat and set aside to cool to room temperature.
- 3
Whisk the vanilla and coconut extracts, melted coconut oil, vinegar, glycerine (if using) and caster sugar into the coconut mixture until well combined.
- 4
In a separate bowl, sift together the flour, bicarbonate of soda, baking powder and salt.
- 5
Pour the wet ingredients into the dry and whisk gently until combined.
- 6
Pour the batter into the prepared tin , spread level and bake for about 40-50 minutes until golden and a skewer inserted into the centre comes out clean or with a few moist crumbs. Be careful not to overbake as the cake can become dry.
- 7
Leave the cake to cool in the tin then carefully turn it out. The cake may dip a little in the middle as it cools - this is normal in moist, dense cakes like this one.
- 8
To make the glaze, place the sifted icing sugar in a bowl and gradually stir in the lemon juice until it forms a runny glaze. Drizzle the glaze over the cake then serve.
- 9
Store any leftovers in an airtight container for up to five days.
Cuisinez-la avec la recette originale
Cette recette vient de domesticgothess.com. Leur page propose les photos, les notes et les astuces de l’auteur : le meilleur endroit pour la cuisiner.
Voir la recette sur domesticgothess.com