
Pain aux bananes et au gingembre avec mélasse
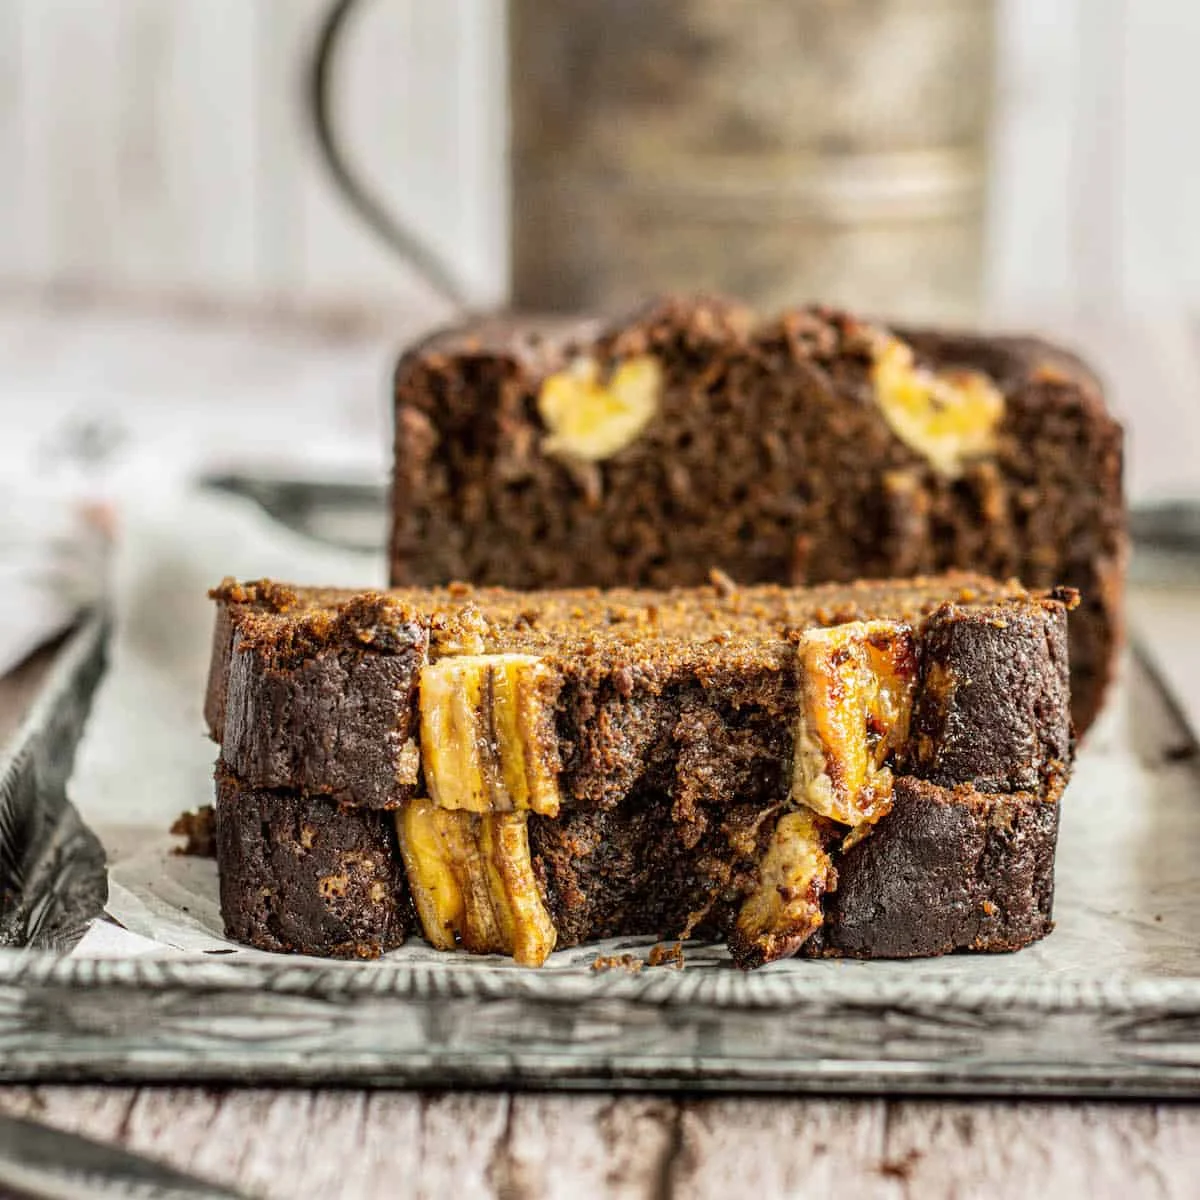
Épais et moelleux, au goût riche, ce pain aux bananes et au gingembre regorge d’épices réconfortantes, de bananes et de mélasse.
Ingrédients
- 113 g unsalted butter
- 240 g extra ripe bananas (about 2 large)
- 2 large eggs
- 150 g soft brown sugar
- 95 g unsulphured molasses
- 1 tsp vanilla paste or extract
- 250 g all-purpose flour
- 2 1/2 tsp ground ginger
- 1 1/2 tsp ground cinnamon
- 1/2 tsp ground nutmeg
- 1/4 tsp ground cloves
- 1 tsp baking soda
- 1/2 tsp salt
- 240 g hot boiled water
- 1 banana (optional)
- Turbinado sugar (optional)
Préparation
- 1
Preheat the oven to 356 °F (176°C). Grease and line a 9x5-inch (23 x 16cm) loaf pan.
- 2
Melt the butter in a large bowl. Add in the bananas and mash them well. Add the sugar, vanilla, egg, and molasses and whisk until combined.
- 3
Whisk together the flour, spices, salt, and baking soda in a separate bowl.
- 4
Add the dry ingredients to the banana mixture and whisk together until combined.
- 5
Pour over the hot water and stir it carefully until combined into a pourable cake batter. There will be lumps from the mashed banana and that's okay.
- 6
Pour the batter into a prepared loaf pan.
- 7
Slice the extra banana lengthwise and place the sliced banana on top of the batter. Sprinkle with a little turbinado sugar.
- 8
Bake in a preheated oven for approximately 60 minutes until cooked through and a knife inserted in the loaf comes out clean.
- 9
Remove the loaf from the oven and allow it to cool in the pan for 5 minutes.
- 10
Lift it from the pan and allow it to cool further on a wire rack for at least 20 minutes before slicing.
Cuisinez-la avec la recette originale
Cette recette vient de bakingwithbutter.com. Leur page propose les photos, les notes et les astuces de l’auteur : le meilleur endroit pour la cuisiner.
Voir la recette sur bakingwithbutter.com