
Arepas sans gluten
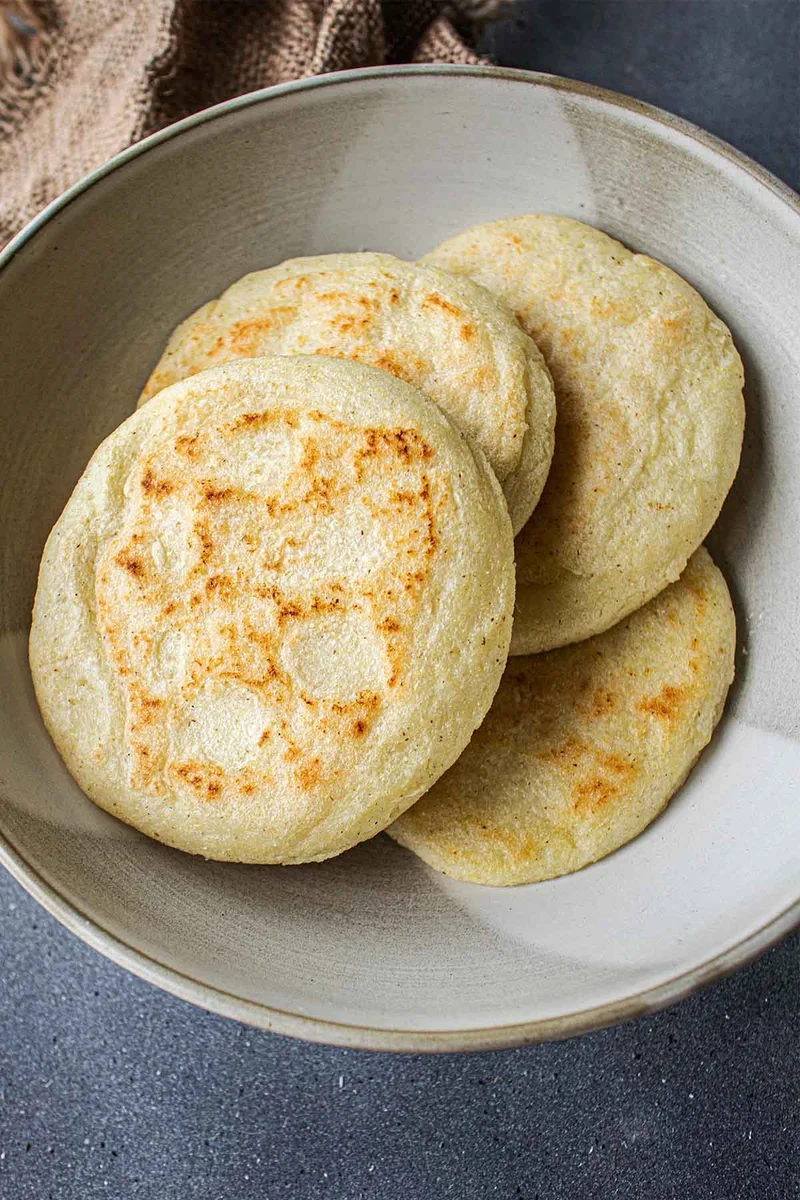
Les arepas sont naturellement sans gluten et constituent des délices uniques de la culture hispanique : garnies de haricots, de fromages végétaliens et bien plus encore. Faciles à préparer et délicieuses, elles sont parfaites pour les sandwichs du petit-déjeuner et les bouchées du déjeuner. Vous regretterez de ne pas les avoir essayées plus tôt.
Ingrédients
- 1 cup Pre-cooked Cornmeal (Use this brand only, Harina P.A.N Arepa flour (aka “masa de arepa” or " masarepa"))
- 1 1/4 cup Water (Luke-warm)
- 3/4 tsp Sea Salt
Préparation
- 1
Preheat oven to 350 F /176 C degree. Set out a baking sheet and line with parchment paper. Add salt and water to a large mixing bowl. Mix salt with water and stir until it dissolves.
- 2
Add the PAN arepa flour bit by bit into the water and stir with your fingers to prevent lumps.
- 3
Once all the arepa flour is in, the dough will still be wet, but don't worry. You simply need to keep mixing and kneading for another 4-5 minutes. Since it's dehydrated, pre-cooked corn maize flour, stirring it continuously will help it rehydrate and thicken.
- 4
Once it has reached the desired consistency. Scrape down the sides and smooth the surface.
- 5
Cover the bowl with a clean kitchen towel and let the dough rest for 10 minutes (Let the arepa flour absorb the liquid and relax completely. Do not skip this step).
- 6
The dough should be divided into four portions. Roll one portion into a ball. You will need to press the ball between your palms to form a disc 0.5 inches thick (see video for visual aid). You can adjust the thickness to your preference. Wet your fingers with water and gently pat along the edge if it cracks on the sides.
- 7
Spray a bit of oil in a large non-stick skillet and heat on medium heat. Pan fry each side for 3-4 minutes until lightly golden brown.
- 8
Place on a parchment-lined baking sheet and bake in the oven for 18-20 minutes (or in the air fryer) until slightly puffed and golden brown. Let cool a bit before serving.
Cuisinez-la avec la recette originale
Cette recette vient de joyfuldumplings.com. Leur page propose les photos, les notes et les astuces de l’auteur : le meilleur endroit pour la cuisiner.
Voir la recette sur joyfuldumplings.com