
Poitrine de porc à la friteuse à air
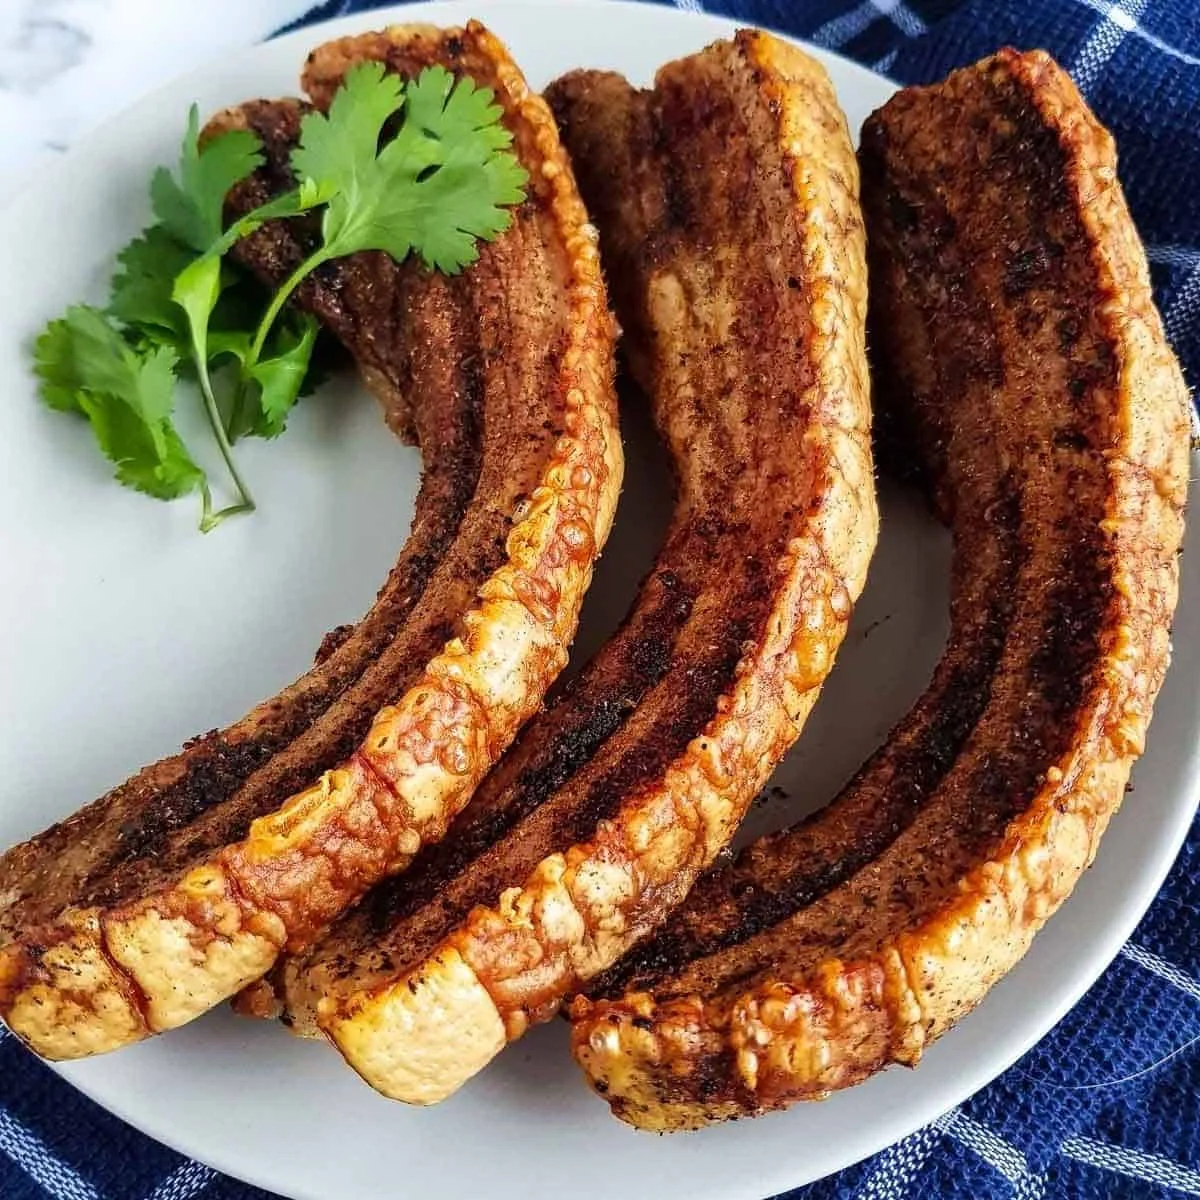
Une poitrine de porc parfaitement croustillante à la friteuse à air, avec une couenne bien craquante, est plus facile à préparer qu’on ne le pense. Il suffit de prévoir du temps et de faire un peu de préparation, mais le résultat en vaut vraiment la peine !
Ingrédients
- 4 pork belly slices
- 2 teaspoons salt
- 2 teaspoons pork spice rub
Préparation
- 1
Fill a large pot with boiling water, and add the pork belly. Leave it to boil for about 10 minutes. This will make the meat tender, and shorten the cooking time for the next day.
- 2
Place the pork belly in a shallow bowl or on a plate, skin side up. Use paper towels to pat the meat as dry as possible. Use a sharp knife or a metal skewer to pierce or slice ridges into the skin on top of the pork belly, being careful not to cut too deep as to slice into the meat underneath.
- 3
Transfer the pork belly to your refrigerator, and leave it to rest uncovered for 12-24 hours. Once or twice while it rests you should try to wipe off any excess water from the skin, and cover with additional salt if required.
- 4
Then, preheat your air fryer and add a spice rub to the sides of the pork belly, being careful as to not touch the skin. Place the pork belly slices or joint in your air fryer, skin side up. Air fry at 375 F / 190 C for about 20-30 minutes, or until the meat has cooked through and the crackling has developed.
- 5
You can use a meat thermometer inserted into the middle of the meat to ensure optimal cooking time. The pork belly can be removed from the air fryer when it reaches 145 °F / 63 °C.
- 6
Leave the meat to rest for 3 minutes before serving it. You can serve pork belly in slices, or dice it and serve as pork belly bites.
Cuisinez-la avec la recette originale
Cette recette vient de hintofhealthy.com. Leur page propose les photos, les notes et les astuces de l’auteur : le meilleur endroit pour la cuisiner.
Voir la recette sur hintofhealthy.com