
Pain aux bananes paléo à la farine d'amande
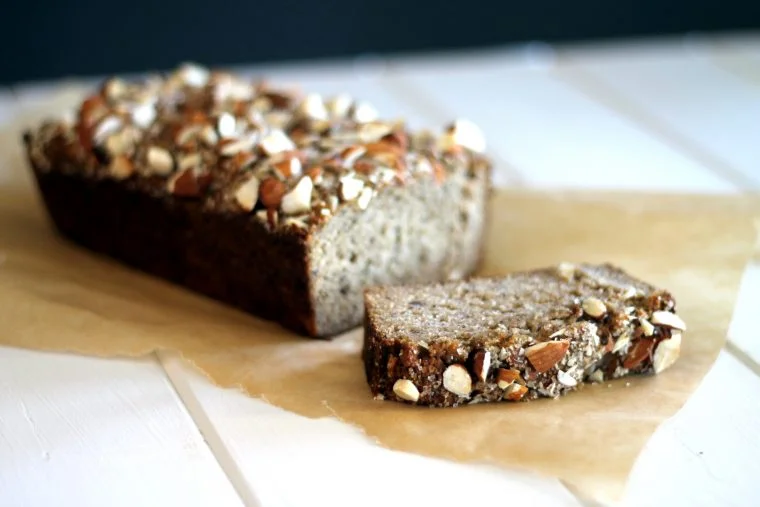
Ce pain aux bananes paléo est préparé avec de la farine d'amande et de noix de coco. Il est moelleux, naturellement sucré, sans céréales, sans gluten et sans produits laitiers. Il est presque entièrement sucré par des bananes mûres, avec seulement une cuillère à soupe de miel ou de sirop d'érable. Prêt en moins de 45 minutes et garni d'amandes hachées pour apporter du croquant. Utilisez de la farine d'amande blanchie pour obtenir la meilleure texture ; plus les bananes sont mûres, mieux c'est.
Ingrédients
- 2 medium bananas (mashed)
- 2 tablespoons coconut oil (melted)
- 1 tablespoon honey or maple syrup
- 1 tablespoon vanilla extract
- 3 eggs
- 1 cup (4 oz.) blanched almond flour
- 1/2 cup (2 oz.) coconut flour
- 1 1/2 teaspoons baking soda
- 1/2 teaspoon salt
- 1 teaspoon cinnamon
- 1/4 cup chopped almonds
- 1 teaspoon turbinado sugar (not paleo, totally optional!)
Préparation
- 1
Preheat oven to 350 degrees F. Grease a 7.5 x 3.5 inch loaf pan.
- 2
Mix together the bananas, coconut oil, honey, vanilla, and eggs until completely combined. Add in the almond flour, coconut flour, baking soda, salt, and cinnamon, and stir until all the ingredients are fully incorporated.
- 3
Add in the almond flour, coconut flour, baking soda, salt, and cinnamon, and stir until all the ingredients are fully incorporated.
- 4
Pour the mixture, which should be thick, into the prepared loaf pan and smooth the top. Sprinkle the chopped almonds and turbinado sugar evenly over the top.
- 5
Bake for 32-35 minutes or until the bread is golden brown and a knife comes out clean. Let cool for 10 minutes and then invert onto a wire rack to cool completely.
- 6
Keep tightly wrapped for up to 3 days.
Cuisinez-la avec la recette originale
Cette recette vient de bakerita.com. Leur page propose les photos, les notes et les astuces de l’auteur : le meilleur endroit pour la cuisiner.
Voir la recette sur bakerita.com