
Œufs mimosa chinois
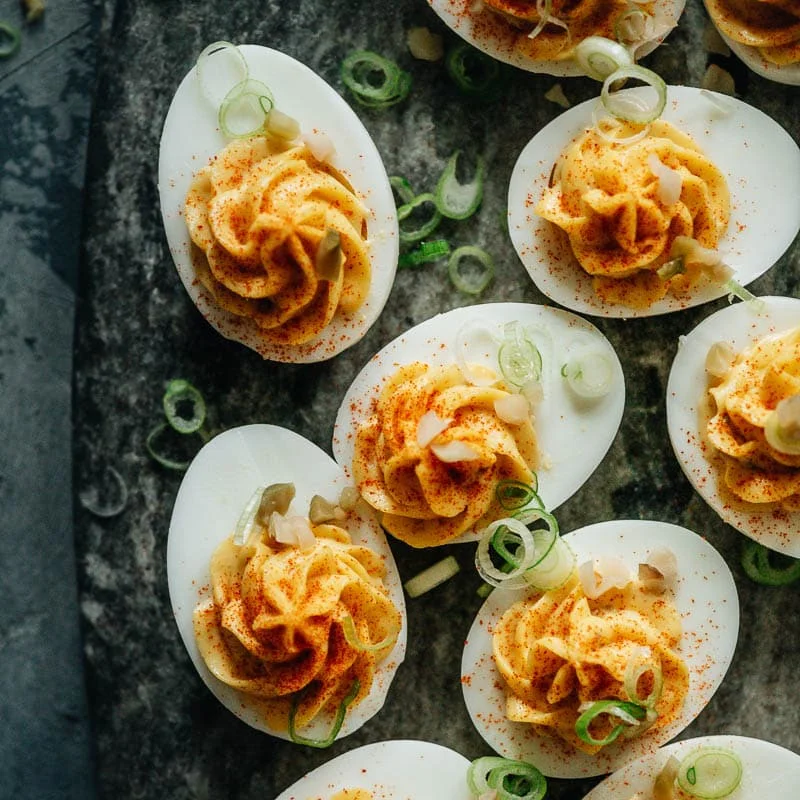
Donnez une tournure surprenante à un grand classique des fêtes avec ces œufs mimosa chinois aux saveurs étonnantes qui vont réveiller vos papilles ! {Sans gluten}
Ingrédients
- 6 extra large Pete and Gerry’s Organic Eggs ((Footnote 1))
- 5 tablespoons mayonnaise ((or to taste))
- 1 heaping teaspoon wasabi or Chinese hot mustard ((or to taste))
- 1/4 teaspoon rice vinegar
- 2 tablespoons zha cai (Chinese pickled mustard greens, diced (Optional) (Footnote 2))
- 1 green onion (, thinly sliced)
- Chinese chili flakes ((or your favorite chili sauce))
Préparation
- 1
To boil the eggs, fill a pot with enough water to cover the eggs. Bring the water to a boil, then slowly lower the eggs using a ladle. Boil for 12 minutes, stirring the water in a circular motion with a spoon for the first minute (to keep the egg yolk in the center). Once the eggs are done, run them under cold tap water to stop cooking.
- 2
Once the eggs are cooled, peel them and slice them in half lengthwise.
- 3
Gently pop out the cooked yolks into a big bowl using a small spoon. Mash them with the backside of a spoon. Make sure to mash them as finely as you can, so the finished filling will be smooth.
- 4
Add the mayonnaise, wasabi or mustard, and rice vinegar to the bowl. Mix with a spatula (or an immersion blender) just until it forms a smooth paste. You can adjust the taste by adding more mayo, wasabi, or vinegar.
- 5
Add the zha cai pickles, if using. Mix again to distribute throughout the yolk mixture.
- 6
Transfer the yolk mixture to a piping bag with a large star tip, or a small ziplock bag with a corner cut off.
- 7
Pipe the yolks into the halved egg white cups.
- 8
Garnish the eggs with chili flakes (or hot sauce) and green onions. Serve as an appetizer.
- 9
These eggs can be made ahead of time and stored in the fridge in a sealed container for up to 2 days. For the best result, you should serve them the same day you cooked them.
Cuisinez-la avec la recette originale
Cette recette vient de omnivorescookbook.com. Leur page propose les photos, les notes et les astuces de l’auteur : le meilleur endroit pour la cuisiner.
Voir la recette sur omnivorescookbook.com