
Deviled Egg Chicks
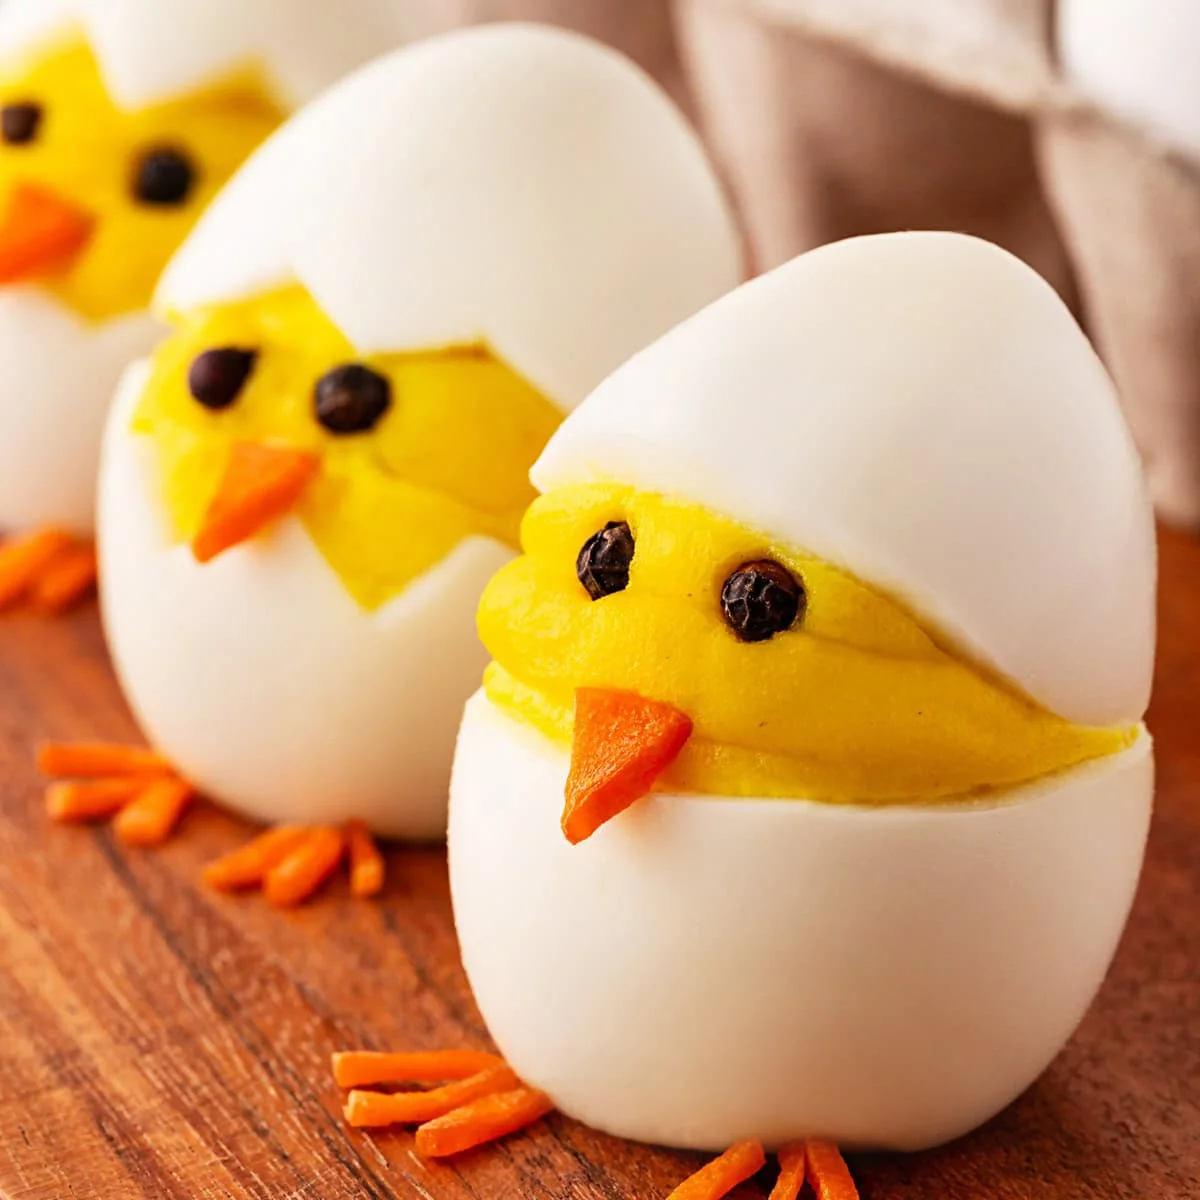
These adorable Deviled Egg Chicks are simple to make yet will be the show-stoppers of your Easter celebrations. Have the kids join in to help decorate.
Ingrédients
- 8 large eggs (hard boiled, cooled and peeled)
- 1/3 cup mayonnaise
- 1 1/2 tsp Dijon mustard
- Salt (to taste)
- 1 carrot
- Whole peppercorns (or black food coloring)
Préparation
- 1
Using a sharp paring knife, carefully cut around the middle of the egg in a zig-zag pattern, starting at the front and going all the way around. You should end up with a top and bottom piece, both with jagged-looking edges. Otherwise, if you want a straight edge, slice the egg in half.
- 2
Carefully spoon out the yolks using a small spoon and place them in a medium mixing bowl.
- 3
Add the mayonnaise, Dijon mustard, and a pinch of salt to the bowl and mash the egg yolks with a fork until smooth and creamy.
- 4
Transfer the egg mixture into a piping bag or plastic sandwich bag and set aside.
- 5
Carefully slice the carrot into small triangles that will form the beak of each chick. Also, slice small sticks about 1/2″ and make 6 per egg, depending on if you want them all to have feet or not.
- 6
If necessary, slice a bit off the bottom of 1/2 the whites so that it will stand upright on a plate or platter.
- 7
Snip the end of the piping bag or corner of the sandwich bag, making about a ½ inch hole.
- 8
Pipe the egg mixture into the egg bottoms, dividing the mixture equally between the eggs. Fill them about 1 1/2 inches above the edge of the bottom egg white.
- 9
Carefully place the top egg white onto the yolk mixture. Don’t push it down, you don’t want the yolk mixture to squish out.
- 10
Place one of the carrot triangle beaks in the middle of each egg, between the top and bottom of the whites.
- 11
Add 2 whole peppercorns to each chick for the eyes. Or if you are using food coloring, dip the end of a toothpick into the food coloring and place 2 dots on each chick for eyes.
- 12
Keep covered in the refrigerator until ready to serve. Remove them from the fridge 15 minutes before serving to allow them to warm slightly.
Cuisinez-la avec la recette originale
Cette recette vient de noshingwiththenolands.com. Leur page propose les photos, les notes et les astuces de l’auteur : le meilleur endroit pour la cuisiner.
Voir la recette sur noshingwiththenolands.com