
Saumon glacé au miel et au miso
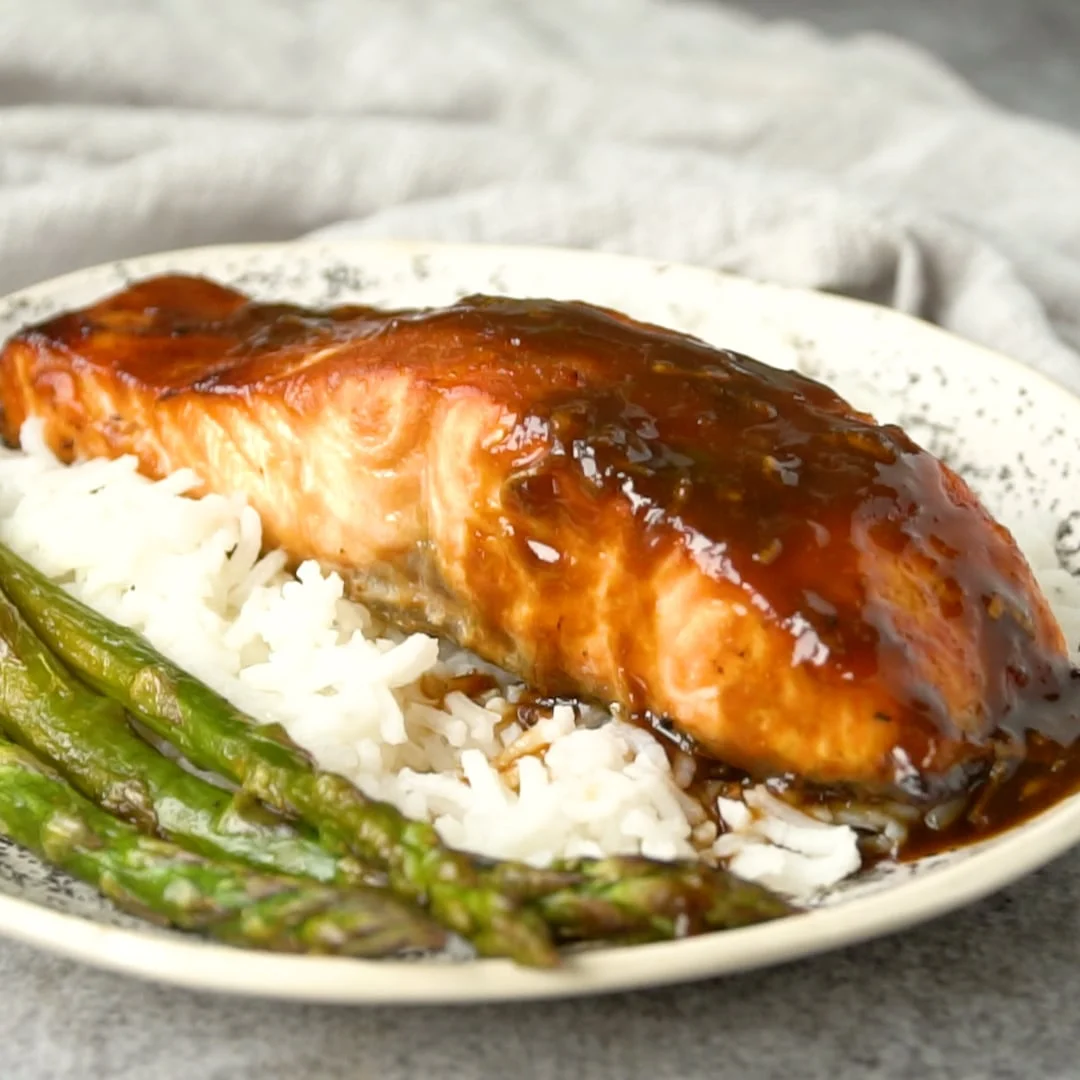
Ce saumon glacé au miel et au miso est tendre, feuilleté, léger et débordant de saveurs ! Avec seulement 4 ingrédients, cette recette de saumon au four se prépare dans un seul plat et en environ 15 minutes !
Ingrédients
- 1/4 cup honey
- 1/4 cup white miso
- 1/4 cup soy sauce
- 3 garlic cloves, grated
- 6 (6-ounces) salmon fish fillets
Préparation
- 1
To prepare the miso glaze, in a bowl, whisk together the honey, white miso, soy sauce and grated garlic until well incorporated. Reserve about 3 tablespoons of the miso glaze to pour over the baked salmon.
- 2
Line a baking sheet or baking dish with aluminum foil or parchment paper. Spray with cooking spray or coat the bottom with a little bit of oil (olive oil or canola oil) to prevent the fish from sticking.
- 3
Place the fish on the baking sheet (skin side down if your salmon has skin) and pour the glaze making sure both sides of the fish are covered by the glaze.
- 4
Allow the salmon to marinate at room temperature for 10 minutes (or up to 30 minutes in the refrigerator) before cooking.
- 5
--- IF BAKING ---
- 6
Preheat the oven to 400 degrees Fahrenheit. Bake the salmon for approximately 10-15 minutes (depending on the size of your salmon) or until the salmon is cooked through and flakes easily with a fork.
- 7
Turn the broiler on and broil for 1 to 2 minutes or until the salmon top is lightly golden.
- 8
Remove from the oven and drizzle or brush with the remaining 3 tablespoons of glaze. Let it rest for a few minutes before serving.
- 9
--- IF GRILLING ---
- 10
Preheat the grill or grill pan to medium high.
- 11
Place the salmon fillets on an oiled grill rack or grill pan and grill for about 4 - 6 minutes on the first side. The salmon will release itself from the grill when it is ready to be turned. Flip and cook the other side for about 3-4 minutes or until it is cooked through and flakes easily. The salmon should still be a little pink in the middle.
- 12
Remove from the grill and drizzle or brush with the remaining glaze. Let it rest for a few minutes before serving.
Cuisinez-la avec la recette originale
Cette recette vient de lemonblossoms.com. Leur page propose les photos, les notes et les astuces de l’auteur : le meilleur endroit pour la cuisiner.
Voir la recette sur lemonblossoms.com