
Choy sum sauté tout simple
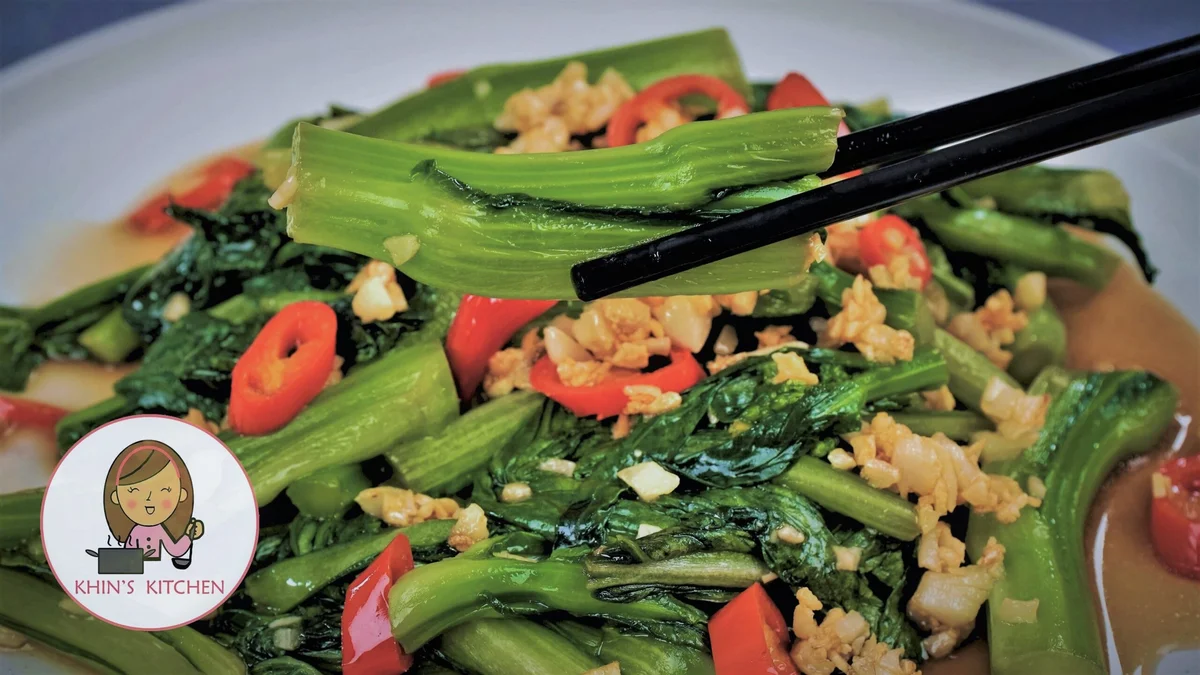
Une recette toute simple de choy sum sauté, avec des légumes verts tendres et croquants dans une sauce aux huîtres parfumée à l’ail. Un accompagnement parfait avec n’importe lequel de vos plats principaux préférés.
Ingrédients
- 400 g Choy Sum (( or Bok choy/ Baby Bok Choy/ Pak Choy/ Kai Lan/ Tender Stem Broccoli ))
- 10 cloves Garlic (( Add less or more garlic according to your taste ))
- 2 Chilli pepper red/green
- 1/2 tsp Corn Starch + water 1 tbsp
- 1 tbsp Vegetable oil (( or any neutral flavoured vegetable oil ))
- 1 tbsp Light soy sauce
- 2 tbsp Oyster sauce (( use vegetarian oyster sauce for vegetarian and vegan ))
- 1 tsp Sesame oil
- 1 tsp Salt
- 1 tsp Oil
Préparation
- 1
Roughly chop the garlic cloves. Cut the chilli pepper into thin slices.
- 2
Remove the tough end of the choy sum, chop into large bite size pieces and cut the stem into halves lengthwise. Separate the stem and leaves.
- 3
To blanch the choy sum, bring the water to boil in a large pot , add a teaspoon of salt and a teaspoon of oil. Add the stem part and boil for 30-40 seconds. Strain it and dip into ice cold water. Drain and gently squeeze the water out. Repeat the process for leaves.
- 4
Heat the pan to medium heat, drizzle a tablespoon of oil and add the chopped garlic and stir fry for a few seconds then add the chilli peppers. Stir fry till the garlic turns into a crispy, light golden color. Remove from the pan and set aside.
- 5
In the remaining oil, add the blanched choy sum and pour the sauce mix in. Stir fry with high heat for a few seconds. Pour the corn flour and water mixture. Continue to stir fry high heat for 1 min. ( To get the crips and tender texture choy sum, please be aware not to overcook. )
- 6
Remove from heat and transfer to a serving plate.
- 7
Topped with the fried garlic and chilli pepper.
- 8
Delicious choy sum stir fry is ready. Enjoy!
- 9
Served with hot steamed rice or stir fry noodle.
Cuisinez-la avec la recette originale
Cette recette vient de khinskitchen.com. Leur page propose les photos, les notes et les astuces de l’auteur : le meilleur endroit pour la cuisiner.
Voir la recette sur khinskitchen.com