
Gluten Free & Keto Strawberry Galette
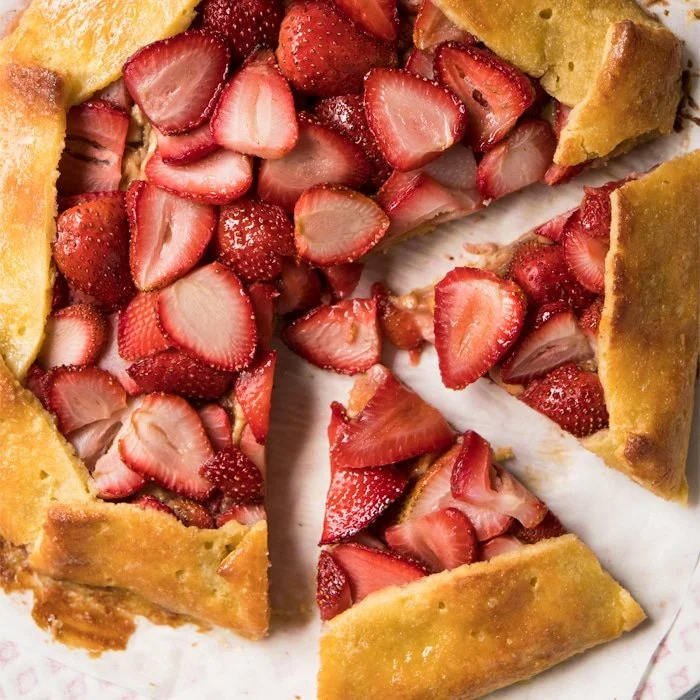
Buttery, fresh and ultra yum! This gluten free and keto strawberry galette, with its suuuper flaky pie crust, is a real crowd-pleasing low carb dessert!Oh, and if baking with cups rather than grams is your thing, just click on US Cups for an instant conversion.
Ingrédients
- 1 batch our suuuper flaky keto pie crust
- 62 g almond or peanut butter (*)
- 400 g strawberries (thinly sliced*)
- 1 teaspoon vanilla extract
- 2-6 tablespoons erythritol (or xylitol, to taste)
- 1 egg (for egg wash)
- our (no-churn!) vanilla ice cream
- whipped cream
Préparation
- 1
Make a batch of our super flaky keto pie crust (see recipe video for guidance!).
- 2
Roll out pie crust between two sheets of parchment paper into a circular shape and trim edges (optional). Place in the freezer for 15 minutes (particularly important if you're working in a warm place). You'll want to work quickly and in a cool environment, and if the crust becomes unmanageable at any point simply pop it in the freezer for 5-10 minutes.
- 3
Preheat oven to 400°F/200°C.
- 4
While the crust is chilling, mix your strawberries with the vanilla extract and sweetener (to taste). Take the crust out of the freezer and spread almond or peanut butter in the center of the crust. Arrange the strawberries, discarding any liquid, over the nut butter and fold in the edges. If there are any cracks simply press them together with your fingers.
- 5
Place in the freezer for 15 minutes, brush with egg wash and bake for 20-30 minutes until fully golden. We've noticed the baking time here varies a lot from oven to oven, so just keep an eye out for it from minute 15. Also, if you check around minute 18 and your crust is not shiny, take it out of the oven and give it another brush with egg wash (we've noticed this is necessary sometimes and not others- a grain free baking mystery!).
- 6
Serve it warm or at room temperature with whipped cream or vanilla ice cream. Keeps well, stored in an airtight container at room temperature, for about 3 days.
Cuisinez-la avec la recette originale
Cette recette vient de gnom-gnom.com. Leur page propose les photos, les notes et les astuces de l’auteur : le meilleur endroit pour la cuisiner.
Voir la recette sur gnom-gnom.com