
Lemon Garlic Chicken with Pasta
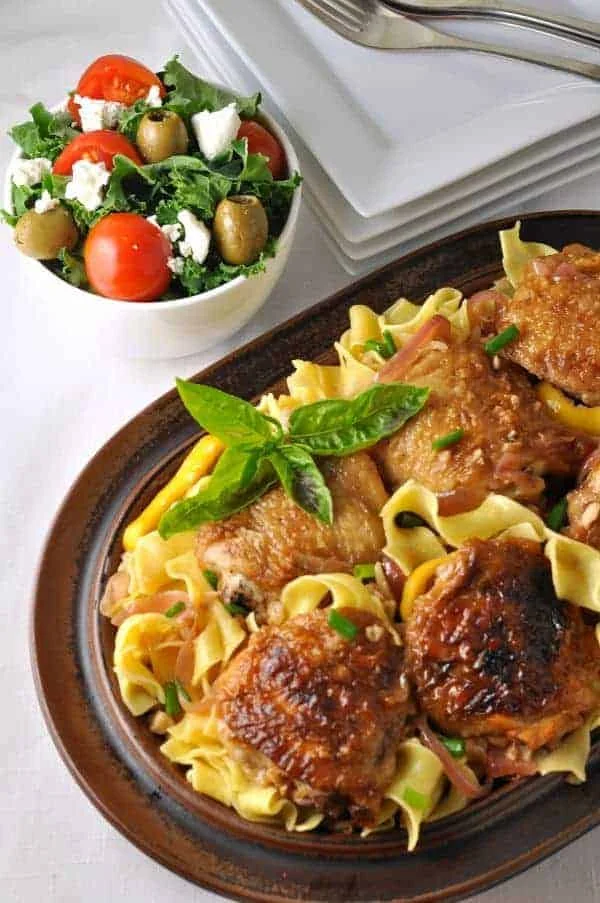
This Lemon Garlic Chicken with Pasta is an easy weeknight meal using ingredients you probably already have in your pantry.
Ingrédients
- 8 chicken thighs, (bone-in, skin on)
- 1/2 cup all-purpose flour, (or gluten-free flour blend)
- 1 tsp sea salt
- 1/2 tsp pepper
- 2 medium onions, (red or white)
- 6 - 8 cloves garlic
- 1/2 tsp dried chili flakes
- 1/2 cup lemon juice
- 1 medium lemon (sliced)
- 1 1/2 cups chicken stock
- 400 grams dried pasta, (gluten-free if necessary)
- 2 tablespoons butter
- 1/4 - 1/2 cup fresh basil, (or parsley or herbs of your choice)
Préparation
- 1
Preheat oven to 350°F.
- 2
Heat an ovenproof skillet on stove top. When hot, add a high-heat tolerant oil like avocado oil or grapeseed to the skillet.
- 3
Pat the chicken thighs dry with a paper towel. Mix flour, salt and pepper in a bowl and dredge the chicken pieces in it.
- 4
When the oil in the pan is rippling, carefully add the chicken, skin side down. Shake the pan gently to prevent sticking.
- 5
Brown on one side for 5-6 minutes, then turn and brown on the other. Remove from the skillet and set aside.
- 6
Meanwhile, slice the onions very thinly and mince the garlic. Slice a lemon and measure the lemon juice and the chicken stock.
- 7
Add onions to the hot skillet and cook until limp and transparent but not browned. Add the minced garlic and cook 1 minute more. Add the crushed red pepper, lemon juice and chicken stock. Bring to a simmer, put chicken thighs back in on top of the onions and garlic, cover the skillet tightly (use foil if you don't have a lid) and place it in the oven.
- 8
Bake for 20 minutes. Uncover and bake 15 minutes more.
- 9
Meanwhile, heat a large pot of generously salted water. Once it boils, cook the pasta according to package directions. Drain, toss with butter and fresh herbs. Mound the pasta in center of a plate or shallow bowl, place one or two thighs on top and spoon the lemon garlic sauce over all. Garnish with more fresh herbs and serve.
Cuisinez-la avec la recette originale
Cette recette vient de flavourandsavour.com. Leur page propose les photos, les notes et les astuces de l’auteur : le meilleur endroit pour la cuisiner.
Voir la recette sur flavourandsavour.com