
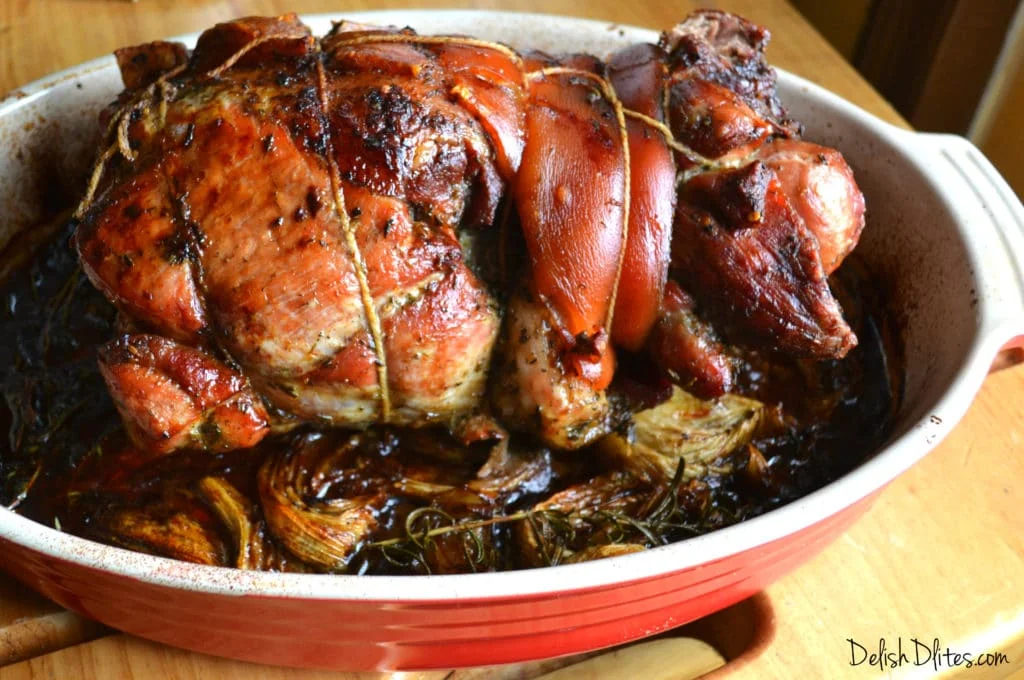
Rôti de porc porchetta
Ingrédients
- 1 6-7 pound boneless pork shoulder (skin on)
- 1/4 cup fennel fronds (chopped)
- 1/4 cup fresh rosemary (chopped)
- 10 sprigs fresh thyme (chopped)
- 2 teaspoons fresh sage leaves (chopped)
- 5 garlic cloves (grated)
- Zest of 1 lemon
- 1 1/2 tablespoons kosher salt
- 1 teaspoon whole fennel seeds (toasted)
- 3/4 teaspoon red pepper flakes
- 1/2 teaspoon black pepper
- 1/4 cup extra virgin olive oil
- 2 onions (peeled and quartered)
- 1 fennel bulk (cored and quartered)
- 1 cup low sodium chicken stock
Préparation
- 1
For the marinade, combine the fennel fronds, rosemary, thyme, sage, garlic, lemon zest, salt, pepper, fennel seeds, red pepper flakes, black pepper in a food processor or mortar and pestle.
- 2
Grind everything into a paste, then smear the marinade all over the pork.
- 3
Score the skin side with a very sharp knife in a diamond patter, this will help the skin render its fat and get crispy.
- 4
If you're using a boneless roast, roll it up so that the skin is facing up, and secure it with butcher's twine. Cover and marinate the shoulder in the fridge for at least 6 hours, preferably overnight.
- 5
When you're ready to cook the roast, preheat your oven to 450 degrees F. Place the quartered onions and fennel in the bottom of a baking dish, then lay the pork on top, skin side up.
- 6
Roast the pork for 30 minutes at 450 degrees F, then lower the heat to 350 degrees F.
- 7
Pour the chicken stock into the bottom of the pan, then cook for 2½ to 3 hours (boneless) or 3½ to 4 hours (bone-in), or until the internal temperature is 180 degrees F.
- 8
Allow the roast to rest for 20 minutes before slicing and serving. Enjoy that crispy skin!
Cuisinez-la avec la recette originale
Cette recette vient de delishdlites.com. Leur page propose les photos, les notes et les astuces de l’auteur : le meilleur endroit pour la cuisiner.
Voir la recette sur delishdlites.com