
Gâteau au citron sans gluten et végan
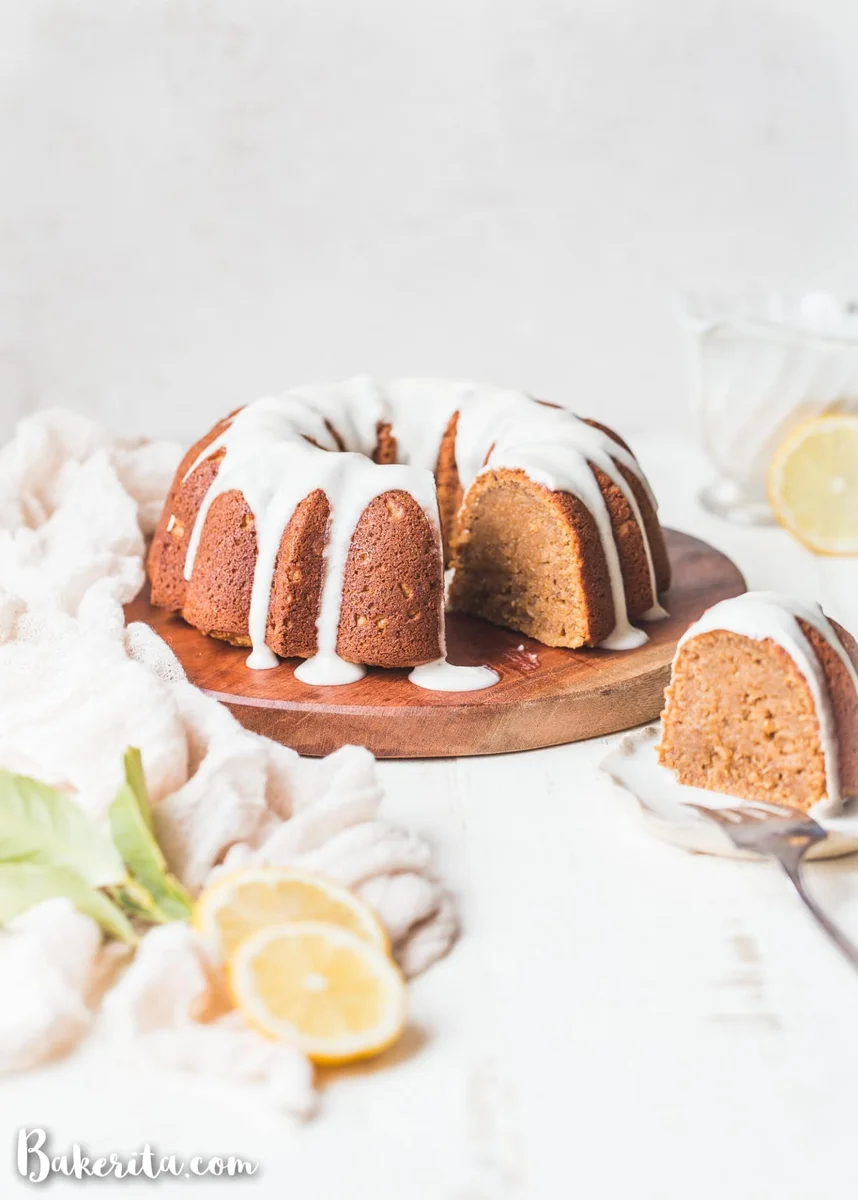
Vous allez adorer ce gâteau au citron sans gluten et végan, facile à préparer ! Il est simple et élégant, avec une mie légère et aérienne. Pour couronner le tout, nous arrosons ce gâteau paléo sans sucre raffiné d’un glaçage au citron acidulé.
Ingrédients
- 2 1/4 cups (220g) blanched almond flour
- 2/3 cup coconut sugar
- 1/2 cup (57g) tapioca flour
- 1/3 cup (43g) coconut flour
- 1 tablespoon baking powder
- 1 teaspoon sea salt
- 1/3 cup freshly squeezed lemon juice (plus the zest (about 3 tablespoons))
- 2/3 cup non-dairy milk
- 1/4 cup (50g) refined coconut oil (melted)
- 1/4 cup (84g) pure maple syrup
- 1 flax egg (see Notes)
- 2 teaspoons vanilla extract
- 1/4 cup coconut butter
- 1 to 2 tablespoons pure maple syrup
- 2 to 4 tablespoons lemon juice
- Non-dairy milk (as needed)
Préparation
- 1
--- For the cake ---
- 2
Preheat oven to 350ºF and lightly grease a 9-inch bundt pan with coconut oil. My pan has a 6-cup capacity. You could also use a 9-inch cake pan (I recommend one with high sides, or use a springform pan).
- 3
In a large mixing bowl, combine the almond flour, coconut sugar, tapioca flour, coconut flour, baking powder, and salt. Whisk thoroughly. Form a well in the center of the dry ingredients.
- 4
In a separate bowl, whisk together the lemon juice, lemon zest, dairy-free milk, coconut oil, maple syrup, flax egg, and vanilla extract.
- 5
Pour the liquid ingredients over the dry ingredients and whisk until smooth. You’ll have a thick batter. Pour into the prepared pan and spread the batter evenly.
- 6
Bake for about 40 minutes, or until the toothpick inserted comes out clean and the cake springs back when pressed with a fingertip.
- 7
Let cool completely before removing it from the pan and glazing.
- 8
--- For the glaze ---
- 9
Melt the coconut butter until runny. Place in a small bowl and whisk in 1 tablespoon of the maple syrup. Whisk in 2 tablespoons of the lemon juice. Taste, and adjust maple and lemon juice to suit your tastes.
- 10
If the mixture is too thick, thin it out with warmed dairy-free milk until it reaches your desired consistency.
Cuisinez-la avec la recette originale
Cette recette vient de bakerita.com. Leur page propose les photos, les notes et les astuces de l’auteur : le meilleur endroit pour la cuisiner.
Voir la recette sur bakerita.com