
Guava-Pineapple Glazed Ham
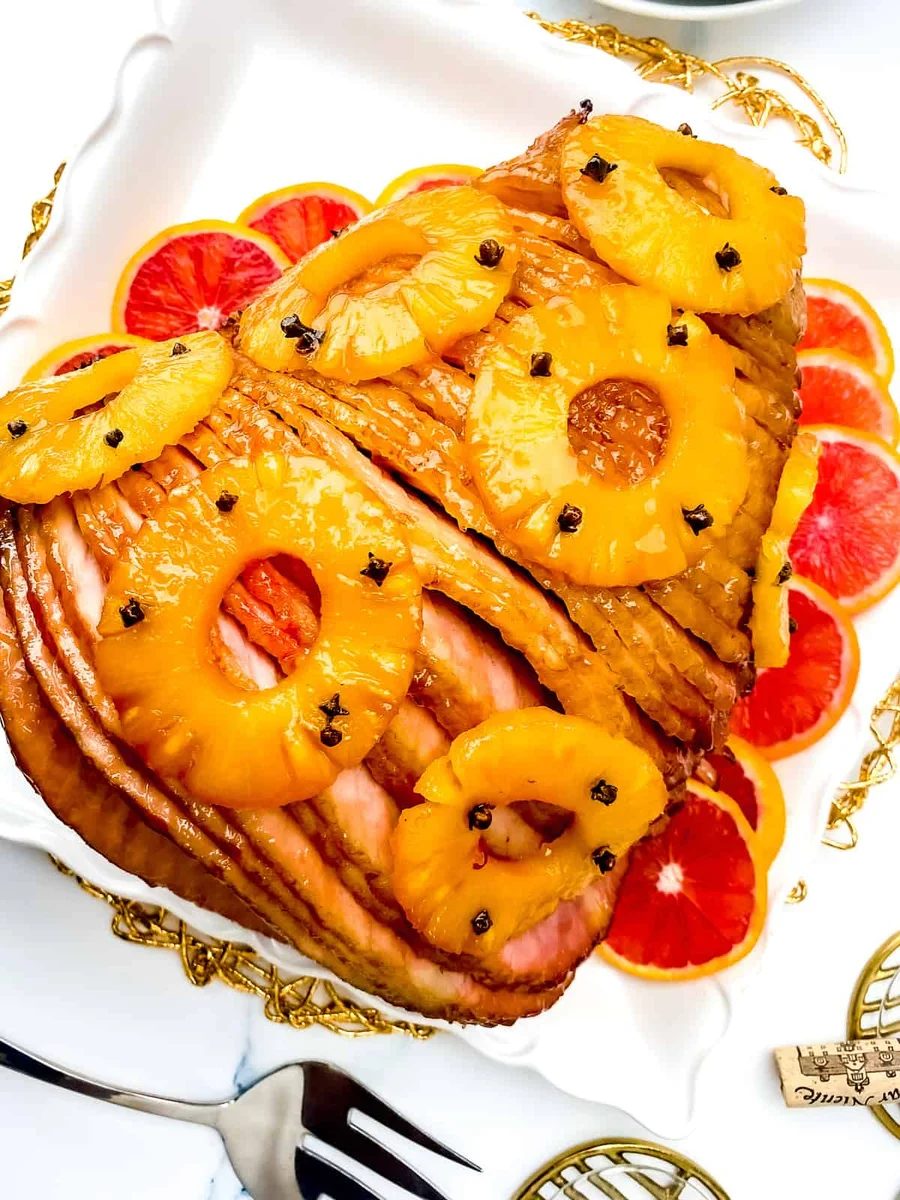
Studded with cloves u0026amp; glazed with a delicious homemade 𝐆𝐮𝐚𝐯𝐚-𝐏𝐢𝐧𝐞𝐚𝐩𝐩𝐥𝐞 𝐆𝐥𝐚𝐳𝐞. This gorgeous Guava-Pineapple Glazed Ham will make an incredibly delicious addition to your holiday spread or Sunday dinner table.
Ingrédients
- 6-8 pounds ham, pre-cooked, bone-in spiral-sliced, hickory-smoked
- 3/4 cup pineapple juice (drained from the slices)
- 1 cup Goya guava nectar
- 2 teaspoons fresh ginger, grated (or ground ginger)
- 6 whole cloves + 1/4 cup to garnish the ham
- 1/2 cup packed brown sugar
- 1 12 oz Grace guava jelly (one jar)
- 1 can pineapple slices
Préparation
- 1
--- How To Make The Pineapple-Guava Glaze ---
- 2
Combine the pineapple juice, guava juice, liquid from the pineapple slices, sugar, ginger, and cloves in a small saucepan and mix to dissolve the sugar granules.
- 3
Boil for about 30 minutes or until the mixture has reduced to a syrupy consistency.
- 4
Place the pineapple slices in the syrup and heat for about one minute before removing the pot from the flame and set it aside.
- 5
--- Now, Let's Prep The Ham ---
- 6
Preheat the oven to 325 degrees Fahrenheit.
- 7
Line the roasting rack and large roasting pan with foil and set aside.
- 8
Unwrap the ham and discard the packaging (including the glaze that came with it.
- 9
Rinse the ham under cool running water and pat it dry.
- 10
Wrap ham in foil and place in the oven for 1.5 hours or until the ham has been heated throughout and reaches an internal temperature of 145 degrees Fahrenheit. Once done remove and allow the ham to cool.
- 11
Score ham if you're not using a spiral-cut ham.
- 12
Arrange the glazed pineapple slices on the ham and fasten each with toothpicks or cloves.
- 13
Spoon or generously brush the pineapple glaze all over the ham.
- 14
Melt the Grace guava jam in a small saucepan over low heat. Once melted generously brush melted jam over the surface of the ham.
- 15
Return to ham to the oven (uncovered) for 15 minutes or until the ham has achieved the desired color.
Cuisinez-la avec la recette originale
Cette recette vient de kerriannskravings.com. Leur page propose les photos, les notes et les astuces de l’auteur : le meilleur endroit pour la cuisiner.
Voir la recette sur kerriannskravings.com