
Halloween Chocolate Rice Krispie Spiders
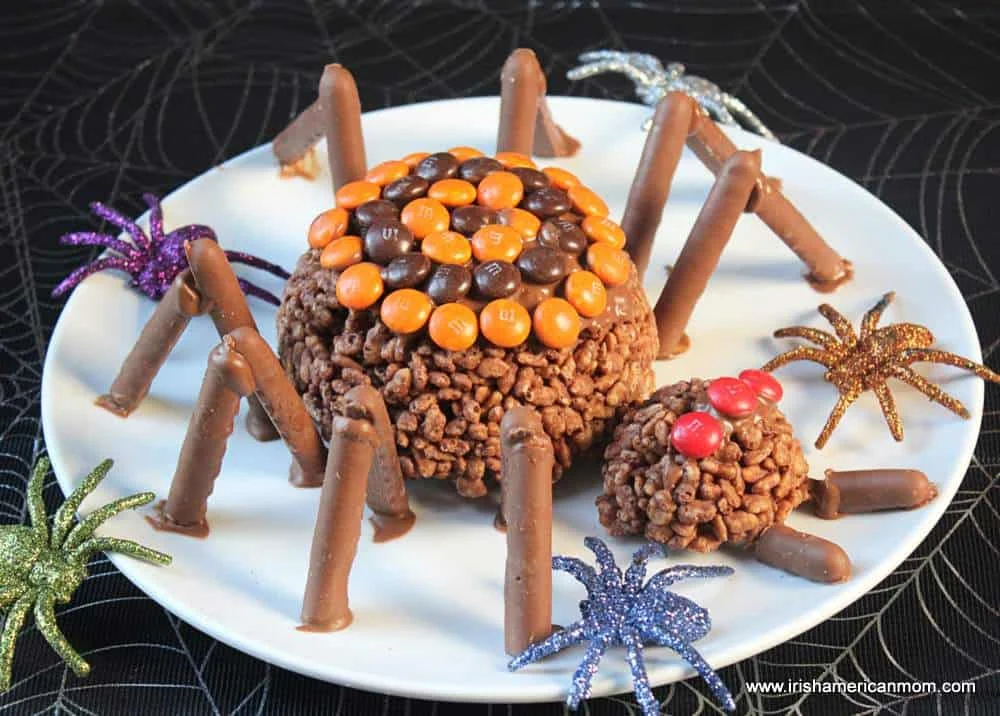
This recipe makes 2 edible chocolate rice cereal spiders - perfect cute, spooky center pieces for any Halloween festive table.
Ingrédients
- 4 cups rice cereal
- 8 ounces chocolate chips (to make the spider bodies)
- 4 ounces chocolate chips (for decorating)
- 4 M&M’s (or candy eyes)
- 18 chocolate fingers
- 1.69 ounces M&M’s (1 packet optional for decorating)
Préparation
- 1
Line two small dessert bowls and two ice cream scoops with plastic saran wrap, leaving extra plastic wrap for covering over the edges.
- 2
Melt the chocolate chips in a heat proof bowl over a saucepan of boiled water, or bain marie.
- 3
Pour the melted chocolate over the rice cereal in a large bowl.
- 4
Use a spatula to mix the melted chocolate and rice cereal together.
- 5
Fill the saran wrap covered bowls and scoops with the chocolate covered rice crispie cereal. Cover with saran wrap and allow to cool completely to set.
- 6
Prepare the legs by cutting the curved ends off the weight bearing sides of the chocolate fingers on a slight inward diagonal. This means both ends of the outer leg limbs need to be cut and one side of the inner leg limb.
- 7
Melt the additional chocolate over a bain marie. Spread some melted chocolate on a plate underneath the body and head of the spider to help hold it in place.
- 8
Dip the weight bearing ends of the chocolate fingers in melted chocolate to help stabilize them after you place them in a hinged position on the two sides of the spider’s body. Place four legs on each side of a spider's body.
- 9
Use melted chocolate to fix the candy eyes in place.
- 10
Cut the last chocolate fingers in two and make two pincers for each spider’s head.
- 11
If desired decorate the spider's back using melted chocolate and candy. Allow to cool completely to set before serving which will take about 2 hours.
Cuisinez-la avec la recette originale
Cette recette vient de irishamericanmom.com. Leur page propose les photos, les notes et les astuces de l’auteur : le meilleur endroit pour la cuisiner.
Voir la recette sur irishamericanmom.com