
Galletas saladas de queso sin lácteos
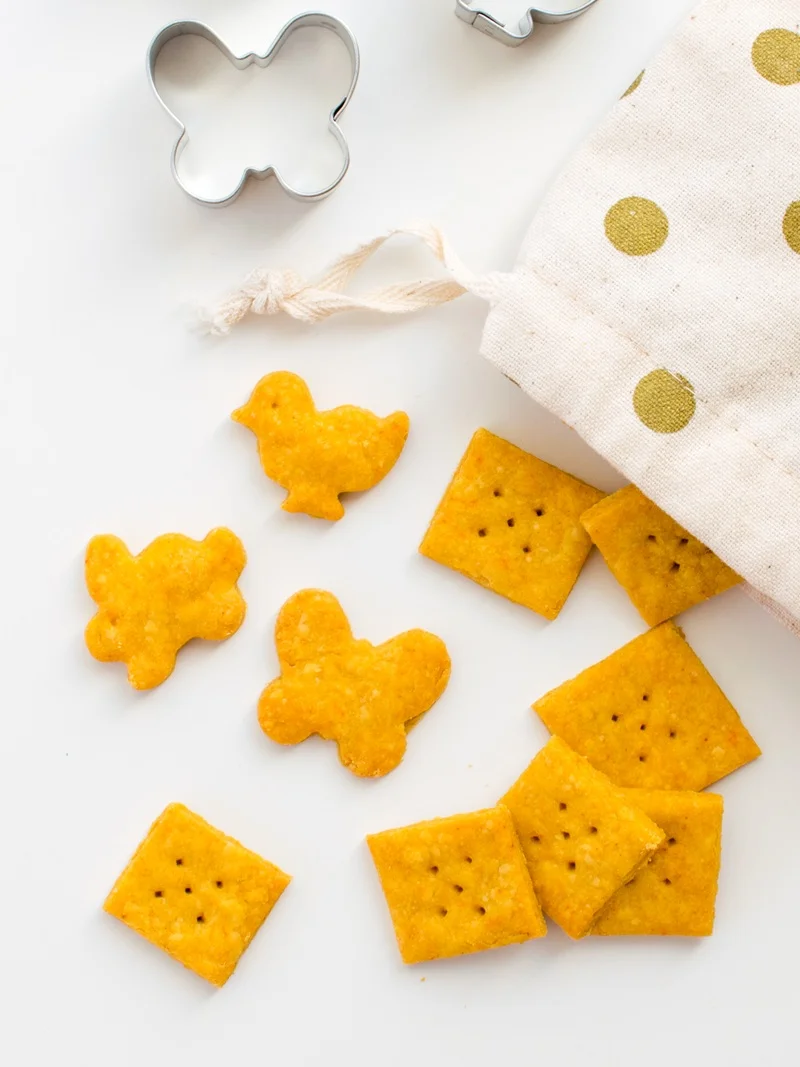
Estas galletas saladas, sorprendentemente sencillas, recuerdan a las clásicas galletitas cuadradas de queso, pero tienen un sabor más fresco y natural que engancha por sí solo.
Ingredientes
- 3/4 cup all-purpose flour ((can sub whole wheat pastry flour or gluten-free flour blend))
- 1/4 cup chickpea flour
- 2 to 3 tablespoons nutritional yeast flakes (to taste)
- 3/4 teaspoon salt
- 1/4 teaspoon paprika
- 1/4 teaspoon onion powder
- 1/8 teaspoon garlic powder
- 3 tablespoons oil
- 3 tablespoons water (or as needed)
- 1/2 teaspoon lemon juice
Preparación
- 1
Preheat your oven to 350ºF and line a large baking sheet with parchment paper.
- 2
In a medium bowl, whisk together the all-purpose flour, chickpea flour, nutritional yeast, salt, paprika, onion powder, and garlic powder. Add the oil and whisk until coarse crumbs form. Add the water and lemon juice, and stir. When it becomes somewhat dry, bring the dough together with your hands. It should be relatively cohesive but not sticky. If it’s too dry, splash in more water. If it’s too sticky, sprinkle on a little more flour.
- 3
Turn the dough out onto a lightly floured surface and flour your rolling pin. Roll the dough out into a thin square or rectangle that’s about 1/8 inch thick.
- 4
Using a knife or pizza cutter, cut horizontal lines about 1 inch apart and vertical lines about 1 inch apart to make 1-inch squares. Alternatively, use small cookie cutters to cut out shapes.
- 5
Transfer the squares or shapes to your prepared baking sheet, spaced out slightly for better air circulation and crisping.
- 6
Bring the remaining dough scraps together, and repeat steps 4 and 5.
- 7
If you want to avoid air bubbles in your crackers, prick the tops of the dough with a fork.
- 8
Bake for 15 to 17 minutes, or until the edges of the crackers just begin to look golden.
- 9
Let cool on the baking sheet; the crackers will crisp up as they cool.
- 10
Store in an airtight container at room temperature for up to 1 week, or in plastic freezer bags in the freezer to preserve freshness and enjoy later.
Cocínala con la receta original
Esta receta es de godairyfree.org. En su web tienes las fotos, las notas y los consejos del autor: es el mejor sitio para cocinarla.
Ver la receta en godairyfree.org