
Yogur casero
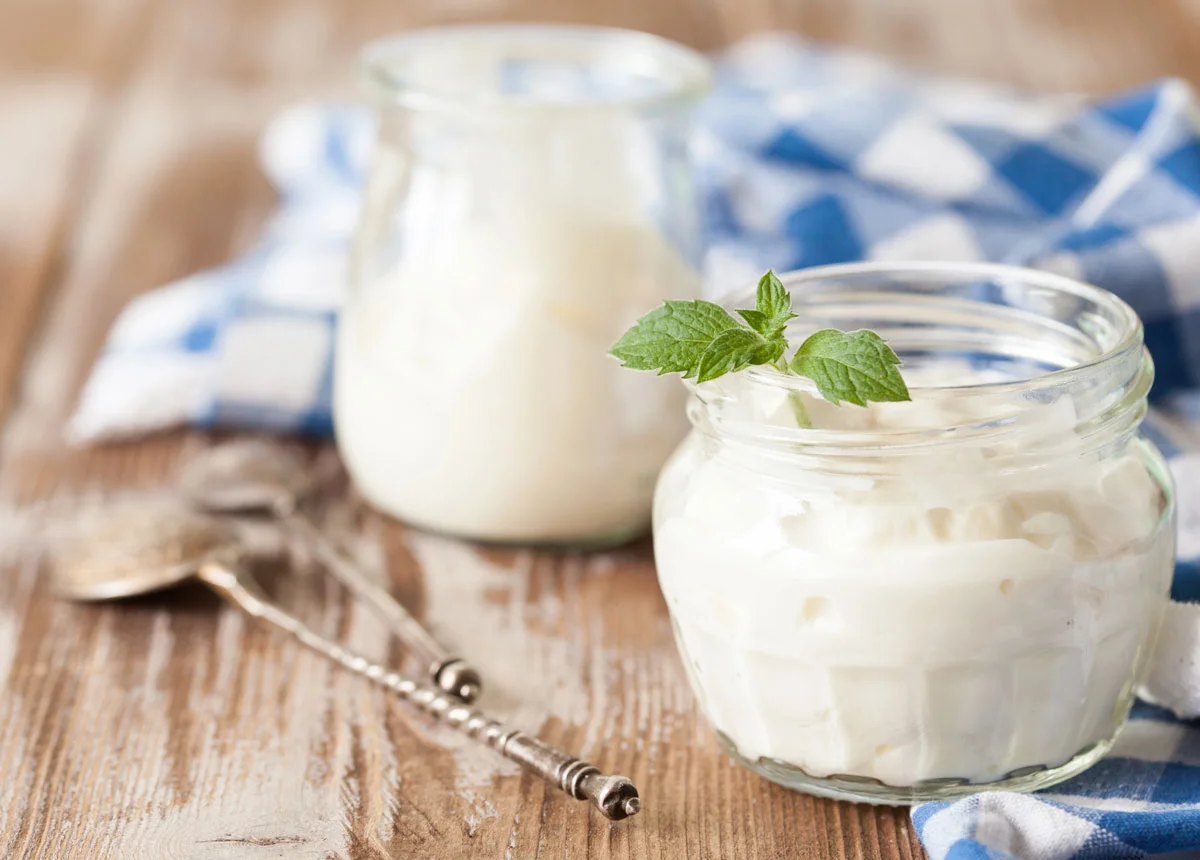
Según la antigua sabiduría del Ayurveda, el yogur casero fresco es uno de los mejores alimentos del planeta para favorecer la digestión y la salud intestinal.
Ingredientes
- 4 cups whole milk ((grass-fed and non-homogenized))
- 1/4 cup plain yogurt (or yogurt starter (see notes))
Preparación
- 1
You will need a thermometer that measures temperatures between 110-190 degrees Fahrenheit.
- 2
--- STEP 1 - Source quality milk ---
- 3
Yogurt is made from milk, so you want to start with good quality whole milk. In Ayurveda we recommend that you consume non-homogenized, grass-fed and/or organic, whole milk. Regular pasteurization is okay. You may have to seek out the milk from a local dairy. Specialty grocers will likely carry it.
- 4
--- STEP 2 - Source good quality yogurt starter ---
- 5
Your yogurt starter will determine the strength, species, and potency of your yogurt. Do some research and purchase one from a brand you can trust. Two Ayurvedic experts, I trust recommend Natren starter. Ultimately, the result and flavor of your homemade yogurt will be determined by the quality of the starter. After using the starter successfully once, you can use some of the leftover yogurt to seed your next batch. Do this for about 2 months, then use the yogurt starter again to maintain maximum potency.
- 6
--- STEP 3 - Gently heat the milk to 180-190 degrees F ---
- 7
Gently heat the milk to 180-190 degrees F and keep it at that temperature for 10-15 minutes. The longer time frame will promote sweeter, thicker, and creamier yogurt.
- 8
--- STEP 4 - Seed the yogurt starter ---
- 9
Set aside 1/2 cup of milk in a bowl and let it cool to room temperature. Whisk in your yogurt starter or yogurt from the previous batch. When using a yogurt starter, follow the instructions on the package. Make sure that you mix the starter well to avoid lumpy yogurt. Meanwhile, allow the rest of the milk to cool to 115 degrees F.
- 10
--- STEP 5 - Mix the starter into the remaining 115 degrees F milk ---
- 11
Mix the starter into the 115 degrees F milk.
- 12
--- STEP 6 - Incubate between 85 and 110 degrees ---
- 13
Store the yogurt culture in a nonreactive container, such as glass, stainless steel, or a traditional clay vessel. Incubate the yogurt at a temperature between 85 and 110 degrees F for 5-6 hours. The Instant Pot works perfectly for this. Simply add 2 cups of water to the inner pot and set the covered, nonreactive container of immature yogurt into it. Cover with the lid, and select the YOGURT setting. The yogurt is ready when it is thick and firm, with a custard-like appearance that separates from the edge of the container. If it’s not ready yet when you check it, check every 30 minutes
- 14
--- STEP 7 - Refrigerate finished yogurt ---
- 15
Refrigerate finished yogurt for several hours to preserve its sweetness and firm it up. You may notice some liquid releases out of it. This is whey, and you can either combine it with the yogurt by mixing, or pour it off and enjoy it separately as a potent probiotic.
Cocínala con la receta original
Esta receta es de goodgutayurveda.com. En su web tienes las fotos, las notas y los consejos del autor: es el mejor sitio para cocinarla.
Ver la receta en goodgutayurveda.com