
Bao de pollo teriyaki
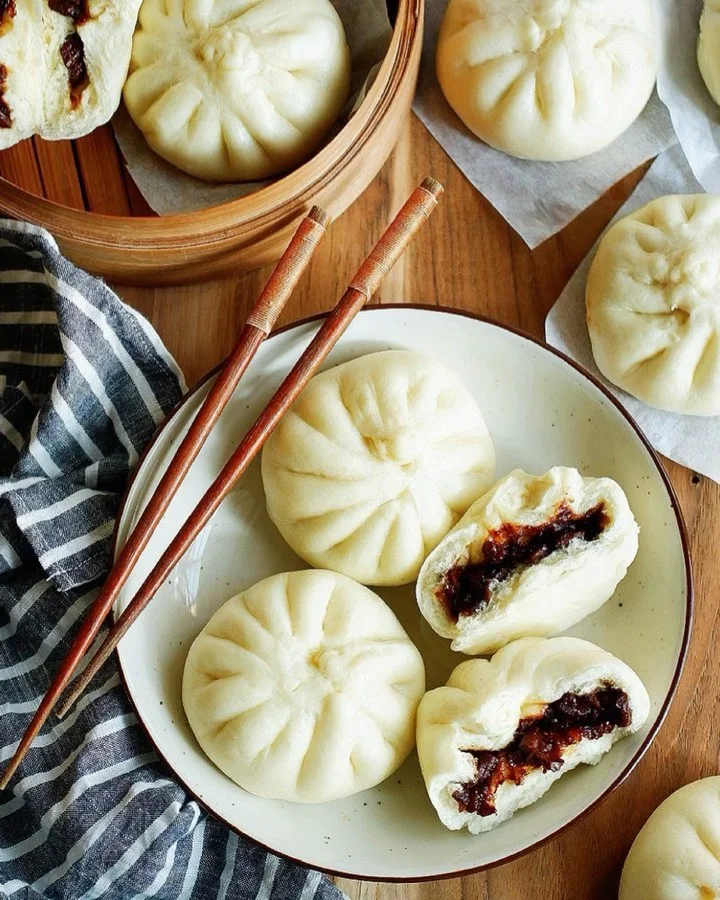
Cómo hacer bao de pollo teriyaki
Ingredientes
- 3-4 (600gr) boneless chicken thigh
- Salt
- White/Black pepper
- 1/2 cup water
- 1 tbsp cornstarch mix with 100 ml water
- 1/2 tsp Grated ginger
- 2 Tbsp sake
- 3 Tbsp mirin
- 3-4 Tbsp honey
- 1 1/2 tbsp soy sauce
- 2 tsp dark soy sauce
- 1 tbsp sweet soy sauce
Preparación
- 1
--- Steps ---
- 2
CHICKEN TERIYAKI
- 3
Poke chicken thigh randomly with the tip of a knife and season with salt and pepper
- 4
sear chicken thigh skin side down for 4-5 mins until golden brown
- 5
Flip, sear the other side for 3-4 mins
- 6
Over medium heat, Pour in the sauce mixture, cover and cook for 1-2min
- 7
Open lid, flip and cook the other side for another min, transfer only the chicken into a plate. off the heat
- 8
Chopped chicken thigh into very small pieces
- 9
On the same pan, over medium heat mix in water and cornstarch slurry mix until thicken
- 10
Add chicken pieces back into the pan, cook until thicken. Let cool completely
- 11
BAO
- 12
Mix all ingredients in a mixing bowl, except butter until combined
- 13
Add soften butter gradually and mix again for 5-10 mins until dough is not sticking to the bowl
- 14
Cover dough with plastic wrap and let it rise until double in size for 1-2 hrs
- 15
Punch dough to release air then knead again in a working surface using hands for 5 mins
- 16
Then roll and fold for several time to release most of the air bubbles
- 17
Cut into 12 (50 gr each) equal pieces, roll into balls. Cover and Rest for 15 mins
- 18
Take one ball, using a rolling pin, flatten into round shape, 8cm in diameter, Then roll edges to create a thicker center
- 19
Flip, place 1-2 tbsp of the filling, Start making pleats around the edges to close the bao. Place bao over a 10x10 cm parchment paper. Do the rest
- 20
Rest them for 10-15 mins, covered
- 21
Boil water in a steamer
- 22
Place few pieces in, make sure to give space in between, close lid and Steam for 10 mins over medium-low heat
- 23
Off the heat, don’t open lid for 5 mins then serve
Cocínala con la receta original
Esta receta es de fooooods.com. En su web tienes las fotos, las notas y los consejos del autor: es el mejor sitio para cocinarla.
Ver la receta en fooooods.com