
Salmón glaseado con miel y ajo
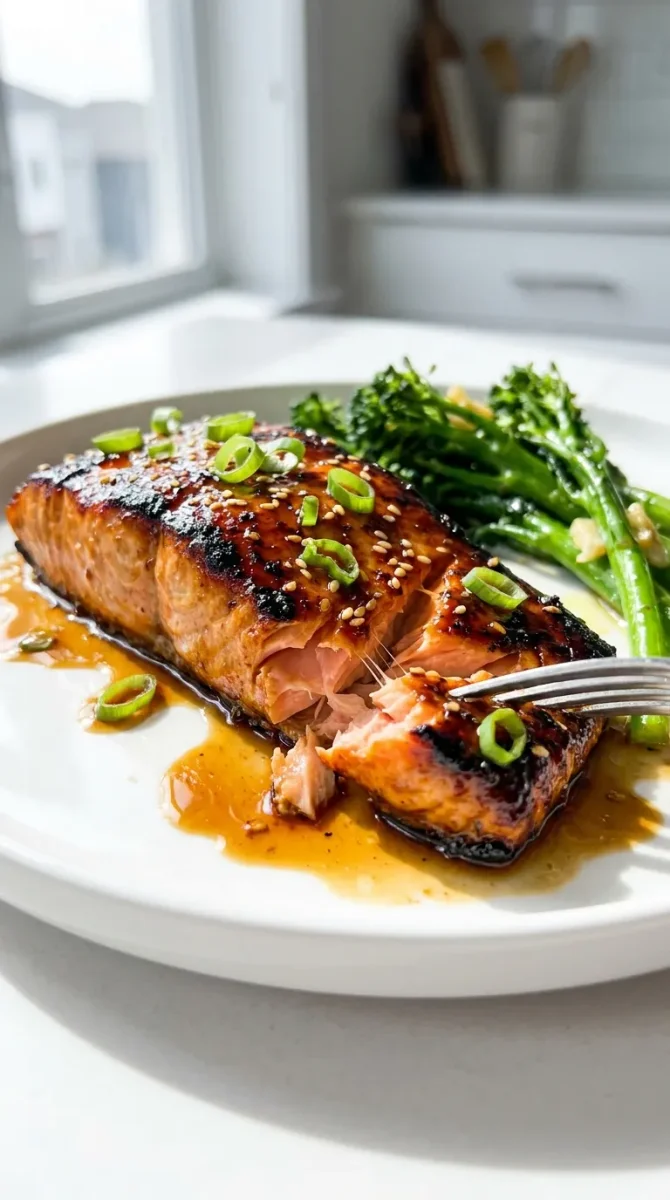
Este salmón glaseado con miel y ajo es una cena rápida y fácil para cualquier día de la semana que ofrece resultados de calidad de restaurante en menos de 15 minutos. El glaseado pegajoso, dulce y salado se carameliza a la perfección sobre el salmón hojaldrado y tierno, creando un plato que resulta a la vez indulgente y sencillo. Perfecta para agendas apretadas, esta receta de una sola sartén seguro que se convertirá en una nueva favorita.
Ingredientes
- 1/3 cup honey
- 4 cloves garlic, minced
- 3 tablespoons low-sodium soy sauce
- 1 tablespoon rice vinegar
- 1 tablespoon olive oil
- 1 tablespoon unsalted butter
- Salt and freshly ground black pepper, to taste
- Optional garnish: sesame seeds, sliced green onions, or fresh parsley
Preparación
- 1
Pat the salmon fillets dry with paper towels. Season both sides generously with salt and pepper.
- 2
In a small bowl, whisk together the honey, soy sauce, and rice vinegar until smooth. Set aside.
- 3
Heat the olive oil in a large non-stick or cast-iron skillet over medium-high heat. Once the oil shimmers, carefully place the salmon fillets skin-side down (if using skin-on) or presentation-side down.
- 4
Cook for 4-5 minutes without moving them, until the bottom is deeply golden and crispy. Flip the fillets gently with a spatula.
- 5
Reduce the heat to medium. Add the minced garlic to the pan and sauté for about 30 seconds until fragrant.
- 6
Pour in the prepared honey-soy mixture and add the butter. Let the sauce bubble and reduce for 2-3 minutes, spooning it over the salmon as it thickens. The glaze should coat the back of a spoon.
- 7
Once the salmon is cooked through (it should flake easily with a fork and reach an internal temperature of 125°F to 130°F for medium), remove the pan from heat.
- 8
Let the salmon rest in the pan for 1-2 minutes, allowing the glaze to set. Transfer to plates and drizzle any remaining pan sauce on top. Garnish with sesame seeds, sliced green onions, or fresh parsley if desired.
Cocínala con la receta original
Esta receta es de besthomemaderecipes.com. En su web tienes las fotos, las notas y los consejos del autor: es el mejor sitio para cocinarla.
Ver la receta en besthomemaderecipes.com