
Focaccia de yogur con mantequilla de ajo y cebolla
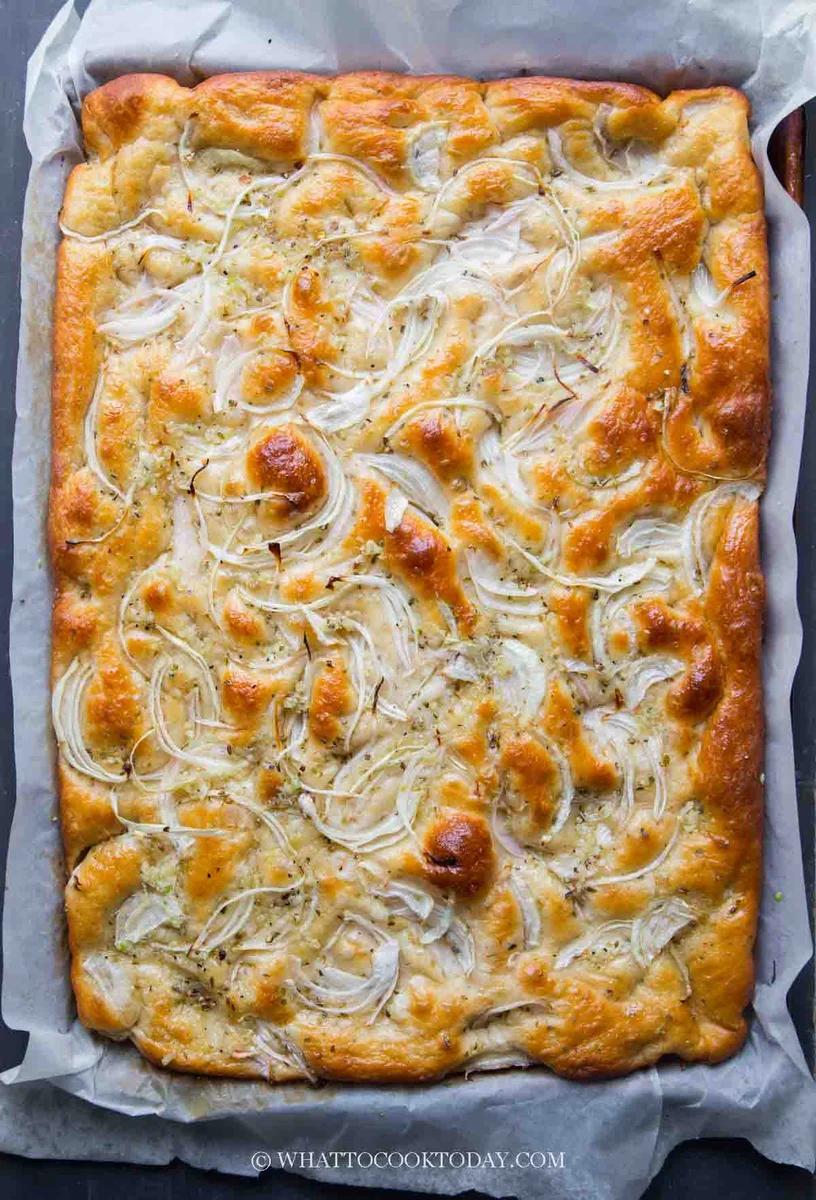
Focaccia de yogur suave y esponjosa cubierta con mantequilla de ajo y cebollas dulces. Esta focaccia fácil con levadura tiene bordes crujientes y una miga esponjosa.
Ingredientes
- 600 g bread flour (12.7% protein content)
- 1 Tbsp instant yeast
- 240 g Greek yogurt (I used 2%)
- 425 g water
- 1 Tbsp sugar
- 15 g oil (plus more for the pan)
- 1 1/2 tsp salt
- 180 g onion (any kind, about 1 large onion)
- 6 cloves garlic
- 113 g unsalted butter
Preparación
- 1
--- Prepare the dough: ---
- 2
Place the flour, instant yeast, Greek yogurt, water, sugar, salt, and oil in a bowl of a stand mixer fitted with a paddle attachment. Give it a quick stir before you start the machine so the flour won't disperse
- 3
Start beating the ingredients at low speed until it's combined, about 1 minute and then increase to medium speed and beat until the dough wrap around the beater and clears the sides of the bowl, about 5-7 minutes. It's a very sticky dough, but it should be very elastic after the beating/kneading.
- 4
--- First proofing: ---
- 5
Apply oil all over the inside of a large container. Scrape the dough into the container. Let it proof until double at a warm place, about an hour or so
- 6
--- Shaping: ---
- 7
Brush a half-sheet pan (about 18 x 13 inches) with oil and line with parchment paper, overhanging on the sides a bit. Oil the parchment paper on all sides. Scrape the dough out onto the prepared pan
- 8
Apply some oil on both of your hands and gently stretch the dough out to fill the pan, corner to corner. If the dough keeps retracting, give it a 5-minute break and try to stretch again. When the gluten relaxes, it will allow you to stretch the dough
- 9
--- Final proofing: ---
- 10
Oil a large cling wrap and cover the dough and let it proof again until it is very puffy. This may take another 45 minutes to 1 hour, depending on the temperature
- 11
15 minutes before the end of proofing, Place the oven rack in the middle and preheat the oven to 400 F (200 C) for a conventional oven. For a convection oven, lower the temperature by 20 F (15 C)
- 12
Remove the cling wrap. Sprinkled the thinly slice onion on top. Oil all ten fingers and start dimpling the dough with with all 10 fingers going straight in, touching the bottom of the pan and gently pull them out and move to another area and repeat this motion until you evenly dimple the dough. It's okay to push some onion slices in during the dimpling process. Do this gently. We don't want to deflate the dough.
- 13
--- Baking: ---
- 14
Place the pan in the positioned rack and bake for 30-35 minutes or until the top is golden brown or internal temperature at the center is at least 190 F
- 15
--- Prepare the topping: ---
- 16
While waiting for the bread to bake, peel a large onion and thinly slice it. Melt a butter in a pan and add the garlic. Cook them over low-medium heat to prevent the garlic from burning. Cook it for about 5 minutes or until they are fragrant and just very lightly browned. Remove from the heat and set aside
- 17
--- Cool down: ---
- 18
Get two cooling racks ready. Place the pan on top of a cooling rack and then grab the parchment paper and slide the focaccia out of the parchment onto another cooling rack. Use a metal spatula to help you release the bread from the parchment if some spots get stuck. You don't want the bread to stay inside the pan, as the condensation makes the bottom of the focaccia soggy . Place it on a cooling rack
- 19
Brush the garlic butter all over the surface of the hot focaccia. Use all of them
- 20
Let it cool down for 15 minutes on a cooling rack before serving. Serve it warm or at room temperature
- 21
--- Storage: ---
- 22
Even though focaccia is best on the same day, but from my experience, it keeps well for about 2 days when stored in an air-tight container at room temperature. It may lose it crispness, but this can be easily revived by reheating it
- 23
They also freeze very well. Let them cool completely. Cut into serving slices. Wrap them in plastic wrap and then another layer of aluminum foil won't hurt too. I then put inside a freezer bag, push all the air out and seal. They can be kept in the freezer for one month
- 24
--- How to reheat: ---
- 25
You don't need to thaw if it's frozen. Spray with a bit of water, loosely wrap in aluminum foil and then reheat in the oven at 375 F (190 C) for 10-15 minutes if frozen, about 5 minutes if not frozen. For the crispy top, you can expose the top and reheat for another 2-3 minutes and serve immediately
Cocínala con la receta original
Esta receta es de whattocooktoday.com. En su web tienes las fotos, las notas y los consejos del autor: es el mejor sitio para cocinarla.
Ver la receta en whattocooktoday.com