
Pan de pita casero
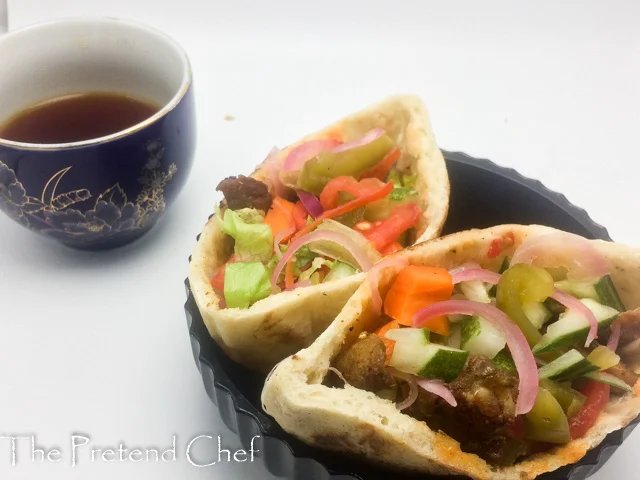
El pan de pita es un pan plano muy común en Oriente Medio y en las regiones mediterráneas. Se fermenta con levadura y suele llevar un bolsillo interior, aunque a veces no lo tiene.
Ingredientes
- 3/4 - 1 cup warm water
- 2 teaspoons active dry yeast
- 2 teaspoons sugar
- 2 cups flour
- 1 teaspoon salt
Preparación
- 1
In a small bowl put warm water, sugar and yeast, stir and leave in a warm place for 10 minutes. There should be air bubbles on the surface.
- 2
In another bowl, sift together flour and salt.
- 3
Pour in the yeast mixture. Mix and knead until you have a soft and pliable dough.
- 4
Rub oil in the bowl and roll the dough in it to coat the surface with oil. Cover the bowl and set aside for one hour in a warm place until double in size.
- 5
Knock the risen dough back.
- 6
Divide into fist-sized portions for large pita bread and smaller for small-sized bread.
- 7
Roll into balls, place on a floured surface and cover with a dishcloth, leave to rest for 10 minutes.
- 8
Place a dry pancake or frying pan over high heat.
- 9
Sprinkle a flat surface lightly with flour, and roll each ball into a 1/8-inch thin circle.
- 10
Lay on the pan and grill for about 30 seconds, until you see bubbles starting to form.
- 11
Flip and grill for 1-2 minutes, flip again and grill another 1-2 minutes, by now the bread should start puffing up.
- 12
You can press the surface gently with a fish slice to spread the bubble if it's only puffing up on one side. If it has small bubbles, press gently to encourage the formation of the pocket.
- 13
Place the Pita bread on a plate and cover with a dishcloth, tucking the sides underneath or place in a plastic bag to keep soft.
- 14
Keep cooking the rest of the Pitas.
- 15
--- For Flatbread ---
- 16
After rolling out, use the tips of your fingers to indent the surface.
- 17
Place on the hot frying pan and be pressing out the air from any bubble that forms.
- 18
--- Storage ---
- 19
Put Pita bread in an airtight bag and store it in the fridge. Warm in the microwave oven or toaster oven. Freeze Pita bread with wax paper in between or freeze separately and pack together when frozen. This will last for months.
Cocínala con la receta original
Esta receta es de thepretendchef.com. En su web tienes las fotos, las notas y los consejos del autor: es el mejor sitio para cocinarla.
Ver la receta en thepretendchef.com