
Tarta de maracuyá (sin horno)
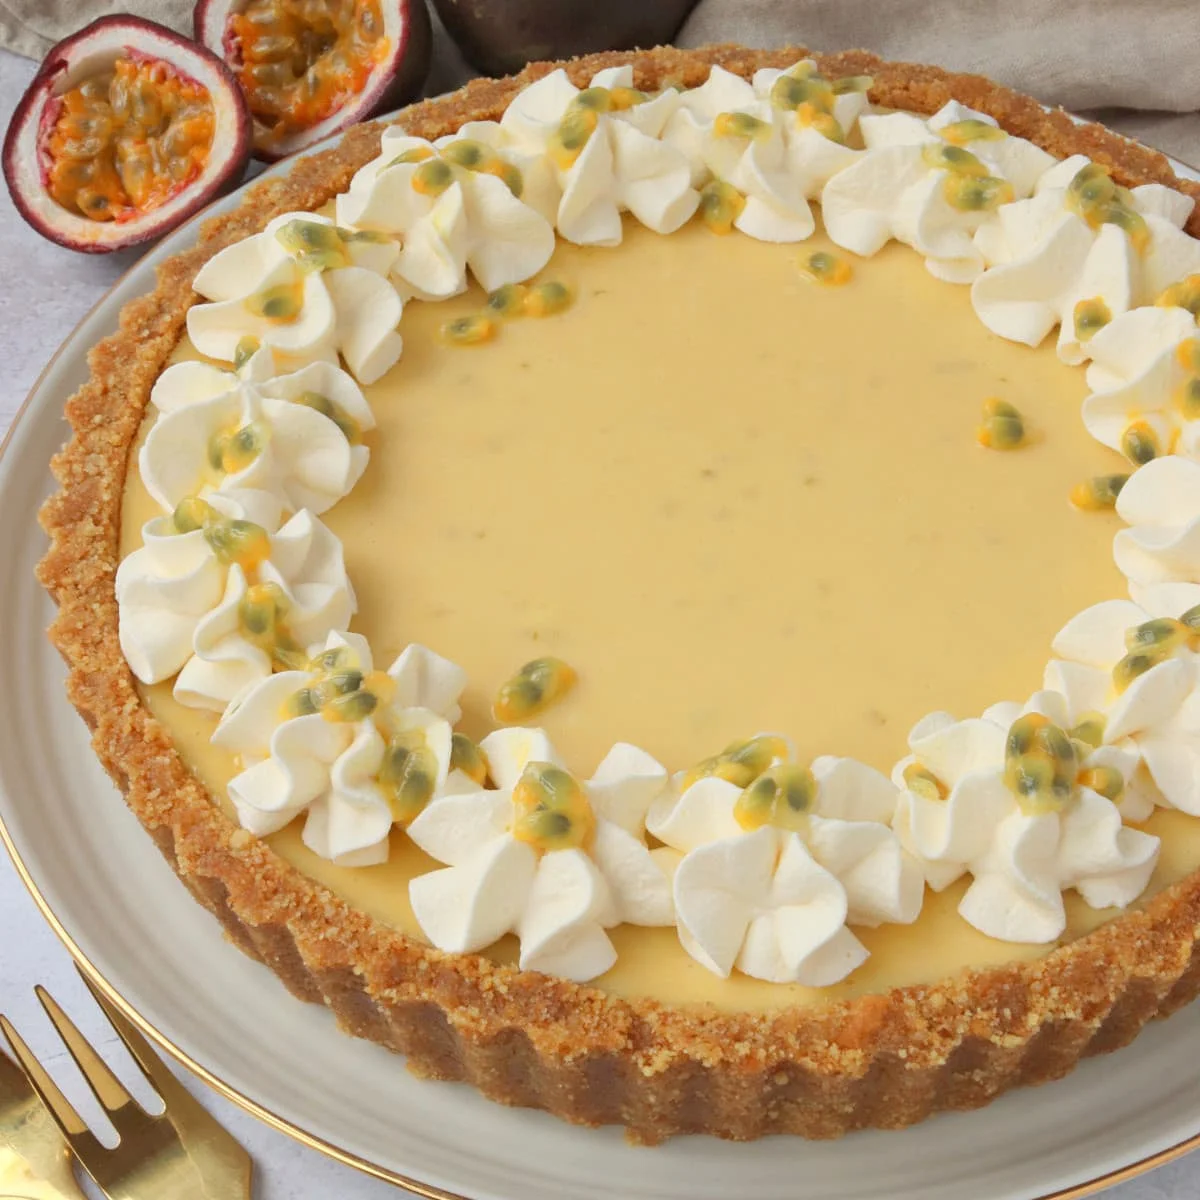
Una base de galleta con mantequilla rellena de un relleno cremoso de maracuyá, con lima y vainilla.
Ingredientes
- 275 g Digestive biscuits
- 135 g Butter or baking spread (melted)
- 550 ml Double cream
- 185 g Icing sugar
- 1 Lime (zest only, optional)
- 135 g Passion fruit puree (I used Funkin Pro)
- 2 tsp Vanilla extract
- 100 ml Double cream
- 1/2 tsp Icing sugar
- 1 Passion fruit (optional)
Preparación
- 1
Blitz the biscuits into crumbs using a food processor, or you can put them in a bowl or freezer bag and bash them up with the end of a rolling pin
- 2
Place the biscuit crumbs into a bowl. Add the melted butter and mix it in
- 3
Press the biscuit mixture into the base and sides of a 9" loose bottomed tart tin
- 4
Put the biscuit base in the fridge while you make the filling
- 5
Put the icing sugar into a large saucepan (the mixture will more than double in size when it boils so use one with high sides), then add the double cream slowly, whisking as your pour. Mix the icing sugar and cream together until smooth
- 6
If using, zest the lime into the cream mixture
- 7
Heat the cream mixture to a boil, stirring it constantly all the time. When it boils, let it boil for 2 minutes, again stirring it constantly while it boils
- 8
Take off the heat and stir in the passion fruit puree and vanilla extract
- 9
If you want to remove the lime zest, strain the mixture through a fine sieve into a jug. If not, pour the mixture straight into a jug
- 10
With the biscuit base still in the fridge, pour the filling into it. This will save any spillages trying to carry it to the fridge as you want the filling to be right to the top
- 11
Leave in the fridge for at least 4 hours, or ideally overnight, to set
- 12
For decoration, whip up the double cream with the icing sugar
- 13
Remove the tart from the tin and pipe the whipped cream around the edges. Then garnish with some fresh passion fruit if you like
- 14
Store the tart in the fridge and eat within 3 days
Cocínala con la receta original
Esta receta es de thebakingexplorer.com. En su web tienes las fotos, las notas y los consejos del autor: es el mejor sitio para cocinarla.
Ver la receta en thebakingexplorer.com