
Receta de crema inglesa de vainilla (crema pastelera líquida)
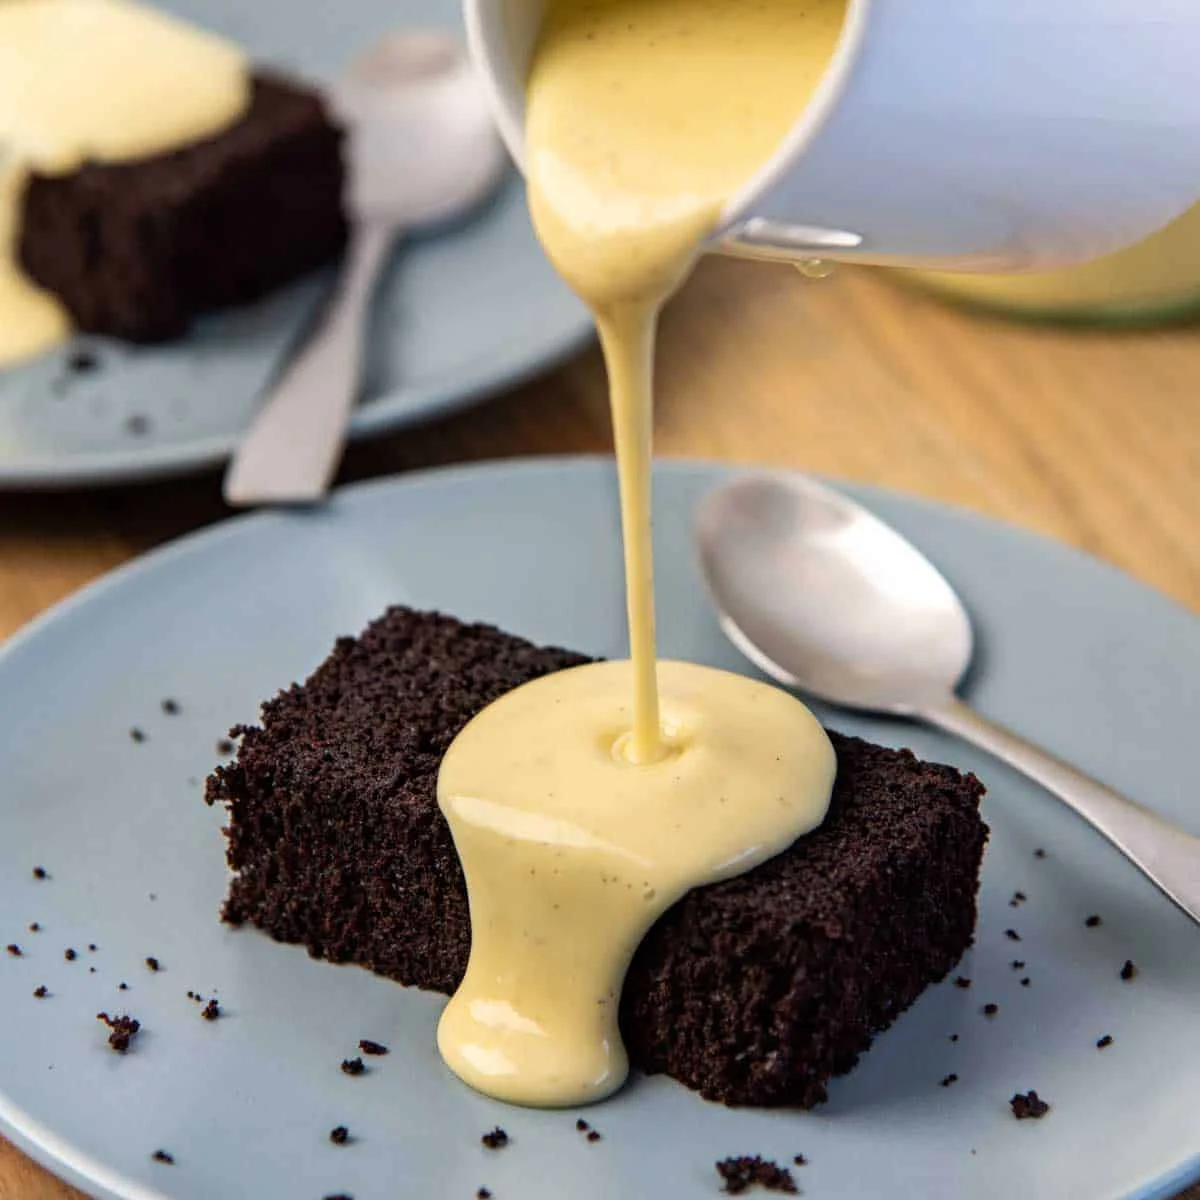
Una crema inglesa de vainilla (o crema líquida) cremosa, deliciosa y fácil de hacer. Combina muy bien con muchos tipos de postre también. Receta versátil que es fácil de adaptar para diferentes variaciones. FÁCIL: Es una receta muy sencilla. Pero debes tener paciencia con el proceso de cocción y el tiempo para evitar que se corte. Para los principiantes, también puedes añadir un poco de almidón de maíz para que la receta sea más infalible y fácil de evitar que se corte. Medidas de taza, cucharadita y cucharada basadas en EE. UU. Conversiones de medidas comunes. Se recomiendan medidas de peso para obtener resultados precisos.
Ingredientes
- 240 mL full-fat milk (or 2% milk, 1 cup)
- 240 mL heavy cream (35% fat, 1 cup, see recipe notes for substitutions)
- 4 egg yolks (from large eggs. You can also use 5 egg yolks for additional thickness and richness.)
- 75 g sugar (use 60 g for a less sweet version)
- 1/4 tsp sea salt
- 1 tbsp vanilla extract (or vanilla bean paste, see recipe notes for vanilla bean instructions)
- 10 g cornstarch (1 tbsp (optional) )
- 30 mL bourbon (2 tbsp. (optional), please see recipe notes if using bourbon )
Preparación
- 1
--- Prepare the milk and egg mixture ---
- 2
In a saucepan, combine the milk and heavy cream. Heat over medium / medium-high heat until the milk starts to steam. Make sure to regularly stir to prevent the milk from burning.
- 3
In a medium bowl or wide jug, place the egg yolks, sugar, salt, vanilla, bourbon (if using), and cornstarch (if using only). Whisk very well until the egg yolks become very smooth and start to turn pale in color. There should be NO egg yolk bits visible at this stage.
- 4
Once heated, remove the milk from the stove and use it to temper the egg mixture.
- 5
--- Tempering the egg mixture ---
- 6
Place the bowl with the egg mixture on a non-slip surface (i.e. on a rubber pad or wet cloth napkin placed on the kitchen counter).
- 7
Carefully pour the hot milk mixture in a thin stream into the egg mixture, making sure to constantly whisk the egg mix as the milk is poured in.
- 8
When about half of the milk is added to the egg mix, the egg mixture should be warm enough. Whisk it once more to make sure all the egg yolks are mixed in well (while scraping the sides of the bowl).
- 9
Pour this egg and milk mixture back into the saucepan with the remaining milk. Whisk well to combine.
- 10
--- Cooking the custard ---
- 11
Lower the heat to a medium low heat, and return the saucepan to the stove. If the custard is cooking too fast (forming lumps), then lower the heat further. See notes.
- 12
Cook the custard while constantly stirring with a rubber spatula until the custard thickens. This can take anywhere between 4 - 10 minutes, depending on the stove, size of the saucepan, and saucepan material. Make sure to scrape the edges, sides, and bottom of the pan as you stir to evenly heat the custard.
- 13
The custard will start to thicken as it reaches the correct temperature. The custard is done when it's thick enough to coat the back of a spoon with a film of custard. When you draw a line through this custard film with your fingertip, the line will remain and the custard will not move in to fill that space (please see pictures in the post for reference). The temperature of the custard should be 180 - 185°F (82 - 85°C).
- 14
Once the custard is cooked, remove it from the heat. Pass it through a sieve into a bowl or container and let it cool down to the desired temperature.
- 15
You will need to gently whisk or stir the custard before you use it, since it will form a skin on top after a while.
- 16
The custard can be served warm or at room temperature. You can also serve it chilled if you prefer.
Cocínala con la receta original
Esta receta es de theflavorbender.com. En su web tienes las fotos, las notas y los consejos del autor: es el mejor sitio para cocinarla.
Ver la receta en theflavorbender.com