
Tarta de Queso Biscoff Fácil (Horneada)
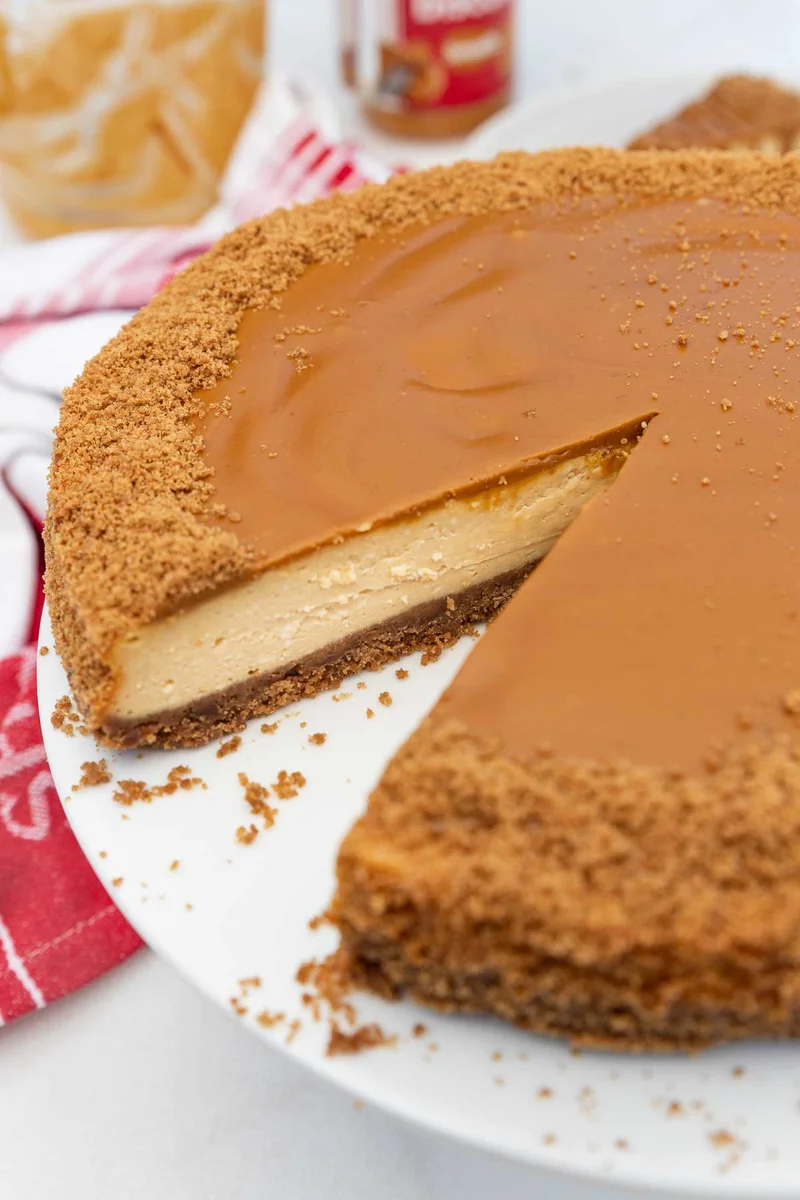
Esta tarta de queso Biscoff horneada es el tipo de postre del que sigues cogiendo un bocado más a escondidas. Tiene una base crujiente de mantequilla, un relleno cremoso de tarta de queso y ese inconfundible y delicioso sabor caramelizado y especiado a Biscoff. ¿Lo mejor de todo? Se prepara con solo 8 ingredientes sencillos.
Ingredientes
- 10.5 ounces Biscoff cookies ((about 9 ounces/250 grams for the crust, and the rest for decorating at the end))
- 6 tablespoons butter ((salted is nice, but unsalted is OK, too))
- 2 cups cream cheese (softened (2 cups is about 16 ounces/450 grams))
- 2/3 cup heavy cream ((double cream))
- 2 large eggs
- 1 teaspoon vanilla essence ((optional))
- 1 cup Biscoff spread (cookie butter)
- 3 1/2 ounces white chocolate (melted in a glass jug or bowl in the microwave in 2 or 3 30-second bursts)
- extra Biscoff spread (2 to 3 tablespoons), for serving, if you like
Preparación
- 1
Line the springform pan.: Spray the inside of a 9-inch springform pan (round pan with removable sides) lightly all over with oil, then line the base with baking paper. I usually place the base on the paper, draw around it and cut it out, then press it into the bottom of the fully assembled pan.
- 2
Crush the biscoff cookies.: Crush the Biscoff cookies either by pulsing them in a food processor (fastest!) or by piling them into a ziploc bag and hitting them with a rolling pin until you have fine crumbs.
- 3
Melt the butter and stir in the cookie crumbs.: Melt the butter in a saucepan on a low heat, or in the microwave in a large bowl (cover the bowl to prevent splattering). Then stir in around 2 cups (9 ounces/250g) of the Biscoff cookie crumbs (save the rest for decorating).
- 4
Push the cookie crust down into the pan.: Empty the cookie mixture into the lined baking pan. Push it down and to the edges with the back of a metal spoon. Then pop it into the fridge just while you make the cheesecake filling.
- 5
Preheat oven and whisk filling ingredients together.: Preheat the oven to 300F/150C (or 265F/130C fan oven). To make the filling, in a very large mixing bowl beat the softened cream cheese with the eggs and vanilla until smooth with a handheld whisk. Then beat in the cream, followed by just under half a cup of the Biscoff spread (around 7 tablespoons/3.5 ounces/100 grams), slightly warmed in the microwave so that it's easier to mix in. Finally, whisk in the melted white chocolate. Alternatively, you can simply whisk everything together all in one go!
- 6
Add filling to base, then bake for 45 minutes.: Scrape the filling onto the cookie base and spread it out evenly. Then bake for 40 to 50 minutes, or until the edges are set and the center is still slightly wobbly (it will set fully as it cools). Then turn off the oven, open the door slightly and let the cheesecake cool inside for about an hour.
- 7
Let cool then chill.: Let the cheesecake cool completely on a wire rack, then cover and chill for at least 4 hours, or preferably overnight.
- 8
Warm Biscoff spread, brush around the sides, and sprinkle over crumbs.: Now warm the rest of the Biscoff spread (just over half a cup or 150 grams) in the microwave until it's pourable - about 20 seconds, then check. Use a pastry brush to brush a little of the warm spread all around the side of the cheesecake. Then gently lift the cheesecake up and sprinkle some of the leftover crumbs to cover the sticky side.
- 9
Pour warmed Biscoff spread over the top and add crumb decoration.: Pour the warmed Biscoff spread all over the cheesecake and quickly spread it nearly to the edge. Before it sets, sprinkle a roughly 1 inch border of cookie crumbs around the top edge of the cheesecake.
- 10
Chill again then serve.: Chill the cheesecake again until the topping has set (about 2 to 3 hours). To serve, remove the side of the cheesecake pan (I usually keep the base on for easier slicing). Slice with a hot knife, wiping between cuts. Serve with a bit more warm biscoff spread drizzled over the top of each slice, if you like.
Cocínala con la receta original
Esta receta es de scrummylane.com. En su web tienes las fotos, las notas y los consejos del autor: es el mejor sitio para cocinarla.
Ver la receta en scrummylane.com