
Tarta de crema de limón y huevo | Apta para adelgazar
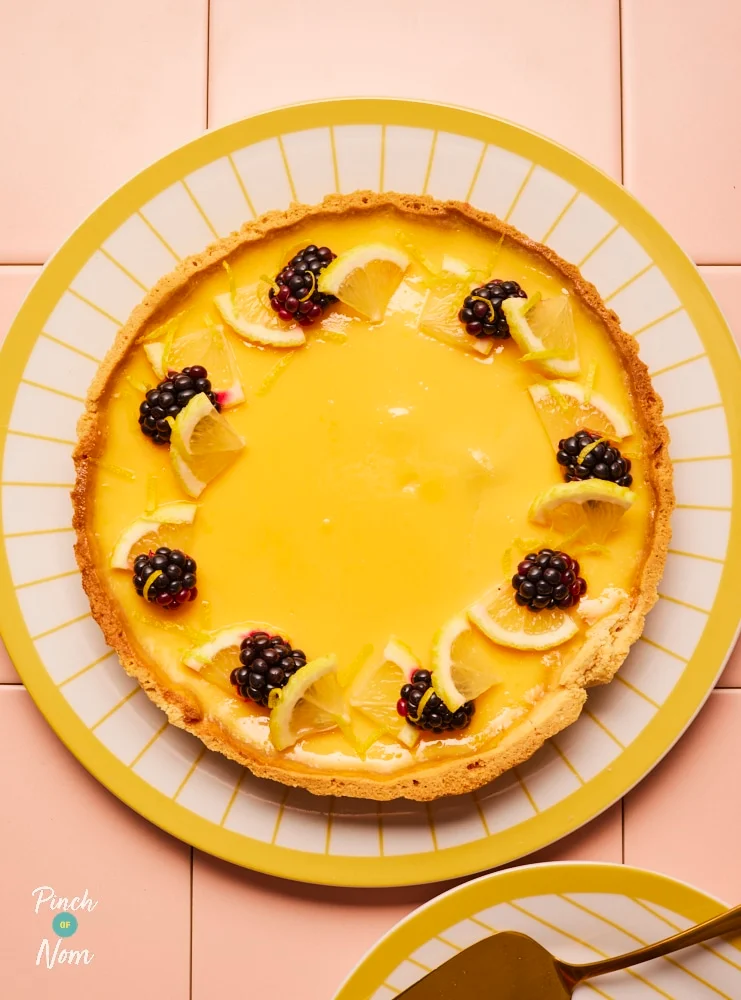
Esta tarta de crema de limón es el equilibrio perfecto entre dulce y ácido, con un relleno cremoso apto para dietas y una base de masa quebrada mantecosa. Decorada con rodajas de limón fresco y moras jugosas, tiene una pinta y un sabor increíbles.
Ingredientes
- 220 g shortcrust pastry
- 3 medium eggs
- 80 g white granulated sweetener
- 150 ml light double cream alternative
- 150 ml skimmed milk
- 1 lemon ((zest and juice))
- 8 blackberries
- 4 slices of lemon, (cut in half)
Preparación
- 1
Preheat the oven to 200°C.
- 2
Press the pastry sheet into a 20cm sandwich tin, leaving an overlap over the edge of the tin. Be careful to press firmly into the edges. Place into the fridge for 10 minutes.
- 3
Line the pastry with a square of non-stick baking paper and pour in some baking beans. Bake for 10 minutes. Remove the paper and baking beans, and bake for a further 12 minutes — until lightly golden.
- 4
Remove from the oven and lower the temperature to 150°C. Using a sharp knife, trim the edges of the pastry in line with the top of the tin. Leave to one side.
- 5
Add: To a mixing bowl, add the eggs, sweetener, lemon juice, and lemon zest, reserving 1 tsp of zest for later. Whisk with a balloon whisk, until fully combined.
- 6
Add the cream alternative and milk to a small saucepan and set on a low-medium heat. Heat until just simmering — do not boil. Pour into the egg mixture very slowly, continuing to whisk the egg mixture as you pour in the hot cream and milk.
- 7
Place the cake tin onto a baking tray and set on a shelf in your oven. Pour the egg and cream mixture into the pastry case and bake for 35 minutes.
- 8
Leave: The custard should be set round the edges, but still have a slight wobble in the centre. Leave to cool completely in the tin.
- 9
Remove the tart from the tin and transfer to a plate. Place the lemon slices and blackberries around the edge of the tart, then sprinkle over the reserved 1 tsp lemon zest. Slice and serve!
Cocínala con la receta original
Esta receta es de pinchofnom.com. En su web tienes las fotos, las notas y los consejos del autor: es el mejor sitio para cocinarla.
Ver la receta en pinchofnom.com