
Bastoncitos de hojaldre con bacon y queso
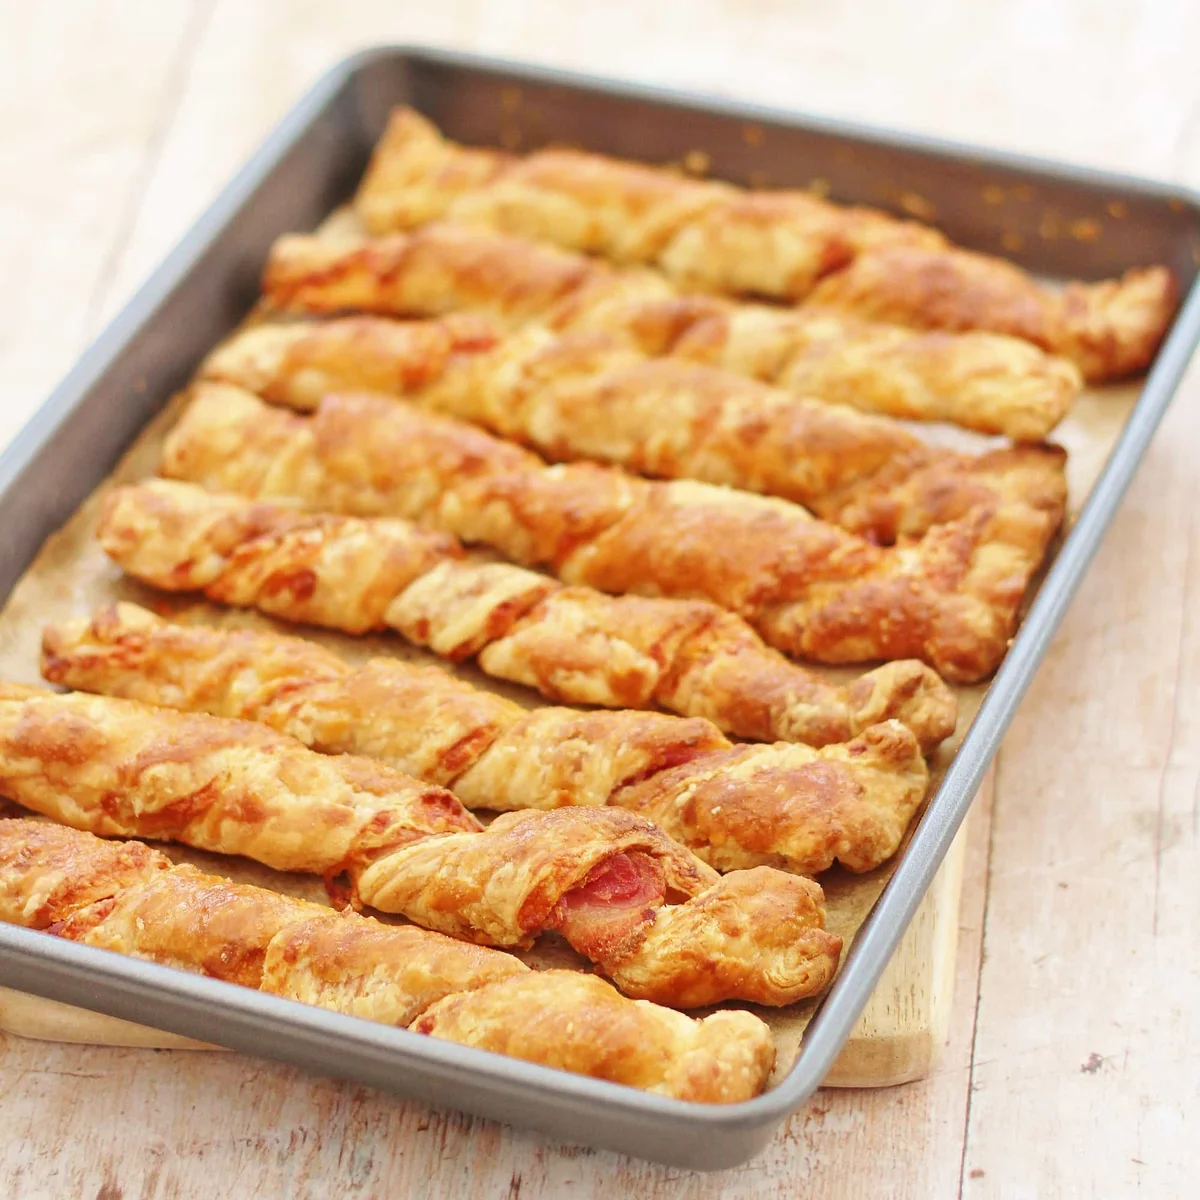
¿Qué hay mejor que unos simples bastoncitos de queso? ¡Pues unos bastoncitos de bacon y queso! Estas sencillas espirales de hojaldre se elaboran con bacon ahumado, mostaza de Dijon y queso cheddar curado para ofrecer una deliciosa variante de los clásicos bastoncitos de queso. Son unos aperitivos o tentempiés excelentes para fiestas. Gustan por igual a mayores y pequeños, son súper fáciles de hacer ¡y solo requieren 10 minutos de preparación!
Ingredientes
- Oil for greasing (or greaseproof paper)
- Plain flour for dusting your worksurface
- 320 g pack ready rolled puff pastry (see note)
- 75 g mature cheddar cheese
- 2 tablespoons Dijon mustard (optional)
- 8 rashers (strips) streaky bacon
- 1 egg (beaten)
Preparación
- 1
Lightly grease a large baking tray with a little oil or line with greaseproof paper.
- 2
Lay out the ready rolled pastry on a floured surface, sprinkle the cheese all over the pastry and fold in half.
- 3
Roll out the pastry to roughly 25 x 40cm (10 x 16 inches). It should be wide enough to place 8 rashers of bacon side-by-side and just a little longer than 1 rasher of bacon in the other direction (see picture above).
- 4
Spread the pastry with the mustard and then lay out the bacon so the bacon is just touching but not overlapping.
- 5
Cut down between the bacon, so you have 8 strips, then twist each strip several times and place on the prepared baking tray.
- 6
Chill the twists for a minimum of 20 minutes in the fridge.
- 7
Just before you plan on cooking the cheese straws, heat your oven to 220C / 200C / gas mark 7 / 425F.
- 8
Remove the cheese straws from the fridge and brush with the beaten egg.
- 9
Cook for 25-30 minutes, or until golden on top and cooked all the way through.
- 10
Eat as soon as they are cool enough to hold.
- 11
Store any uneaten cheese straws in an airtight container in the fridge for up to 3 days. Reheat for 10 minutes at 220C / 200C / gas mark 7 / 425F or until piping hot all the way through.
Cocínala con la receta original
Esta receta es de easypeasyfoodie.com. En su web tienes las fotos, las notas y los consejos del autor: es el mejor sitio para cocinarla.
Ver la receta en easypeasyfoodie.com