
Lumpiang Gulay (rollitos de primavera vegetales filipinos) con vinagre agridulce rosado
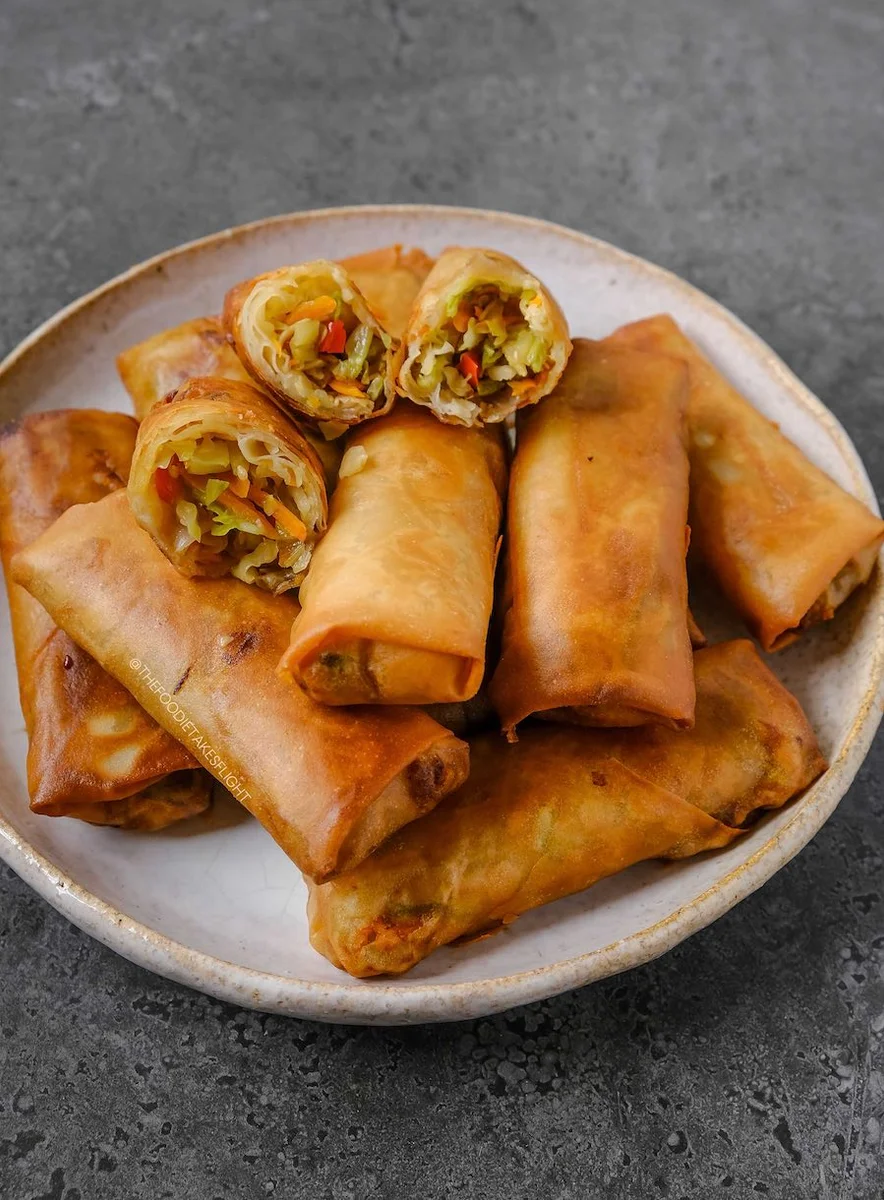
El lumpia o rollito de primavera es un elemento básico de la cocina filipina. Hay diferentes variaciones como el Lumpiang Ubod y el Lumpiang Togue, pero todos se cocinan de la misma manera: envolviéndolos en masa de harina antes de freírlos hasta que queden crujientes y acompañándolos con una salsa a base de vinagre. Estos Lumpiang Gulay están rellenos de una mezcla de repollo y algunas verduras más. Me encanta usar repollo en filipino por su textura crujiente y su toque dulce. ¡Están deliciosos como aperitivo o acompañados de un poco de arroz!
Ingredientes
- 12 pieces flour spring roll or lumpia wrappers
- 1 tbsp neutral oil
- 1 small red onion diced
- 2 cloves garlic minced
- 5 cups (500g) shredded cabbage
- 1 cup (120g) shredded carrot, from 1 medium carrot
- 150 g green beans or bitswelas (ends and veins removed then thinly sliced)
- 1 (80g) small red bell pepper, thinly sliced
- 1 (80g) small green bell pepper, thinly sliced
- 1 tsp salt or to taste
- 1 tbsp soy sauce (or to taste)
- 1/4 tsp ground pepper
- Neutral oil (for frying)
- 1/4 cup distilled white vinegar
- 1/4 tsp salt
- 1 tbsp organic cane sugar (adjust depending on
- 1/2 red onion (diced)
- 1/4 tsp crushed black
- 1 fresh bird’s eye chili (sliced)
Preparación
- 1
--- Preparing the Filling ---
- 2
Heat a large pan or wok over medium high heat. Once hot, add in oil then sauté the onion, scallions, and garlic. When cooked, add in the carrots. Sauté for 2 to 3 minutes over high heat until tender. Afterwards, add in the rest of the vegetables and cook over medium high heat. Mix occasionally to ensure the veggies don’t burn and stick to the bottom of the pan.
- 3
Add a splash of water to cook down the vegetables, if added. Season with the soy sauce, salt, and pepper. Mix well and cook for another 3-4 minutes over medium heat until cooked through and water from the vegetables have evaporated.
- 4
Taste the filling and feel free to adjust the seasoning according to your desired flavours. Turn off the heat and transfer the filling to a bowl. Set the filling aside and leave to cool for a few minutes.
- 5
--- Wrapping the Spring Rolls ---
- 6
Prepare the wrappers by carefully separating them from one another. Make sure they’ve been thawed and are at room temperature. This way, they’re pliable and won’t easily break. Prepare a small bowl of room temperature water as well.
- 7
You can watch the video below on how to wrap spring rolls.
- 8
Add in 2 tbsp* of the filling on the bottom of the wrapper. Slowly roll to the top then fold the sides before continuing to roll to the top and sealing the edge with water.
- 9
*Note: the amount of filling to place in each will depend on the size of your wrappers
- 10
--- Cooking the Spring Rolls ---
- 11
Heat a deep frying pan over high heat with oil enough to submerge at least half of the spring rolls. Once hot, place a few rolls. Cook over medium high heat.
- 12
Flip after 2 minutes or until golden brown to cook the other side. Once both sides are golden brown, remove from the oil. Transfer the rolls on a strainer or on a plate lined with some paper towels to drain any excess oil. Do not turn off the heat until all rolls are cooked and have been removed from the pan, to ensure they won’t absorb the oil.
- 13
Let cool for a few minutes. Do not cover the spring rolls or stack them on top of one another while still hot, so they stay crispy. Enjoy the rolls while hot and dip in some vinegar!
- 14
--- Baking Option ---
- 15
You can also bake the spring rolls by brushing the rolls with some oil before placing them on a lined baking tray and baking them in the oven for 40 minutes at 400F, flipping halfway through. They will of course not turn as evenly golden brown and juicy, but still very crispy!
- 16
--- Sweet Chili Pink Vinegar ---
- 17
Add the white vinegar, salt, and sugar in a bowl until the sugar is diluted. Add in the rest of the ingredients.
- 18
Enjoy as a dipping sauce! You can store this at room temperature in an airtight container for up to 2 weeks (or even longer!).The onions will continue to absorb the flavours and also release its pink colour.
Cocínala con la receta original
Esta receta es de thefoodietakesflight.com. En su web tienes las fotos, las notas y los consejos del autor: es el mejor sitio para cocinarla.
Ver la receta en thefoodietakesflight.com