
Hamburguesas de bisonte jugosas
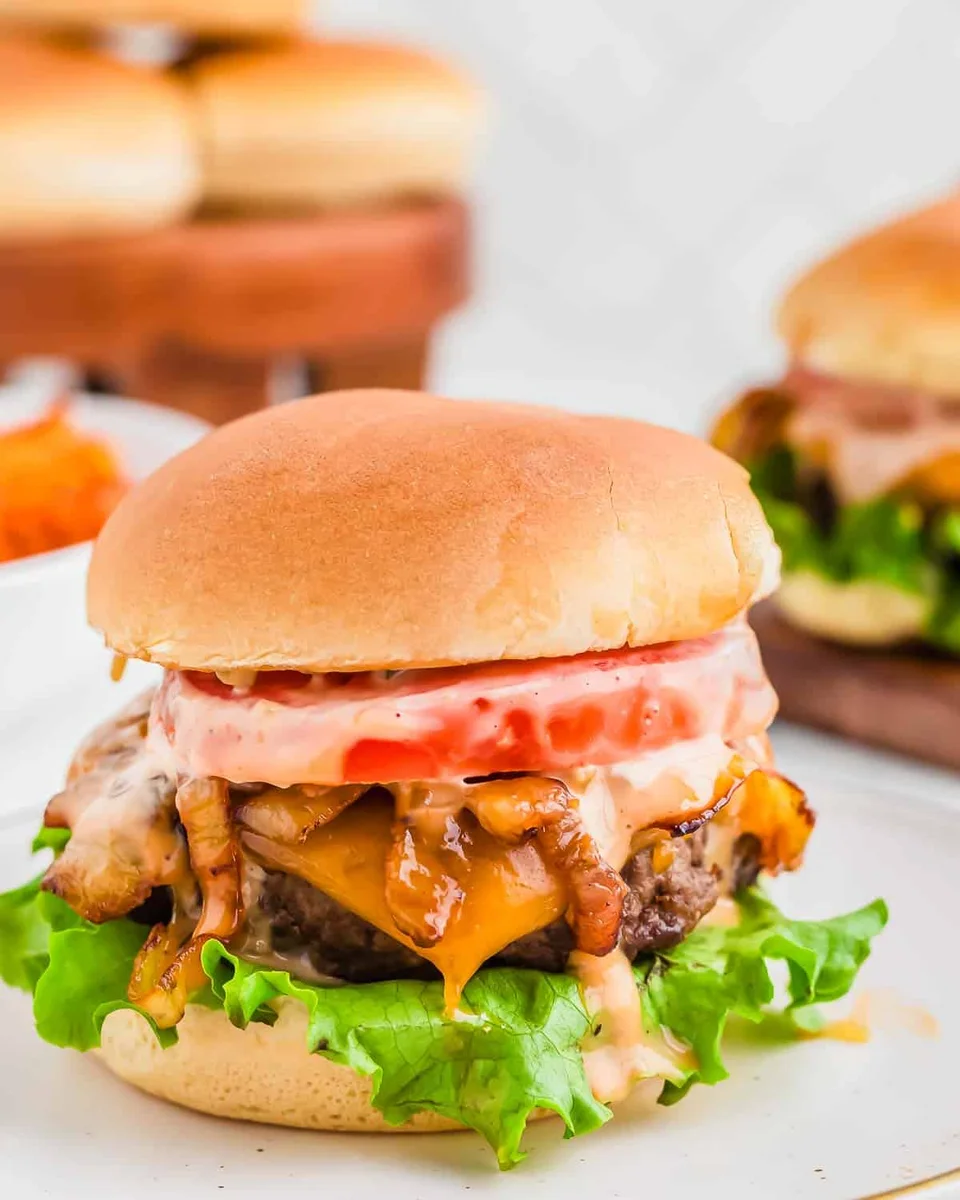
Estas jugosas hamburguesas de bisonte son una alternativa magra y deliciosa a la carne de ternera. Cubiertas con todos tus ingredientes favoritos, incluida una salsa para hamburguesas irresistible, son perfectas para el verano.
Ingredientes
- 2 pounds ground bison
- 1 teaspoon kosher salt
- 1/2 teaspoon ground black pepper
- 1/2 teaspoon garlic powder
- 1/2 teaspoon onion powder
- 1 tablespoon Worcestershire sauce
- 4 of your favorite squishy (soft hamburger buns)
- 4 slices cheddar cheese
- Sliced tomato
- Bibb or green leaf lettuce
- Dill pickles
- Caramelized onions
- Ketchup
- Mayonnaise
- Burger sauce
Preparación
- 1
Combine the ground bison with the salt, pepper, garlic powder, onion powder and Worcestershire sauce in a bowl. Gently combine with your hands.
- 2
Form into equal sized patties that are slightly (about 1”) larger than the buns you plan to use and make a small indent with your thumb in the middle of the patty — this helps the meat not balloon in the center as it cooks.
- 3
--- Grill Option ---
- 4
Preheat a gas or charcoal grill to a high heat. Make sure the grates are clean and hot then place the burger patties directly over the heat and grill for about 3 minutes before flipping over and grilling the other side. Don’t flip the patties prematurely, they should easily release from the grill grates when they’re ready to be flipped.
- 5
Top with cheese if using during the last minute of cooking and cover the grill so it melts nicely. Remove the burgers from the grill and let rest for 5 minutes before assembling them on a bun with your desired toppings.
- 6
--- Stove Top Option ---
- 7
Heat 2 tablespoons of butter in a cast iron skillet over medium-high heat. Once hot, place the bison burgers in the skillet and cook for 2-3 minutes without touching them before flipping and cooking for the same amount of time on the other side or until they are medium-rare to medium.
- 8
If using cheese, add it on top of the burgers in the last minute of cooking and cover the skillet with a lid to allow it to melt. Follow the same resting period as the grill before assembling.
Cocínala con la receta original
Esta receta es de runningtothekitchen.com. En su web tienes las fotos, las notas y los consejos del autor: es el mejor sitio para cocinarla.
Ver la receta en runningtothekitchen.com