
Las costillas de cerdo barbacoa chinas que mi padre ha hecho 100.000 veces
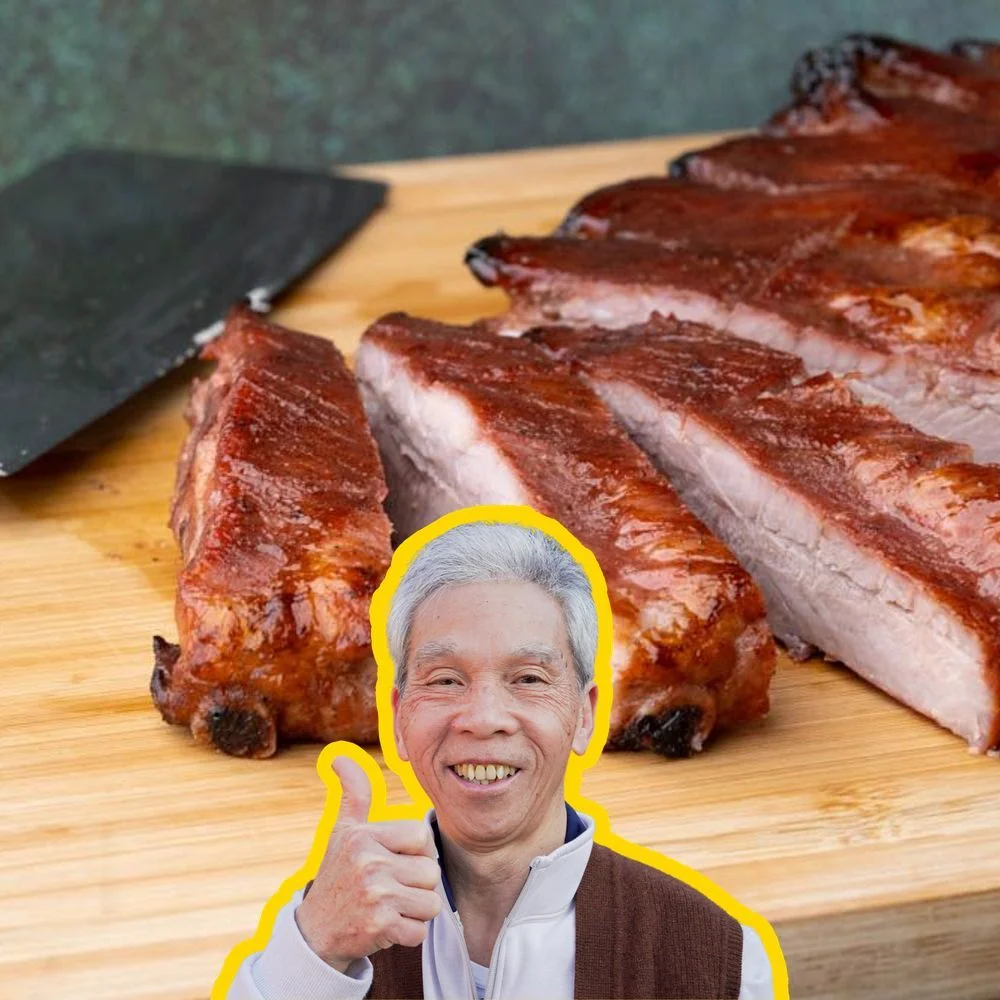
Aprende a hacer costillas de cerdo barbacoa chinas de la mano de un chef chino galardonado dos veces con el premio James Beard y con más de 60 años de experiencia
Ingredientes
- 3 lb pork rib
- 1 tbsp garlic salt
- 1 tbsp sugar
- 2 tsp salt
- 1 tsp white pepper
- 2 tbsp ketchup
- 2 tbsp Chinese cooking wine
- 0.5 tsp five spice powder
- 0.25 tsp red food coloring
- 2 tbsp maltose/honey
Preparación
- 1
Prepare the spare ribs: Create cuts between the bones and along the thick side of the ribs so that the meat takes on the flavors better and that it cooks faster.
- 2
Rub seasoning: Rub garlic salt onto the ribs. Make sure to cover all surfaces on both sides. Pay special attention to the slits that you made earlier.
- 3
Create marinade: In a medium bowl, mix sugar, salt, white pepper, ketchup, cooking wine, five-spice powder, and red food coloring (which is optional). Set aside for the next step.
- 4
Marinate and refrigerate ribs: Place ribs in a tray lined with a plastic sheet and spread the marinade thinly onto both sides of the ribs. Wrap ribs with the plastic sheet when finished.
- 5
Prepare glaze: For the glaze, you can use maltose or honey. Brush it over the spare ribs and they'll glisten and taste great.
- 6
Rest and bake ribs: Remove ribs from the refrigerator and allow them to rest for about an hour. Preheat the oven to 400° F, which is 204° C.
- 7
Glaze ribs: After 30-35 minutes of baking, remove the ribs and brush your glaze of choice onto them.
- 8
Rest ribs, cut, taste test & plate: Once the ribs have been baking for about 45 minutes in total, take it out and let it rest for 10 minutes.
Cocínala con la receta original
Esta receta es de madewithlau.com. En su web tienes las fotos, las notas y los consejos del autor: es el mejor sitio para cocinarla.
Ver la receta en madewithlau.com