
Pan blanco trenzado
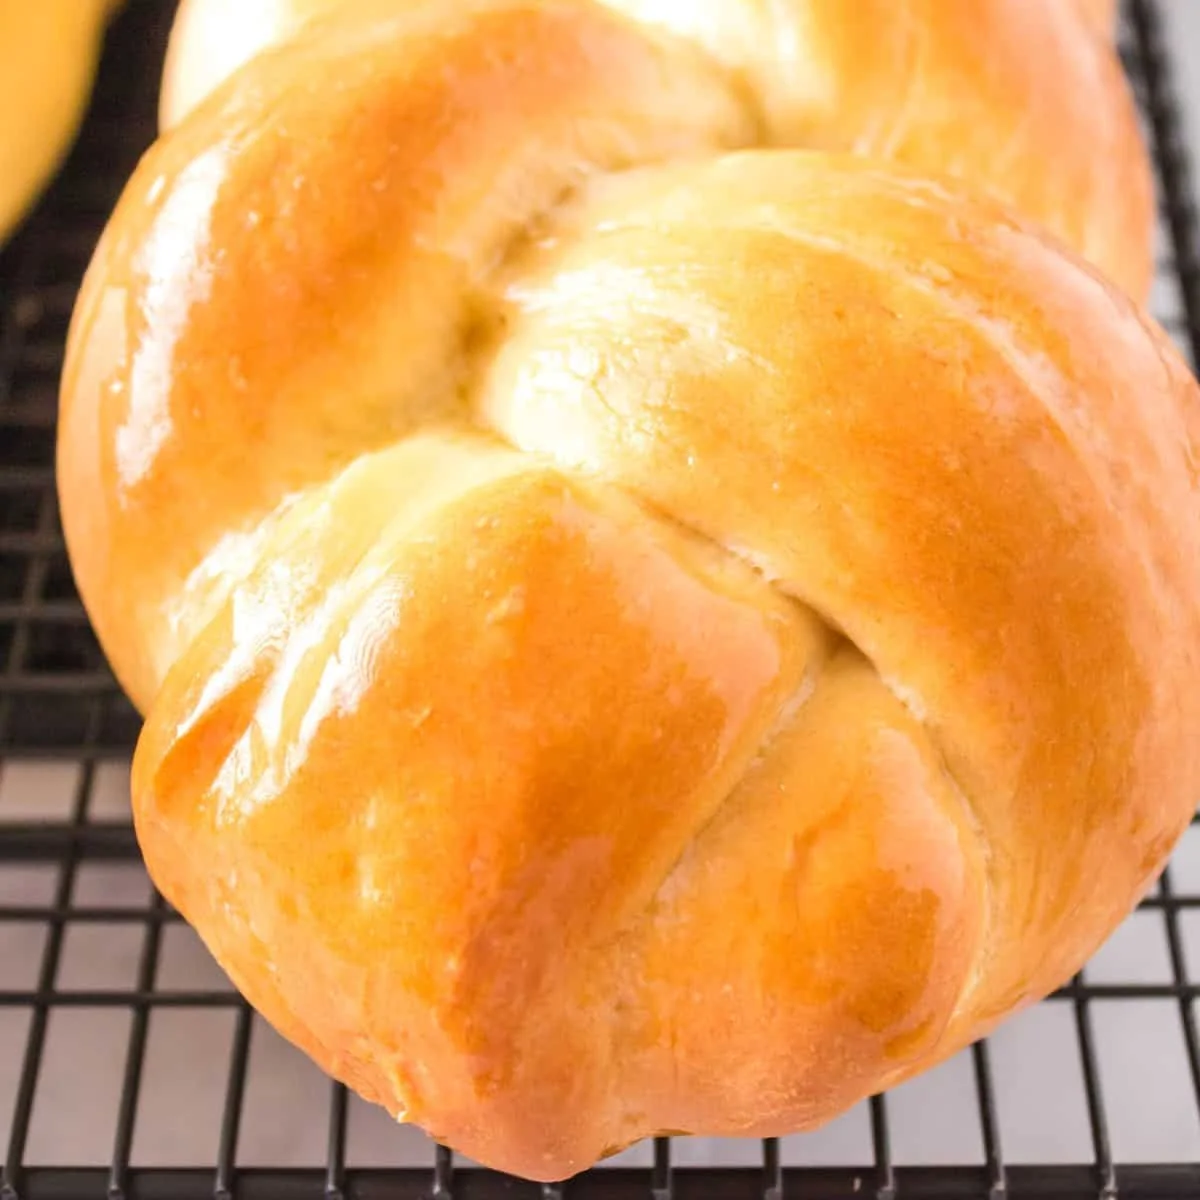
Este pan blanco trenzado es perfecto para tu mesa de Pascua o para cualquier comida en la que sirvas sopa, estofado, pasta o ensalada. Ofrece una presentación preciosa y memorable que a todo el mundo le encantará probar.
Ingredientes
- 2 1/2 teaspoons active dry yeast
- 1 cup of warm water (approximately 95 degrees F, divided)
- 2 tablespoons granulated sugar (you can also use raw sugar)
- 1/4 cup unsalted butter (room temperature (salted butter works as well))
- 2 large eggs
- 1 teaspoon salt
- 4 cups unbleached all-purpose flour
Preparación
- 1
In a bowl of a stand-up mixer, with dough hook attachment, combined yeast, ½ cup of water, and granulated sugar. Let it sit for 4 to 5 minutes until the yeast bloom or foam up.
- 2
*NOTE* This step is important. If the yeast does not bloom up or foam up, it means your yeast is not active, which will lead to bread not rising. Using water that is too hot can kill the yeast, and water that is too cold can delay yeast reaction. If the yeast does not bloom, restart this step with fresh yeast.
- 3
Once the yeast mixture is ready, add the remaining water, butter, eggs and salt to the mixture. Mix for 30 seconds.
- 4
*NOTE* If you forgot to take the butter out of the fridge to let it come out to room temperature, it’s ok; I have done it. If you have to soften up in the microwave, pay attention not to melt it. I use a softened preset or melt in 15 secs increments at 50% power. Before putting the butter in the yeast mix, also make sure it is not too hot. Remember, heat kills the yeast.
- 5
--- MAKING THE BREAD ---
- 6
At low speed in the mixer, add the flour 1 cup at a time, so it allows the flour to be incorporated in the dough not fly everywhere.
- 7
Once you have added all the flour, keep mixing in the stand-up mixer for 5 minutes at medium speed. The dough will form a ball and separate from the walls of the bowl.
- 8
*NOTE* You know the dough is ready when pushing your index finger in the dough, it creates an indent, and no dough sticks to your fingers.
- 9
Transfer the dough to a lightly greased oiled bowl and cover with plastic wrap. Let it rise in a warm, draft-free place for approximately 1 hour or until the dough is doubled in size.
- 10
Punch the dough in and on a lightly floured surface, knead the dough 3 or 4 times.
- 11
Divide the dough into 6 equal pieces.
- 12
MAKING THE BRAID
- 13
Line a cookie sheet with a silicone mat or parchment paper. Set aside
- 14
Roll each dough part into a log, approximately 20 inches long.
- 15
Put 3 strands on the side for the second braid.
- 16
Take 3 dough “strands” place them close to each other, not touching, in front of you.
- 17
Take the middle strand and cross over the left stand in the middle.
- 18
*NOTE* We start in the middle of the strand so the braid will be more uniform.
- 19
Take the “new” middle strand and put it over the right strand.
- 20
Repeat the movements until the end of the strand and pinch the ends together.
- 21
Finish the other half of the braid with the remaining bread dough. Pinch the end and transfer to a cookie sheet (I used a cookie sheet with a silicone mat, but parchment paper would have worked just as well.
- 22
Make the second braid and put it on the same cookie sheet. Make sure they are not touching.
- 23
Cover with plastic wrap and let it rise for 45 minutes.
- 24
Start the oven at 350 degrees F.
- 25
Take the plastic wrap off and bake the braids for 25 minutes or until golden brown.
- 26
Once they are done, brush some butter over the braid. Let it cool for 15 minutes.
- 27
Serve and Enjoy!
Cocínala con la receta original
Esta receta es de noshingwiththenolands.com. En su web tienes las fotos, las notas y los consejos del autor: es el mejor sitio para cocinarla.
Ver la receta en noshingwiththenolands.com