
Quiche de brócoli y queso cheddar
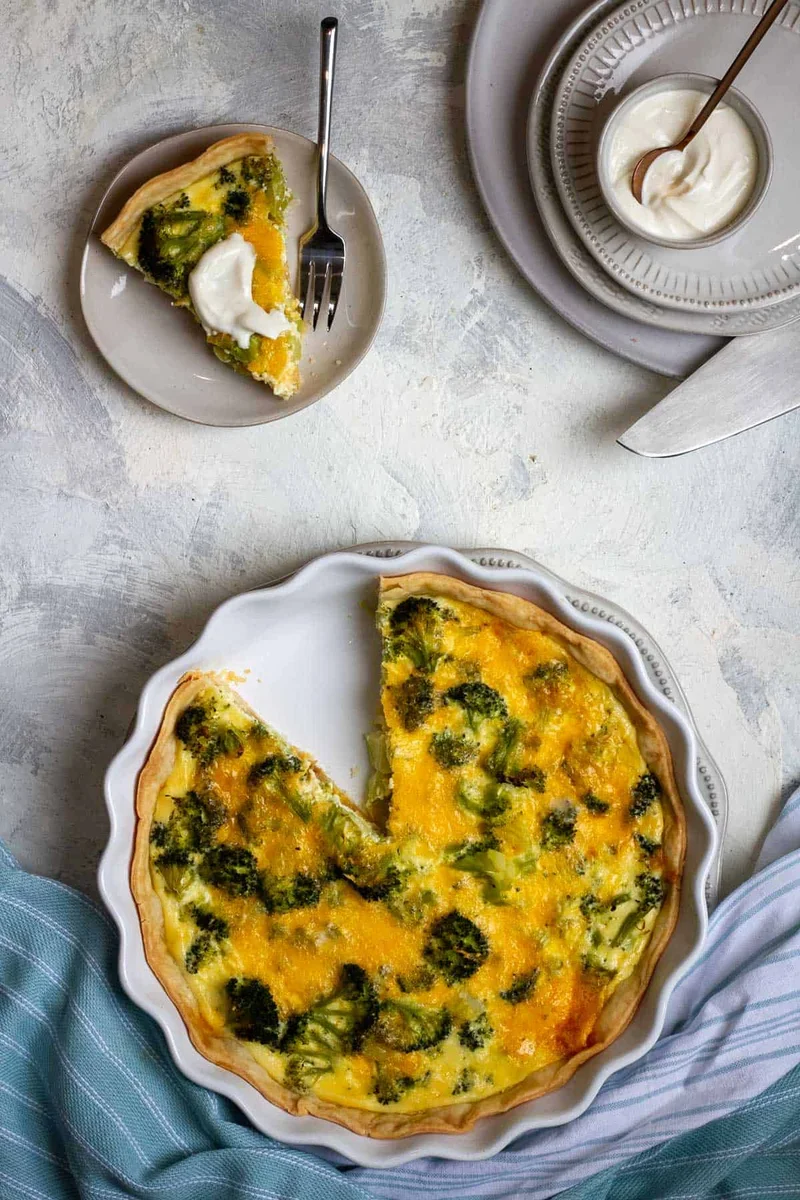
Esta quiche de brócoli y queso cheddar utiliza huevos, brócoli al vapor y queso cheddar, y es fácil de preparar con antelación para un desayuno o almuerzo lleno de sabor.
Ingredientes
- 1 9" pie dough (prepared)
- 1 broccoli crown or head, cut into bite-size pieces (~3 cups broccoli)
- 1 tablespoon olive oil
- 1 onion, diced
- 1 teaspoon salt
- 2 cloves garlic, roughly chopped
- 4 ounces cheddar cheese, freshly grated (Use sharp, medium, or mild; yellow or white)
- 1 ounce Parmesan, freshly grated
- 3 eggs
- 2/3 cup milk
- 1/3 cup heavy whipping cream
- 1/2 cup plain Greek yogurt
- 2 teaspoons rice wine vinegar (or sub lemon juice)
- 2 teaspoons Dijon mustard
- 1/4 teaspoon salt
Preparación
- 1
Pre-heat oven to 350ºF.
- 2
--- Blind Bake Pie Dough: ---
- 3
Arrange pie dough inside a pie pan. Prick the bottom and sides with a fork. Set parchment paper on top of dough, and add pie weights or dry beans. Bake 10 minutes. Remove weights and parchment paper.Tip: Pre-made, pre-formed, frozen pie dough will not need pie weights added while blind baking.
- 4
--- Steam Broccoli: ---
- 5
Add 1" water to a medium-sized pot. Bring to a boil. Add the steamer basket and then the broccoli. Cover the pot and steam for 5 minutes.Remove the broccoli and set aside. Discard the water and set aside the steamer basket.
- 6
Add olive oil to the pot. Heat over medium heat until the oil shimmers.Add the onion and salt. Cook until the onion begins to soften, about 5 minutes. Add the garlic and cook 2 more minutes until the garlic is fragrant. Remove from heat.
- 7
--- Make the Quiche: ---
- 8
Gently press half the cheese into the pie dough.
- 9
Add the onion and garlic.
- 10
Add the steamed broccoli.
- 11
Add 3 eggs, milk, cream, and nutmeg to a mixing bowl. Use an electric hand mixer to whip the mixture until it doubles in size. (Alternatively, whisk vigorously by hand.)
- 12
Add the remaining cheese to the egg and milk mixture, and gently fold in with a spoon. Take care not to over-stir.
- 13
Pour the egg mixture into the pie pan. Tip: Do not overfill the quiche-- any extra mixture can be saved for an omelette, for another quiche, or used to dip bread in for French toast.
- 14
Tent quiche loosely with aluminum foil. Bake 45 minutes. Remove foil, and bake 15-20 more minutes until the quiche is golden and set. Quiche should jiggle slightly when moved.
- 15
Allow quiche to cool for at least 1 hour, or refrigerate overnight. (Quiche will not be fully set until cooled.)
- 16
While quiche cools, mix together all ingredients for the yogurt sauce. Refrigerate until you're ready to serve.Tip: Not all yogurts + Dijon mustards taste the same or have the same consistency. Taste sauce after mixing, and do the following if it's not perfect: Add more mustard for extra flavor, more yogurt if the mustard is too strong, more vinegar if the sauce is too thick, and more salt if the sauce is bland.
- 17
Serve cool with sauce (if desired).
- 18
Leftovers / Make Ahead + Refrigerate:Refrigerate and use within 2-3 days.Make Ahead + Freeze: Bake quiche, and allow to cool completely. Wrap tightly with plastic wrap, and slide into a freezer bag. Use within 2 months.Reheat from Frozen: Do not thaw. Bake at 350ºF for 20-25 minutes, or until pie is warm.Sauce should not be frozen, but can be refrigerated for up to a week.Tip: If freezing, bake quiche in either a disposable aluminum pie pan or in a tart pan with removable sides. (Allow quiche to fully cool before removing the pan.)
Cocínala con la receta original
Esta receta es de champagne-tastes.com. En su web tienes las fotos, las notas y los consejos del autor: es el mejor sitio para cocinarla.
Ver la receta en champagne-tastes.com