
NACHOS VEGETARIANOS
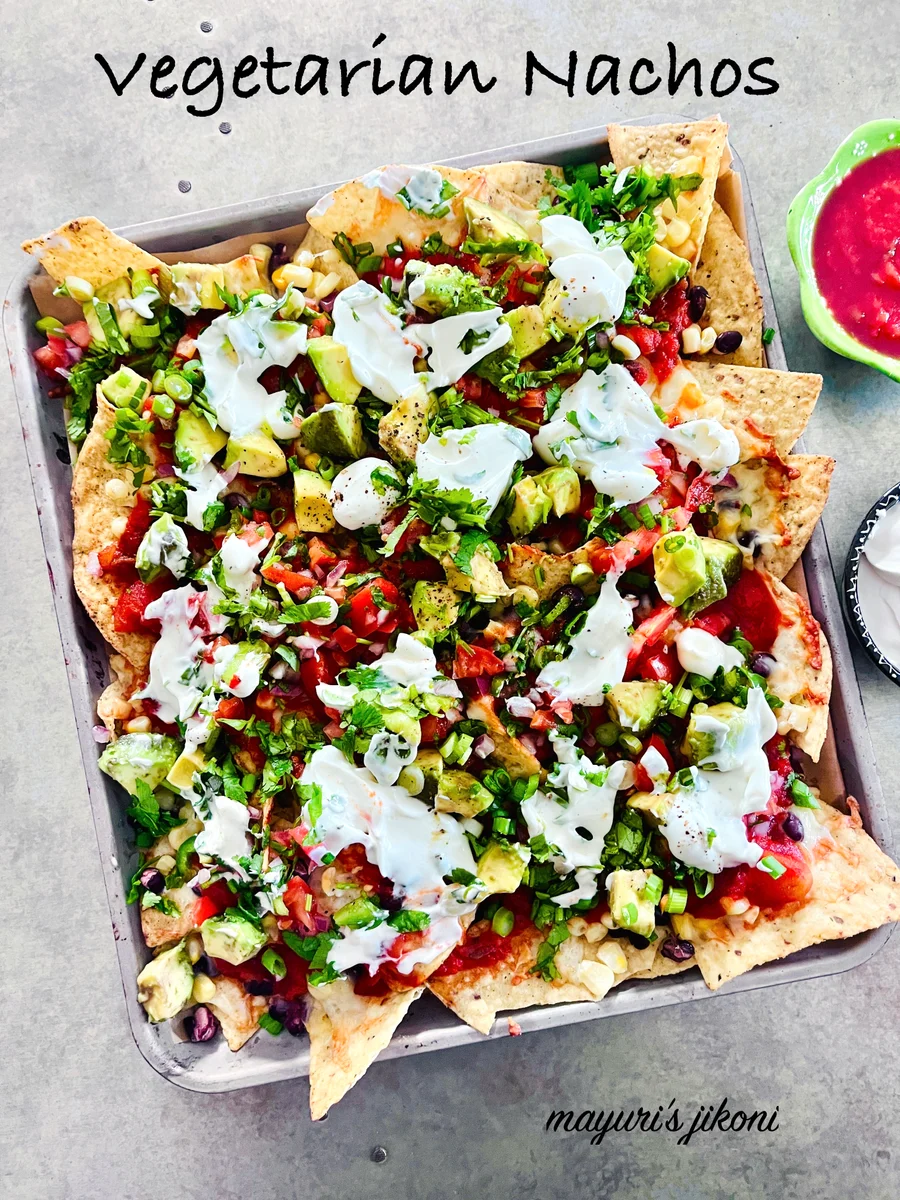
Los nachos vegetarianos son un plato muy fácil de preparar para servir como entrante en una fiesta o para disfrutar como comida durante un fin de semana perezoso, ya que vienen cargados de verduras y judías.
Ingredientes
- 100-150 g corn tortilla chips
- 1 cup cooked beans (red or black)
- 1 cup corn (frozen or canned)
- 1 cup grated cheese (cheddar, Jack Monetery or both)
- 1/2 cup salsa roja
- 1/2 cup sour cream
- 1 medium avocado (diced or sliced)
- 1/4 cup cilantro (chopped)
- 1/4 cup spring onion (chopped)
- 1 small onion (chopped)
- 1 large tomato (chopped)
- 2 tbsp cilantro (chopped)
- 1 tbsp lime juice
- 1 small jalapeno (chopped)
- 1/4 tsp salt
- 1/4 tsp black pepper powder
Preparación
- 1
--- PREPARATION OF VEGETARIAN NACHOS ---
- 2
Preheat the oven to 180℃.
- 3
Line a baking tray with some parchment paper. Makes cleaning the tray later on much easier. I used a 10"X12" tray.
- 4
If you are using frozen sweet corn, then cook it before using it for the nachos. Steam, boil or microwave it.
- 5
Arrange the tortilla chips in the lined tray. Make sure they overlap a bit. Don't leave huge spaces in between.
- 6
Scatter half quantity of the beans and sweet corn over the chips.
- 7
Scatter ½ quantity of both the shredded or grated cheeses.
- 8
Scatter the remaining beans and corn.
- 9
Top with the remaining cheeses.
- 10
Bake the nachos for 10 minutes to allow the cheeses to melt a bit.
- 11
Take the tray out of the oven.
- 12
Spread the salsa roja over the melted cheese.
- 13
Return the tray back in the oven and bake for the remaining 5 minutes.
- 14
Take the tray out and scatter the chopped avocado, cilantro and spring onion.
- 15
Scatter the pico de gallo.
- 16
Dot the baked nachos with blobs of sour cream.
- 17
Serve immediately.
- 18
--- PREPARATION OF PICO DE GALLO ---
- 19
While the nachos are baking, prepare the pico de gallo.
- 20
Mix all the ingredients in a bowl.
- 21
If you want to make the pico de gallo ahead then don't add salt. Add just before using it as it gets watery.
Cocínala con la receta original
Esta receta es de mayuris-jikoni.com. En su web tienes las fotos, las notas y los consejos del autor: es el mejor sitio para cocinarla.
Ver la receta en mayuris-jikoni.com