
Mi receta definitiva de pollo frito Súper Crujiente
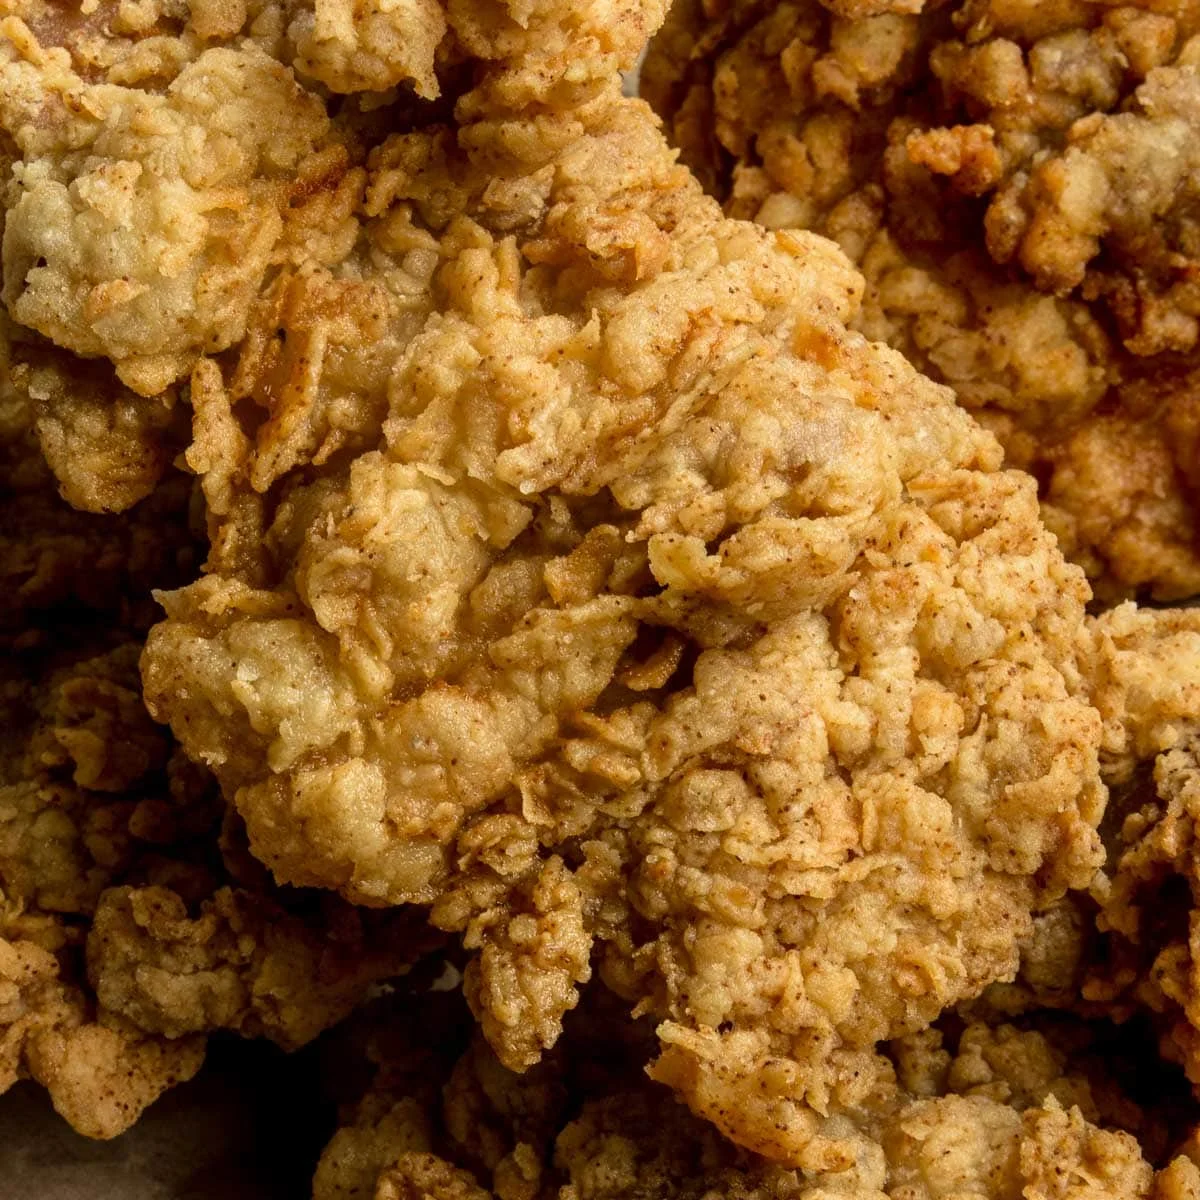
Mi receta definitiva de pollo frito súper crujiente se elabora con una mezcla de harina y almidón de patata. El pollo queda jugoso y sabroso, y el rebozado nunca se despega, ¡así que cada bocado es crujiente hasta el final!
Ingredientes
- 4 Chicken Legs ((Separated into drums and thighs to make 8 pieces))
- 3 tablespoons salt
- 8 cups water
- 2-3 cloves garlic
- 2-3 bay leaves
- 1/2 cup potato starch
- 2 cups all-purpose flour
- 1 1/2 teaspoon black pepper
- 2 teaspoon onion powder
- 2 teaspoon garlic powder ((not garlic salt))
- 2 teaspoon salt
- 4 teaspoon cayenne pepper ((optional ingredient, this makes a spicy chicken, start with 1 teaspoon for a less spicy chicken))
- 1/2 cup "Dry Mix" ((reserved from the 'Dry Mix' mixture above))
- 1/2 cup white vinegar
- 3/4 cup cold water ((or carbonated water but it must be cold))
Preparación
- 1
--- Brining ---
- 2
In a large bowl, combine all the brine ingredients.
- 3
If you are using chicken legs, separate the drums from the thighs so that it becomes 8 pieces of chicken.
- 4
Add the chicken to the brine and let it sit for a minimum of 4 hours in the fridge Bring it out of the fridge 1 hour before you are ready to deep fry so that the chicken can come to room temperature. This will help the chicken cook all the way through and it prevents the oil from dropping to a very low temperature when you deep fry it.
- 5
--- Making the Dry Mix ---
- 6
In a large bowl, combine all the ingredients of the "Dry Mix" from the ingredient list. Reserve 1/2 cup of it aside to make the "Wet Mix" and set the rest aside for later.
- 7
(Optional) If you want a more textured crispy batter, add 2-3 tablespoons of the brine or water into the 'dry mix' and work it into the mix.
- 8
Use your fingers to rub the brine into the flour until all the brine is mixed very well into the flour.
- 9
This will make the flour slightly more textured.
- 10
--- Making the Wet Batter ---
- 11
Add the reserved 1/2 cup of dry mix into another bowl and add in the white vinegar and ice water and mix well until everything is combined. Set this aside
- 12
--- Battering The Chicken ---
- 13
When you are ready to batter the chicken, remove it from the brine and dry it out VERY WELL with paper towel
- 14
One at a time put the chicken into the dry mix and coat it with a light dusting. Shake very well. You want a very light coating for the initial flouring only.
- 15
Use a fork to re-mix the wet batter (it may have settled and separated)
- 16
Dunk one piece of chicken quickly into the wet batter
- 17
Quickly add the wet chicken piece back into the "Dry Mix" and completely cover the chicken in the mix.
- 18
Use your hand and press the dry mix into the chicken. I like to give it a solid squeeze.
- 19
Remove the chicken from the dry mix and vigorously shake off the flour to create the nooks and crannies.
- 20
Remove the chicken from the dry mix and set it in a single layer on a plate.
- 21
Do this for every piece of chicken.
- 22
--- Deep Frying the Chicken ---
- 23
Fill a cast iron pan or deep fryer with oil and set the temperature to 350F (177C)
- 24
Once the oil is hot (you can do a test if it's hot enough by sticking a wooden chopstick or wooden spoon into it to see if it bubbles) add in the chicken slowly. Do not overcrowd the pan, you don't want the oil temperature to drop. You may need to cook this in a few batches. I like to put about 2 pieces in per dutch oven.
- 25
Cook the chicken for 18-20 minutes. (If you are using boneless chicken, cook it for 6-10 minutes instead)
- 26
Once all the chicken has been fried, put it back in the oil and fry it for a second time for 1 minute. This will make the chicken extra crispy.
- 27
Let it rest on a rack, newspaper or parchment paper for a few minutes before digging in. Enjoy!
Cocínala con la receta original
Esta receta es de pupswithchopsticks.com. En su web tienes las fotos, las notas y los consejos del autor: es el mejor sitio para cocinarla.
Ver la receta en pupswithchopsticks.com