
Piroshki de ternera y patata
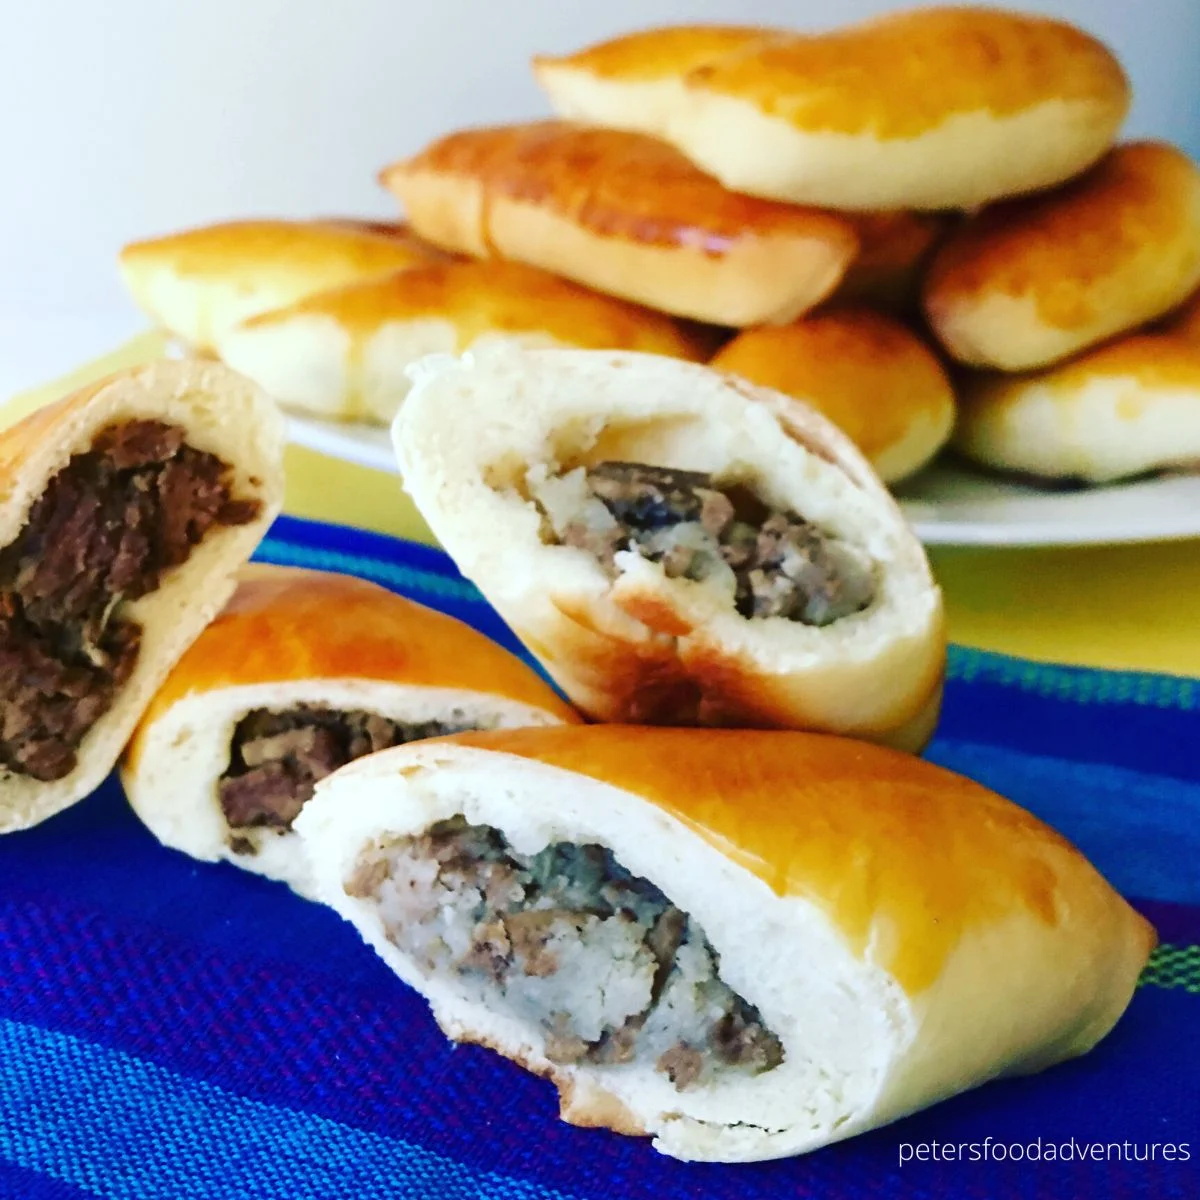
Piroshki de patata horneados. Una versión más saludable de un clásico ruso, con una masa fácil y tradicional. El relleno de puré de patata, cebolla y carne picada es ideal como aperitivo o plato reconfortante.
Ingredientes
- 1 cup milk (lukewarm)
- 2 eggs (set aside 1 yolk for egg wash)
- 3 tablespoons oil - using 15ml measure - melted butter is better
- 3 1/3 cups of flour
- 1 tablespoon sugar
- 1 1/2 teaspoons salt
- 2 teaspoons yeast - slightly less than a packet
- 1 lb /500g lean ground beef
- 1/2 lb /250g potatoes (boiled, peeled and mashed)
- 1 large onion chopped finely
- 1/2 teaspoon salt (to taste)
- 1/2 teaspoon black pepper
- 1 egg yolk
- 1 teaspoon whipping cream
Preparación
- 1
--- Preparing to Make Piroshki ---
- 2
Place dough ingredients in the bread machine and select the dough program. Takes about 90 minutes for the dough cycle to complete.
- 3
Fry ground beef until evenly browned. Add onions and fry until translucent. Mix together with the mashed potatoes and season with salt and pepper. Allow to cool.
- 4
Preheat oven to 350°F/180°C.
- 5
--- Assembling Piroshki ---
- 6
When the dough cycle is done, place onto a lightly floured surface. Roll out the dough into a long sausage shape. Cut pieces of dough the size of a golf ball, it doesn't have to be perfect. You should get 24 pieces from this recipe.
- 7
Roll each dough balls thinly shaped ovals. Place about 1-2 tablespoons of the filling in the centre. Pinch both sides of the edges of the dough together, creating a seal all around. Don't allow the filling to touch the edges or the seal will come apart.
- 8
Place the Piroshki upside down on baking paper so you cannot see the pinched seal, and flatten them a bit. Don't allow them to touch each other, as they will stick together.
- 9
Make the egg wash by beating the egg yolk with 1 teaspoon of whipping cream and brush the piroshki with the egg wash before putting into the oven.
- 10
Place into the oven and bake until golden brown, about 15 minutes.
Cocínala con la receta original
Esta receta es de petersfoodadventures.com. En su web tienes las fotos, las notas y los consejos del autor: es el mejor sitio para cocinarla.
Ver la receta en petersfoodadventures.com