
Tarta de queso de calabaza con base de Biscoff
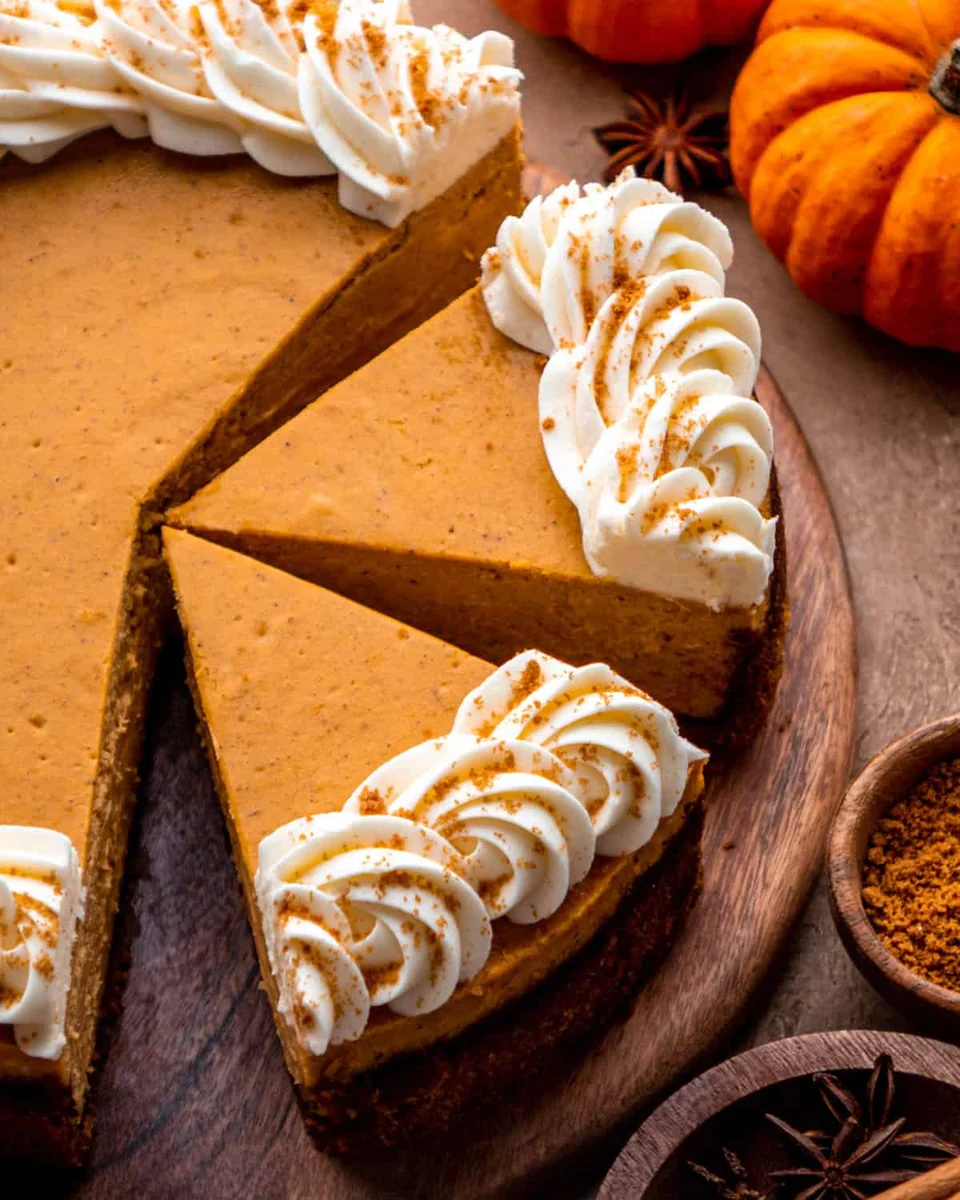
Esta tarta de queso de calabaza es súper cremosa con la cantidad perfecta de especias de calabaza, y todo ello sobre una capa de base de galleta Biscoff.
Ingredientes
- 46 Biscoff cookies
- 10 tbsp (140 g) unsalted butter, melted
- 2 tbsp (25 g) granulated white sugar
- 32 oz (907 g) cream cheese, softened
- 1 1/4 cups (250 g) granulated white sugar
- 1/4 cup (32 g) cornstarch
- 1 cup (244 g) canned pumpkin puree (Libby's)
- 1/3 cup (82 g) sour cream, at room temperature
- 1 tbsp pumpkin pie spice
- 1 tbsp vanilla extract
- 3 whole eggs, at room temperature
- 2 egg yolks, at room temperature
- 1/2 cup (112 g) unsalted butter, softened
- 4 oz (113 g) cream cheese, cold
- 1 1/2 cups (195 g) powdered sugar
Preparación
- 1
--- For the Biscoff Crust ---
- 2
Preheat the oven to 350 degrees.
- 3
Wrap at least 4 sheets of tinfoil around the bottom and edges of a 9 inch springform pan so no water seeps in while baking. (I always do 8 sheets just to be extra, extra careful.)
- 4
Pulse the Biscoff cookies in a food processor until finely ground.
- 5
Add in the sugar and melted butter and pulse until combined. You may have to stop, scrape the edges with a spatula and pulse again to ensure everything is combined together.
- 6
Press the crumbs onto the bottom, and about an inch up the sides, of the springform pan.
- 7
Bake for 12 minutes and then let cool completely.
- 8
--- For the Pumpkin Cheesecake ---
- 9
Preheat the oven to 350 degrees, if not still preheated.
- 10
Put a pot of water on the stove to start boiling. You will want enough water to go up about 1 1/2 inches on the sides of the springform pan.
- 11
In a stand mixer, mix the cream cheese, corn starch and sugar together with a paddle attachment on medium speed for 1-2 minutes until everything is smooth and there are no lumps. (You can alternatively use a hand mixer, but just be careful not to overmix). Half way through, scrape down the sides and bottom of the bowl to ensure everything has been mixed well.
- 12
Add in the pumpkin puree, sour cream, pumpkin pie spice and vanilla and mix on medium low speed just until combined. (Scrape sides and bottom of bowl again).
- 13
Next add in the eggs and egg yolks and mix on medium low speed just until combined. Do not over mix the batter.
- 14
Pour the batter into the prepared pan with the crust.
- 15
Place the cheesecake in a large roasting pan in the oven. Slowly pour the boiling water into the roasting pan around the cheesecake being careful not to splash the cheesecake.
- 16
Bake for 1 hour. When an hour is up, turn off the oven and crack the door open. It helps to use a wooden utensil to keep the oven door slightly open. Let the cheesecake stay in the oven for an additional 1 hour. The cheesecake will continue to bake as it is cooling.
- 17
Once the 2 hours are up, remove the cheesecake from the oven and go around the edges of the pan with a butter knife to loosen the crust from the sides of the pan.
- 18
Let the cheesecake cool completely on the counter, then cover the pan with plastic wrap and refrigerate for at least 8 hours, or overnight.
- 19
--- For the Cream Cheese Frosting ---
- 20
Add the butter to a medium sized mixing bowl. Mix the butter with an electric mixer on high speed until pale in color and fluffy, 5-10 minutes.
- 21
Add in the cream cheese and mix on medium speed until combined.
- 22
Sift in the powdered sugar a little at a time until and mix on low speed until all is combined. Then mix on high speed until light and fluffy, 1-2 minutes.
- 23
Transfer the frosting to a piping bag fitted with a decorative tip. (My favorite is my Wilton 1M tip.)
- 24
--- Assembling the Cheesecake ---
- 25
When the cheesecake has chilled overnight, carefully remove it from the springform pan and transfer it to your serving plate.
- 26
Pipe decorative swirls of cream cheese frosting around the edges of the cheesecake. Sprinkle Biscoff cookie crumbs over the frosting if you desire.
- 27
Then serve! Store leftovers in an airtight container in the fridge for up to 4 days.
Cocínala con la receta original
Esta receta es de inbloombakery.com. En su web tienes las fotos, las notas y los consejos del autor: es el mejor sitio para cocinarla.
Ver la receta en inbloombakery.com