
Quiche de Calabacín con Queso sin Base
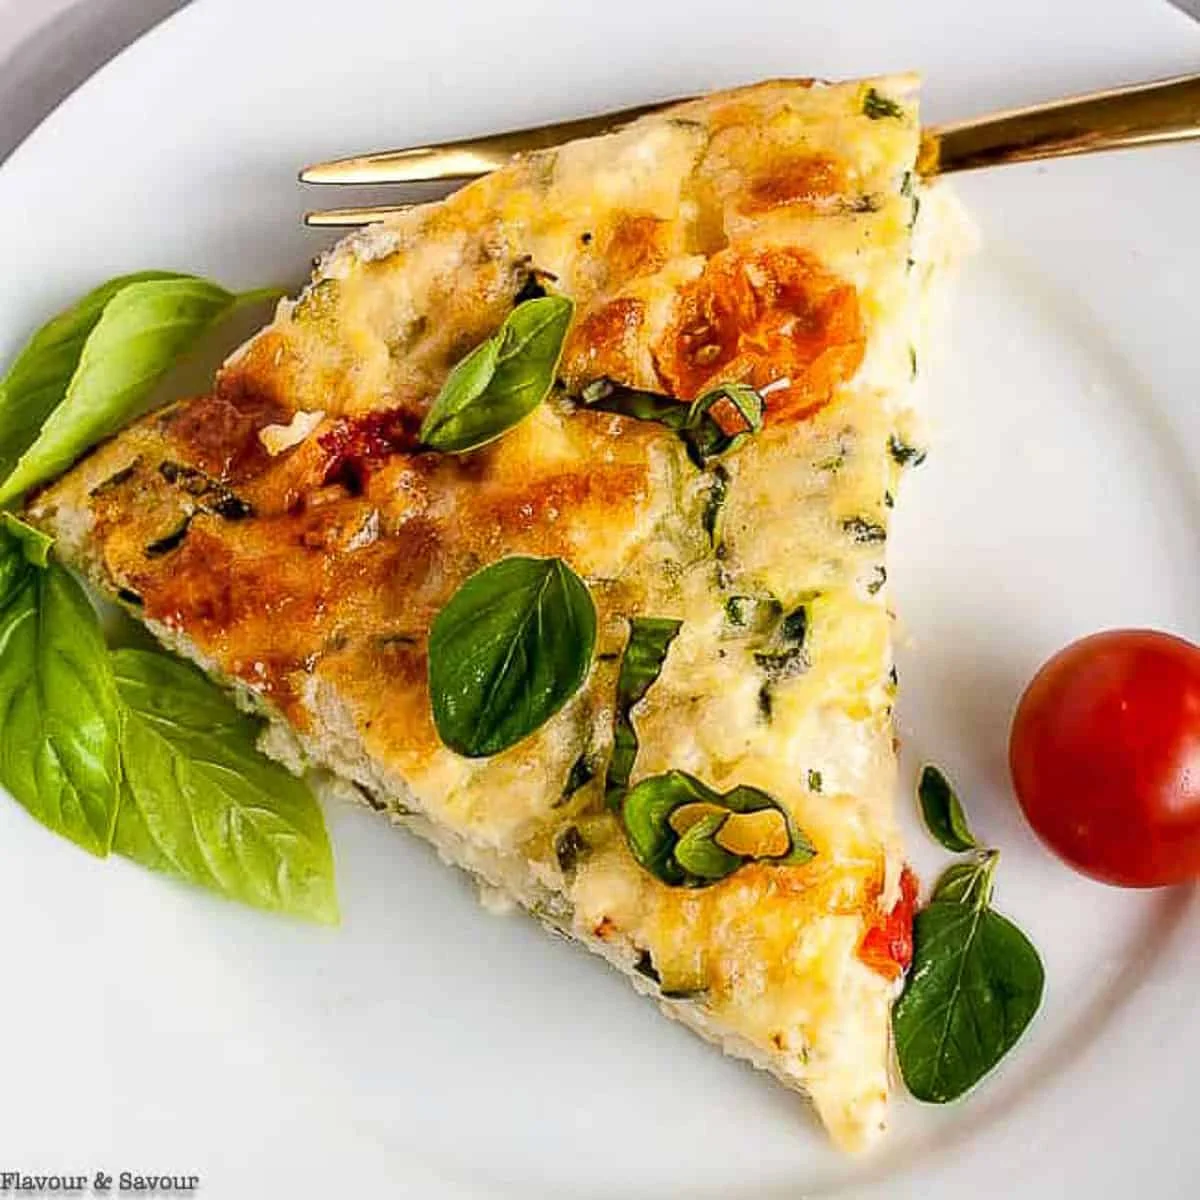
Este quiche de calabacín con queso, bajo en carbohidratos, es una opción keto para el desayuno, el brunch, el almuerzo o como guarnición. Fácil de hacer con huevos, queso, harina de almendra y de coco.
Ingredientes
- 2 cups zucchini, (grated, measured after all liquid squeezed out. Begin with 2 medium zucchini.)
- 3 tbsp almond flour, (finely ground)
- 1.5 tbsp coconut flour, (See note below)
- 1 tsp baking powder
- 4 large eggs, (beaten)
- 1/2 cup milk, (or cream)
- 1/2 cup onion, (finely chopped)
- 1 cup cheddar cheese, (grated)
- 1/2 cup feta cheese, (crumbled)
- 1/2 cup cherry tomatoes, (halved)
- 1 tbsp fresh basil, (chiffonade cut or 1 tsp dried)
- 1 tbsp fresh oregano, (chopped or 1 tsp dried)
Preparación
- 1
Drain zucchini: Grate zucchini. Using a food processor makes this a quick job. To prevent the quiche from being watery, zucchini must be well drained. Put the grated zucchini in a colander over a bowl. Sprinkle with salt and toss. Place another smaller bowl on top of the grated zucchini in the colander and weigh it down with something heavy, like a large can. Let sit until it starts to release water, then press down occasionally for 20 minutes or so. Squeeze out remaining water with a towel or your hands until you have 2 cups of drained zucchini.
- 2
Preheat oven to 350°F. Lightly oil or spray a 10-inch quiche dish.
- 3
Combine: While zucchini is draining, sift the flours and baking powder in a small bowl.
- 4
Beat: In a large bowl, combine the beaten eggs, milk, cheddar cheese, feta cheese, onion, basil, oregano and well-drained zucchini.
- 5
Combine: Add the dry ingredients to the wet ingredients and stir well to combine.
- 6
Transfer the mixture to the baking dish. Arrange halved cherry tomatoes on top, pressing gently into the mixture.
- 7
Bake at 350°F. for 45- 50 minutes or until center is set and knife inserted comes out clean.
- 8
Garnish and slice: Garnish with extra herbs, if desired. Let stand for 5 minutes before slicing into wedges.
Cocínala con la receta original
Esta receta es de flavourandsavour.com. En su web tienes las fotos, las notas y los consejos del autor: es el mejor sitio para cocinarla.
Ver la receta en flavourandsavour.com