
Tarta de Galleta de Cacahuete Muy Cargada
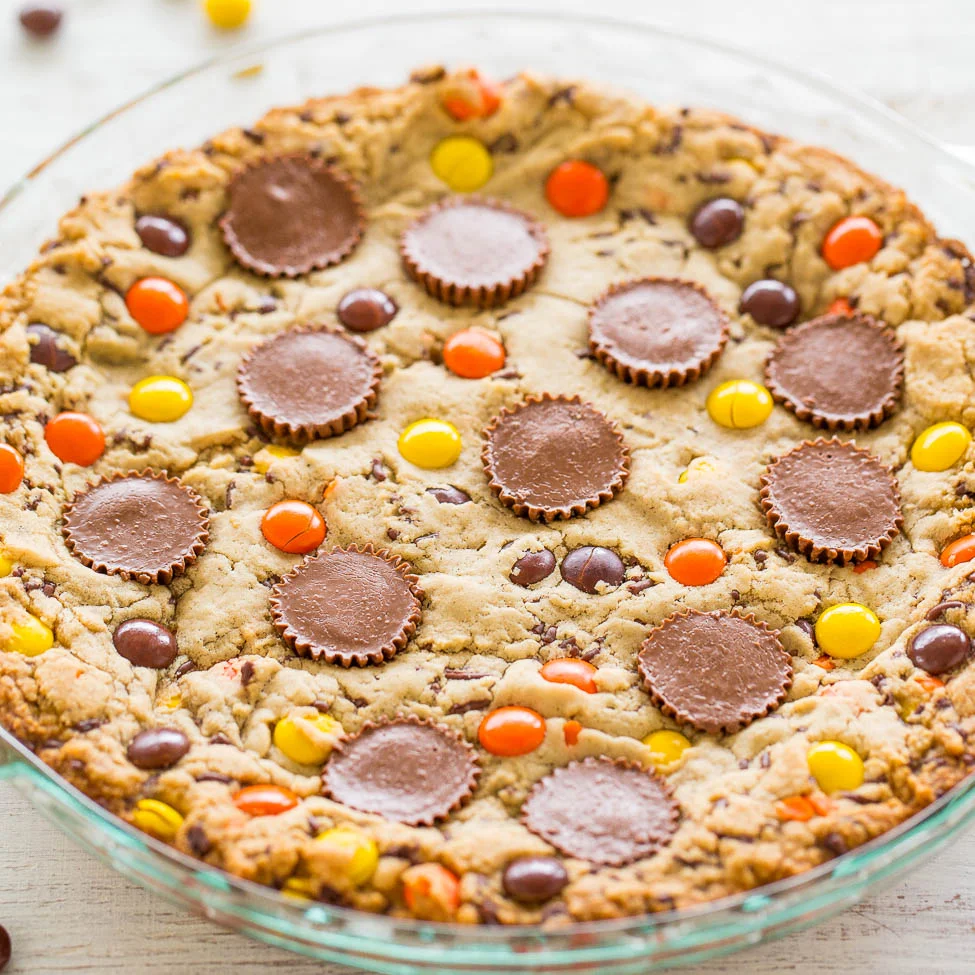
La mantequilla de cacahuete se utiliza de 3 maneras: en la masa, con tazas de mantequilla de cacahuete y con Reese's Pieces. Fácil, sin batidora, con un centro súper tierno y bordes crujientes, ¡y sabe increíble!
Ingredientes
- 1/2 cup unsalted butter (1 stick, melted)
- 1 large egg
- 1 cup light brown sugar (packed)
- 1 tablespoon vanilla extract
- heaping 1/3 cup creamy peanut butter
- 1 cup all-purpose flour
- 1/2 teaspoon salt (or to taste)
- 1/2 cup brown and orange fall-themed sprinkles (substitute with chocolate jimmies)
- 1/2 cup Reese’s Pieces (plus more for sprinkling)
- about 10 to 12 miniature peanut butter cups (unwrapped)
Preparación
- 1
Preheat oven to 350F, spray a 9-inch glass pie plate with cooking spray; set aside.
- 2
To a large, microwave-safe bowl add the butter and heat on high power to melt, about 1 minute.
- 3
Wait momentarily before adding the egg so you don’t scramble it. Add the egg, brown sugar, vanilla, and whisk until smooth.
- 4
Add the peanut butter and stir to combine.
- 5
Add the flour, salt, and stir until just combined, don’t overmix.
- 6
Add the sprinkles and stir to combine.
- 7
Add the Reese’s Pieces and stir to combine.
- 8
Turn batter out into prepared pan, smooth the top lightly with a spatula, and add the peanut butter cups, evenly spaced over the surface. Push them down so that they’re flush with the dough.
- 9
Evenly sprinkle 1 to 2 tablespoons of extra Reese’s Pieces over the surface for visual appeal, lightly tapping them down.
- 10
Bake for about 26 to 29 minutes, or until center is set and a toothpick inserted in the center comes out clean or with a few moist crumbs, but no batter.
- 11
Allow pie to cool on a wire rack for at least 30 minutes before slicing and serving.
Cocínala con la receta original
Esta receta es de averiecooks.com. En su web tienes las fotos, las notas y los consejos del autor: es el mejor sitio para cocinarla.
Ver la receta en averiecooks.com