
Tarta de queso vasca quemada
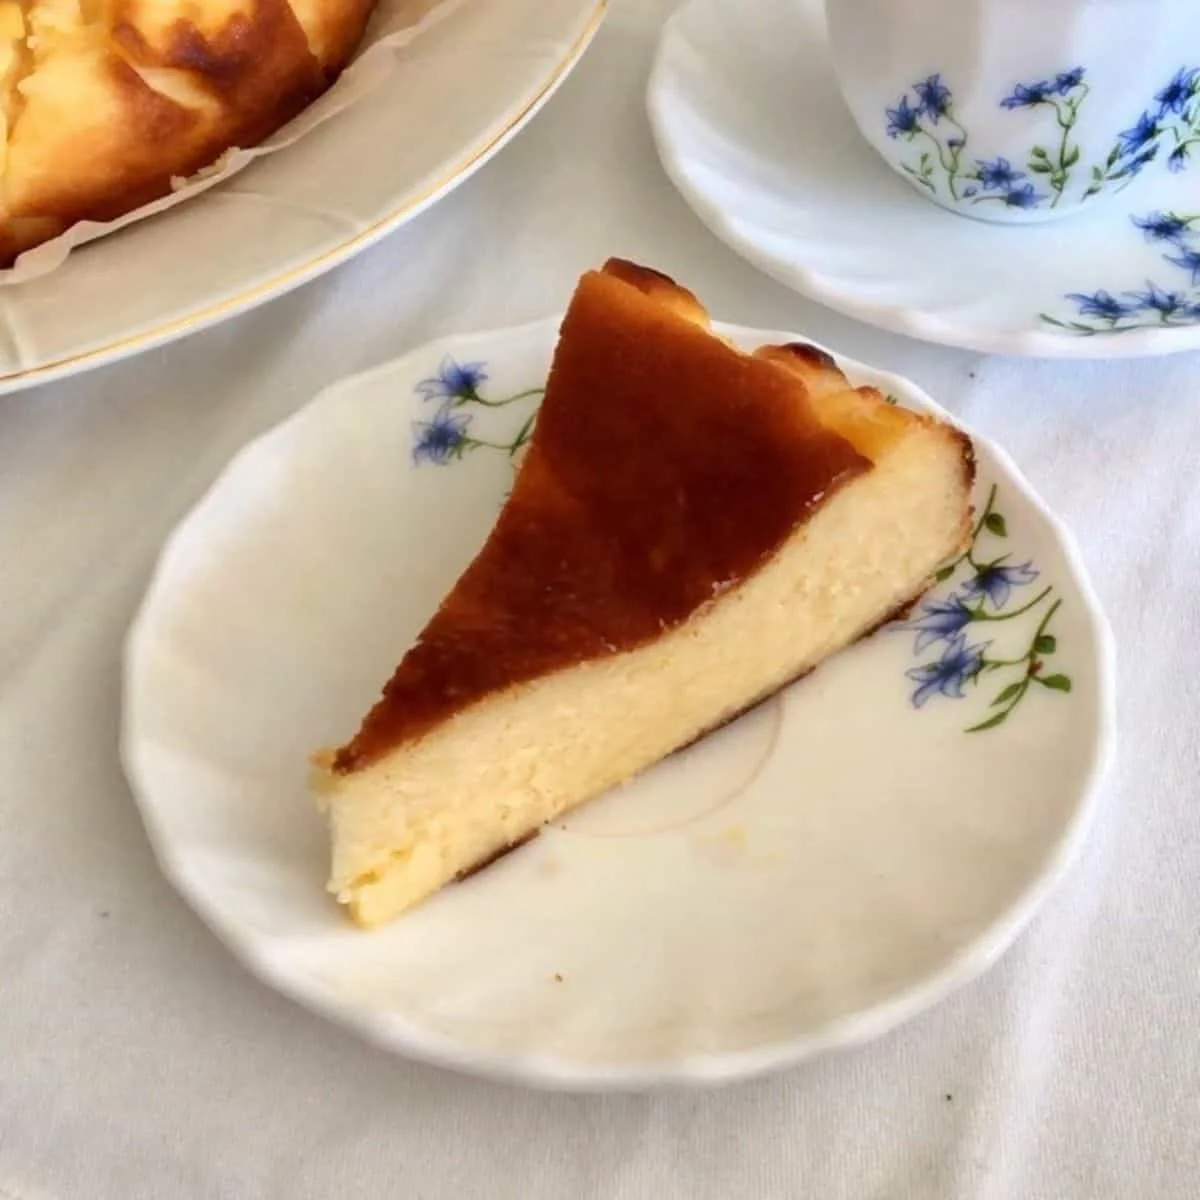
La tarta de queso quemada de San Sebastián tiene una superficie caramelizada impresionante y un centro cremoso. ¡Una receta fácil y decadente que merece la pena y las calorías!
Ingredientes
- 450 grams cream cheese ((blocks) softened to room temperature*)
- 2/3 cup white sugar
- 3 large eggs (room temperature)
- 1 cup whipping cream (chilled)
- 1 teaspoon vanilla extract
- a pinch of salt
- 3 tablespoon all-purpose flour
Preparación
- 1
--- Prep the cake pan ---
- 2
Prep the cake pan: Grease the bottom and sides of a 7-inch or an 8-inch springform pan with softened butter.
- 3
Prep the cake pan: Grease a large piece of baking paper with softened butter all over.
- 4
Prep the cake pan: Press this paper buttered side up into the pan making sure the paper comes at least 2-inch above the pan on all sides.
- 5
Prep the cake pan: Press another plain baking paper overlapping similarly to make sure every part inside the pan is covered with the baking paper neatly.
- 6
Prep the cake pan: Place the pan on a baking tray so you can easily slide in and out from the oven.
- 7
--- Prepare batter ---
- 8
Prepare batter: Preheat the oven to 200℃. Use a handheld electric mixer or a standing mixer to make the batter.
- 9
Prepare batter: Add the softened cream cheese into a large bowl and beat to cream at medium speed for about a minute or until it is smooth.
- 10
Prepare batter: Add the sugar and continue to whisk making sure to stop and scrape down the sides of the bowl. Whisk until sugar is dissolved and you have a very smooth with no lumps mixture. This will take about 2 minutes.
- 11
Prepare batter: Next, add one egg at a time, beating each egg for less than 15 seconds or just until incorporated fully. Again, make sure to stop and scrape down the sides of the bowl.
- 12
Prepare batter: Lastly, pour the heavy or whipping cream, salt, and vanilla extract and beat until combined for about 30 seconds. Your mixer job is done.
- 13
Prepare batter: Sift the flour over the batter and fold with a rubber spatula until the batter is very smooth and silky. Tiny lumps of flour are OK, it will eventually dissolve while baking.
- 14
Prepare batter: Pour batter into prepared pan.
- 15
--- Bake ---
- 16
Bake: Carefully slide the tray into the lower middle rack of the oven and bake for 35 to 45 minutes or until the top changes to a burnt golden colour. The cheesecake would rise considerably. Keep an eye on the cake starting 35 mins as each oven is different, yours may get done sooner or later.
- 17
Bake: Carefully remove the cheesecake from the oven, and you will see it jiggle like jelly in the centre.
- 18
Bake: Let it cool completely to room temperature. While cooling, the cheesecake will sink and that is perfectly ok.
- 19
--- Serve ---
- 20
Serve: Unmold the cheesecake from the pan by removing the outer ring of the springform pan and lift the cake with the excess baking paper and place it on the serving plate.
- 21
Serve: Peel away the baking paper from the sides of the cheesecake and you may use a scissor to trim the excess for aesthetic purpose.
- 22
Serve: Slice into wedges and serve at room temperature. You should serve this at room temperature, which is the best way we love or you may pop it in the fridge overnight completely covered and eat it cold or bring it to room temperature again before you serve any remaining cheesecake.
- 23
--- Store ---
- 24
Store any leftover covered in the fridge for no more than 3 days. You may freeze the cheesecake wedges, cling-wrapped in an airtight freezer container, for not more than 2 weeks or be kind and share some with your neighbour!
Cocínala con la receta original
Esta receta es de butfirstchai.com. En su web tienes las fotos, las notas y los consejos del autor: es el mejor sitio para cocinarla.
Ver la receta en butfirstchai.com